

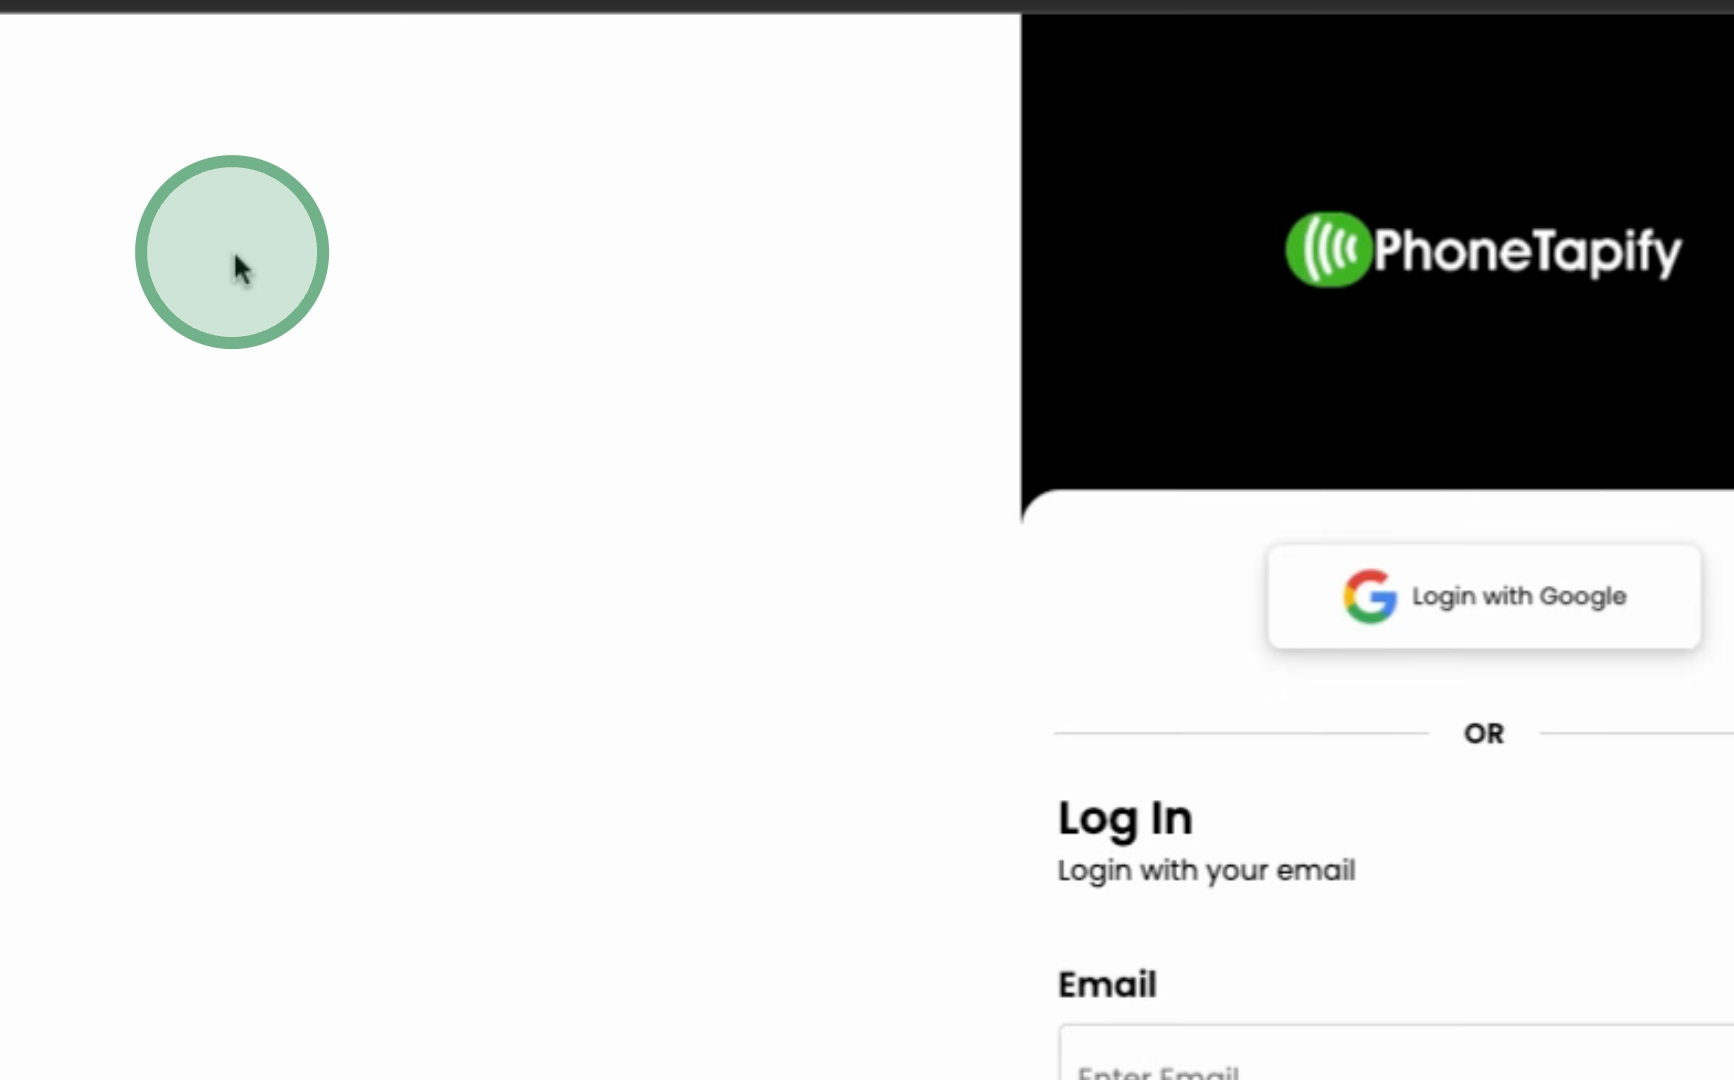
Begin by navigating to users.phonetapify.com and logging into your account. Upon successful login, you will be directed to the Office Assistant Dashboard.
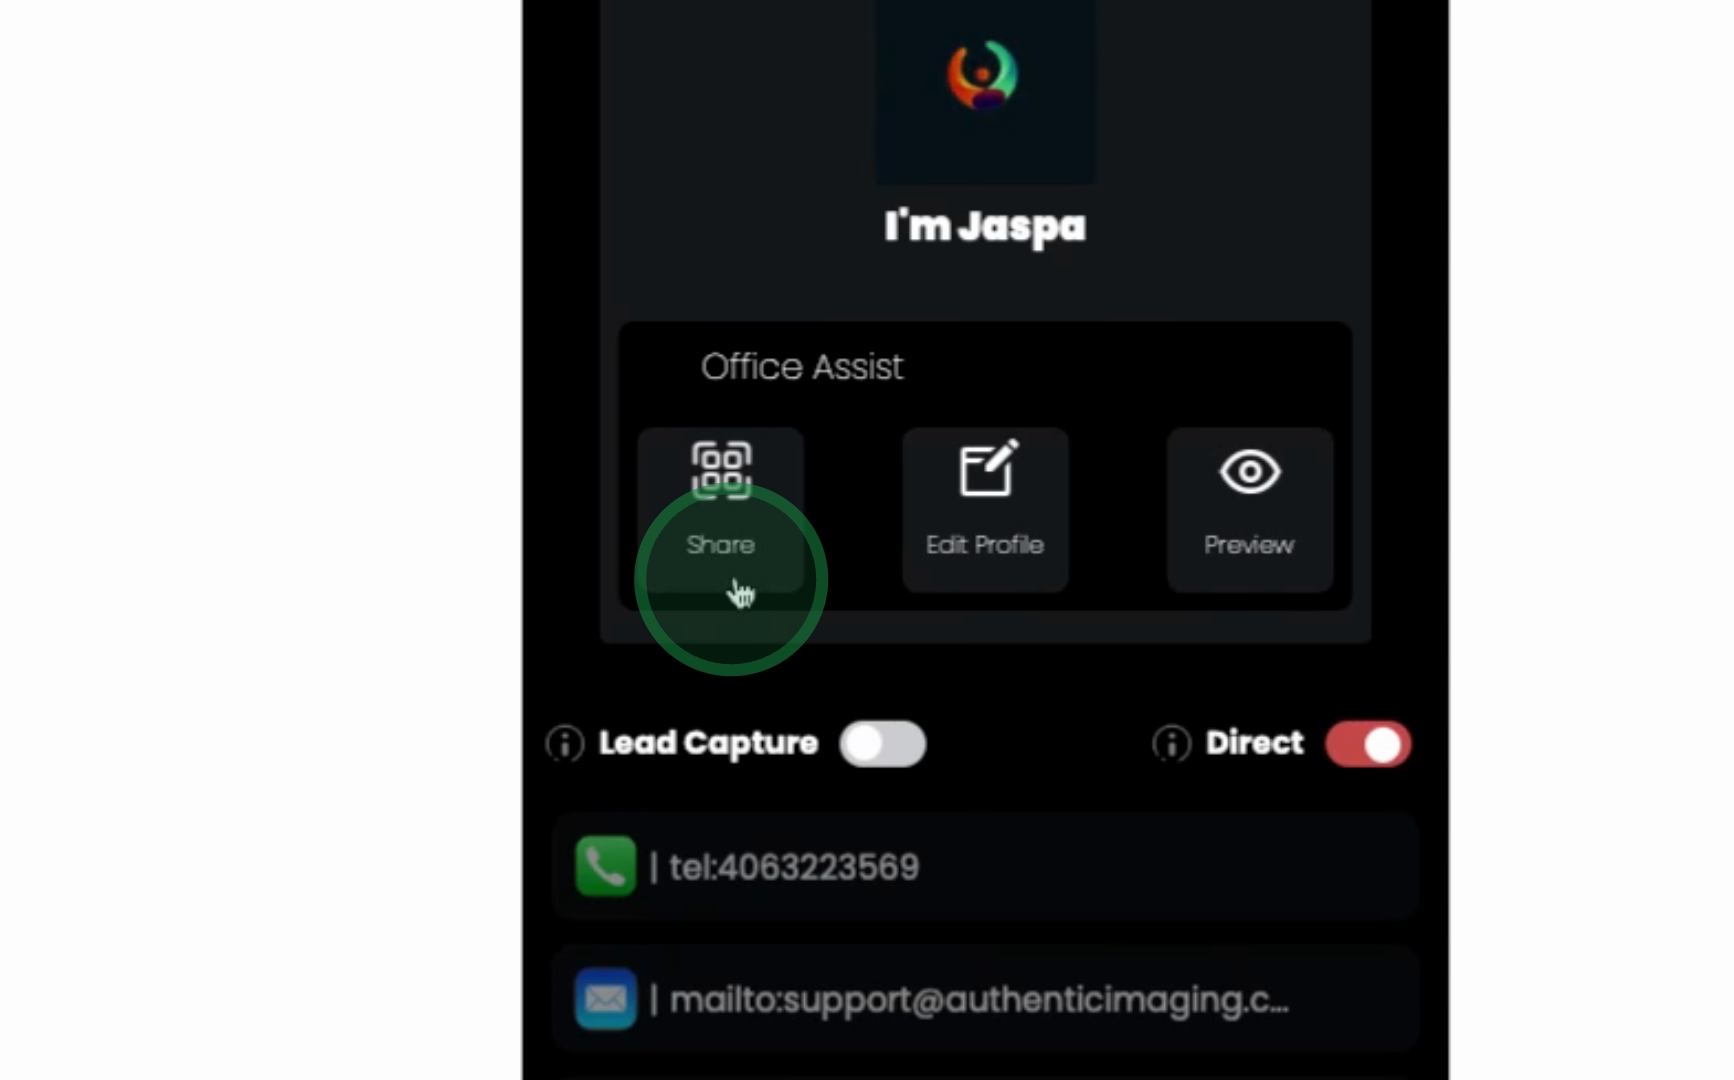
In the dashboard, you will notice three options: share, edit, and preview. Click on edit to proceed to the edit page, which contains your detailed Office Assistant information. For this tutorial, you may ignore most of this information, as we are focused on the URL inserts.
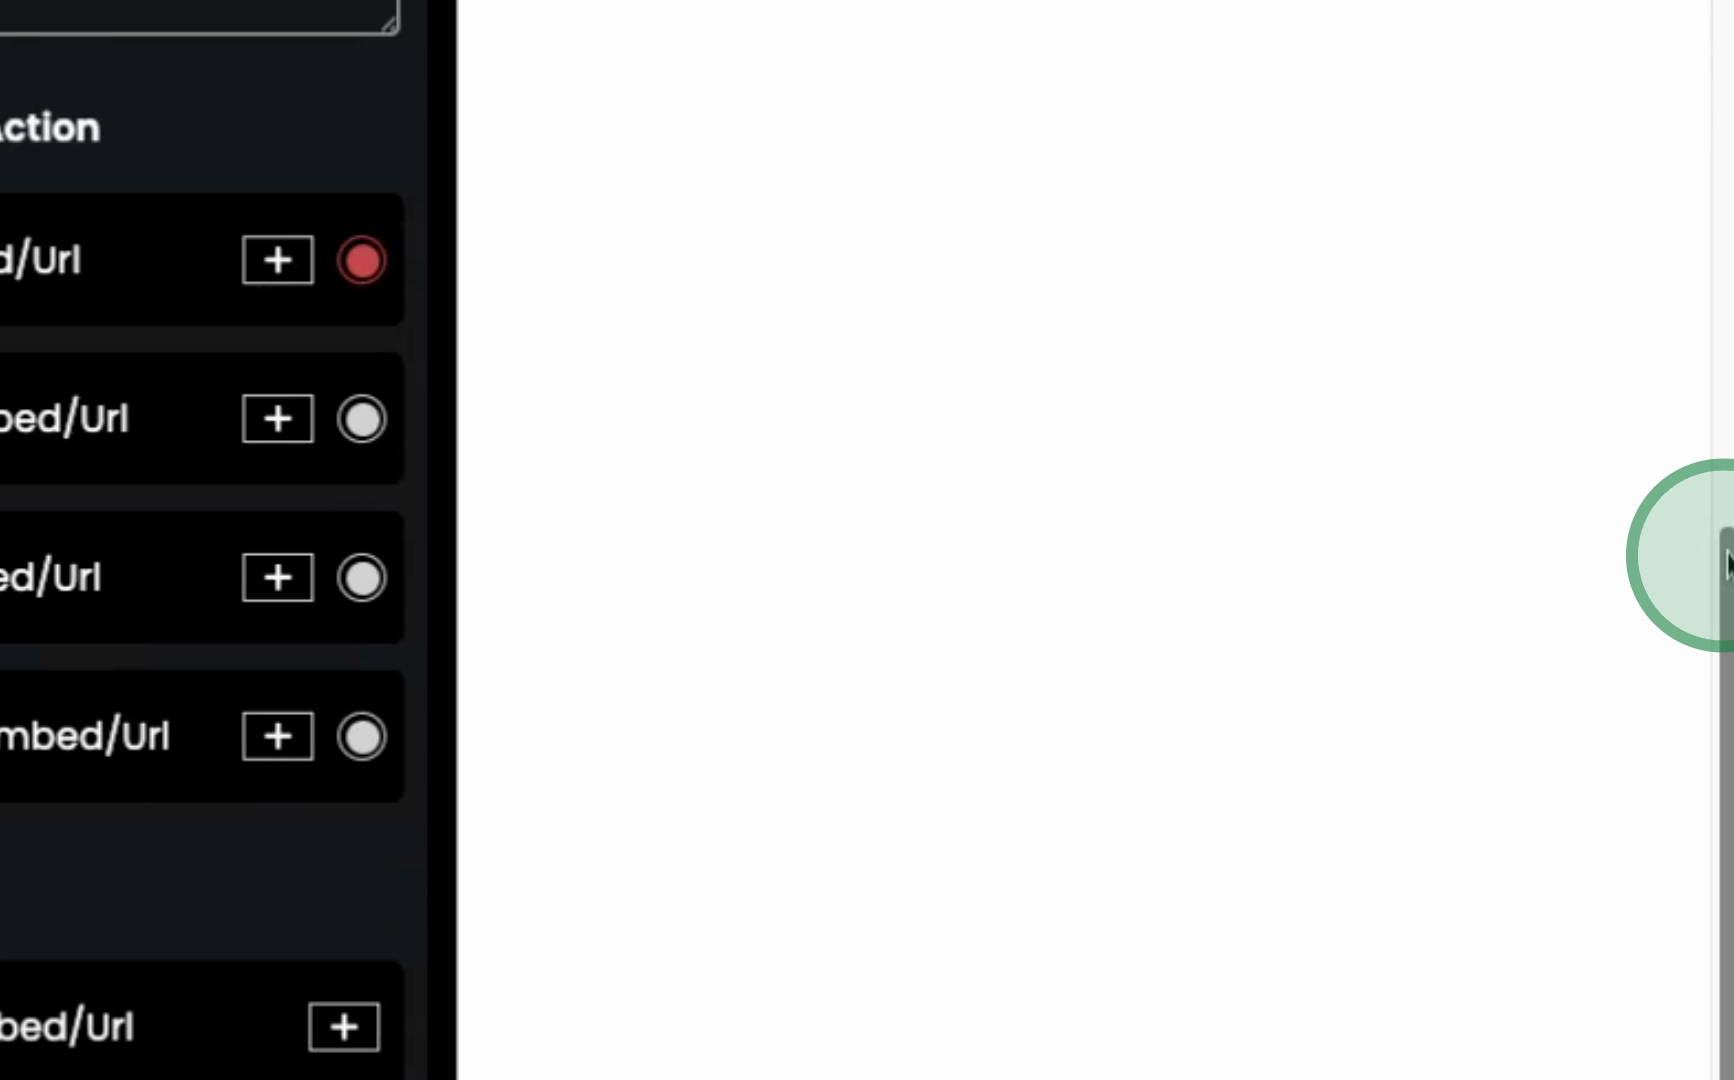
Scroll down to locate the links section. To add new URLs, click on the plus icon.
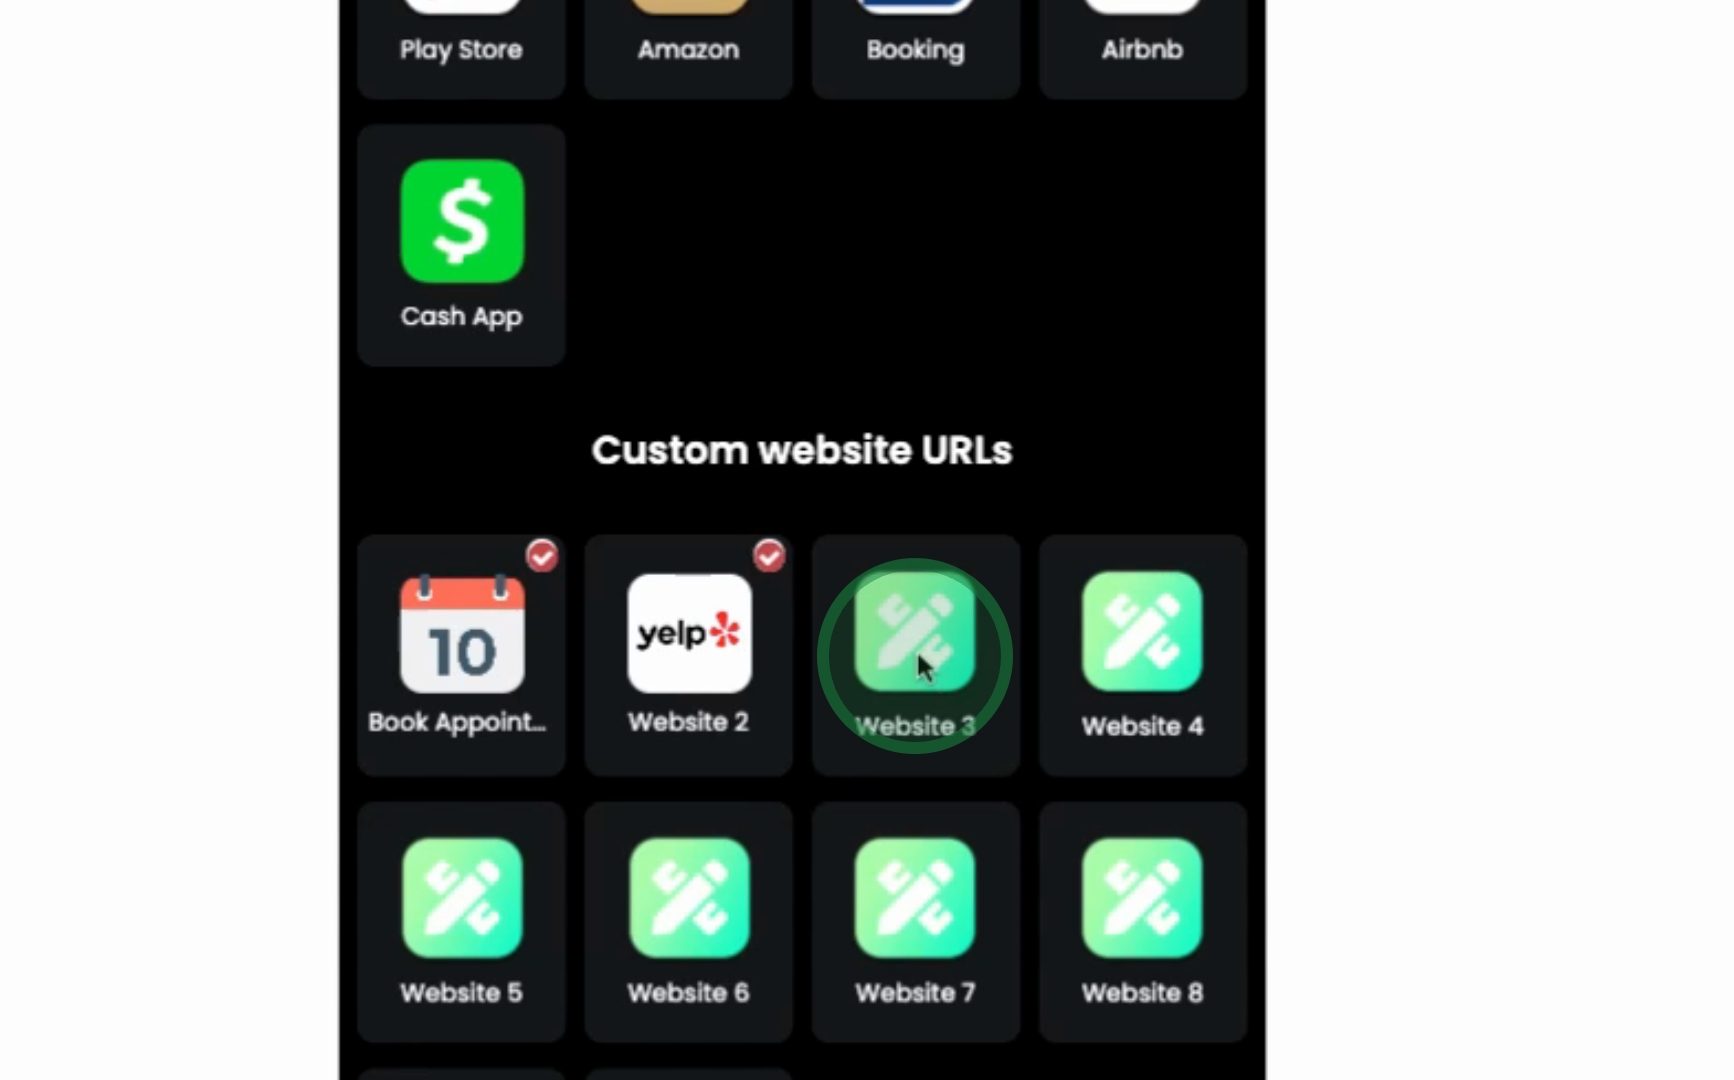
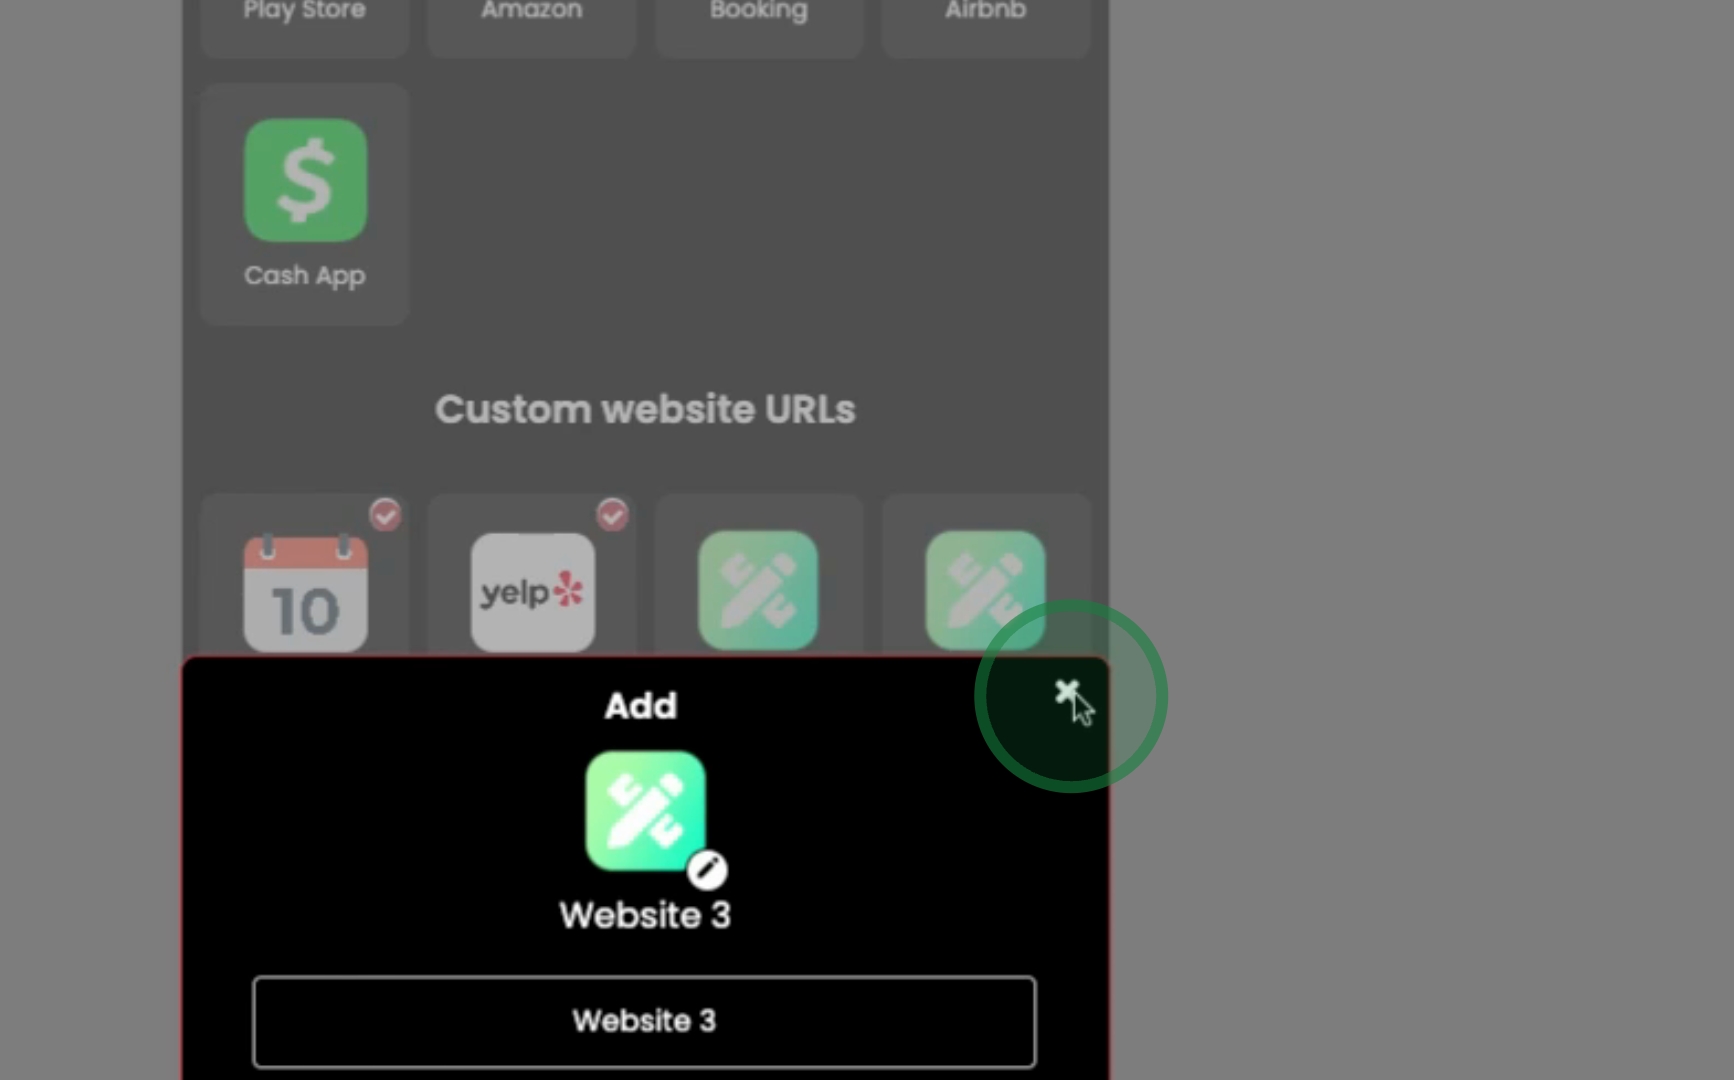
If you wish to add custom links, scroll to the bottom and select Website. Here, you can choose an icon to represent the link. Label the icon as desired, insert your URL, and then hit Submit.
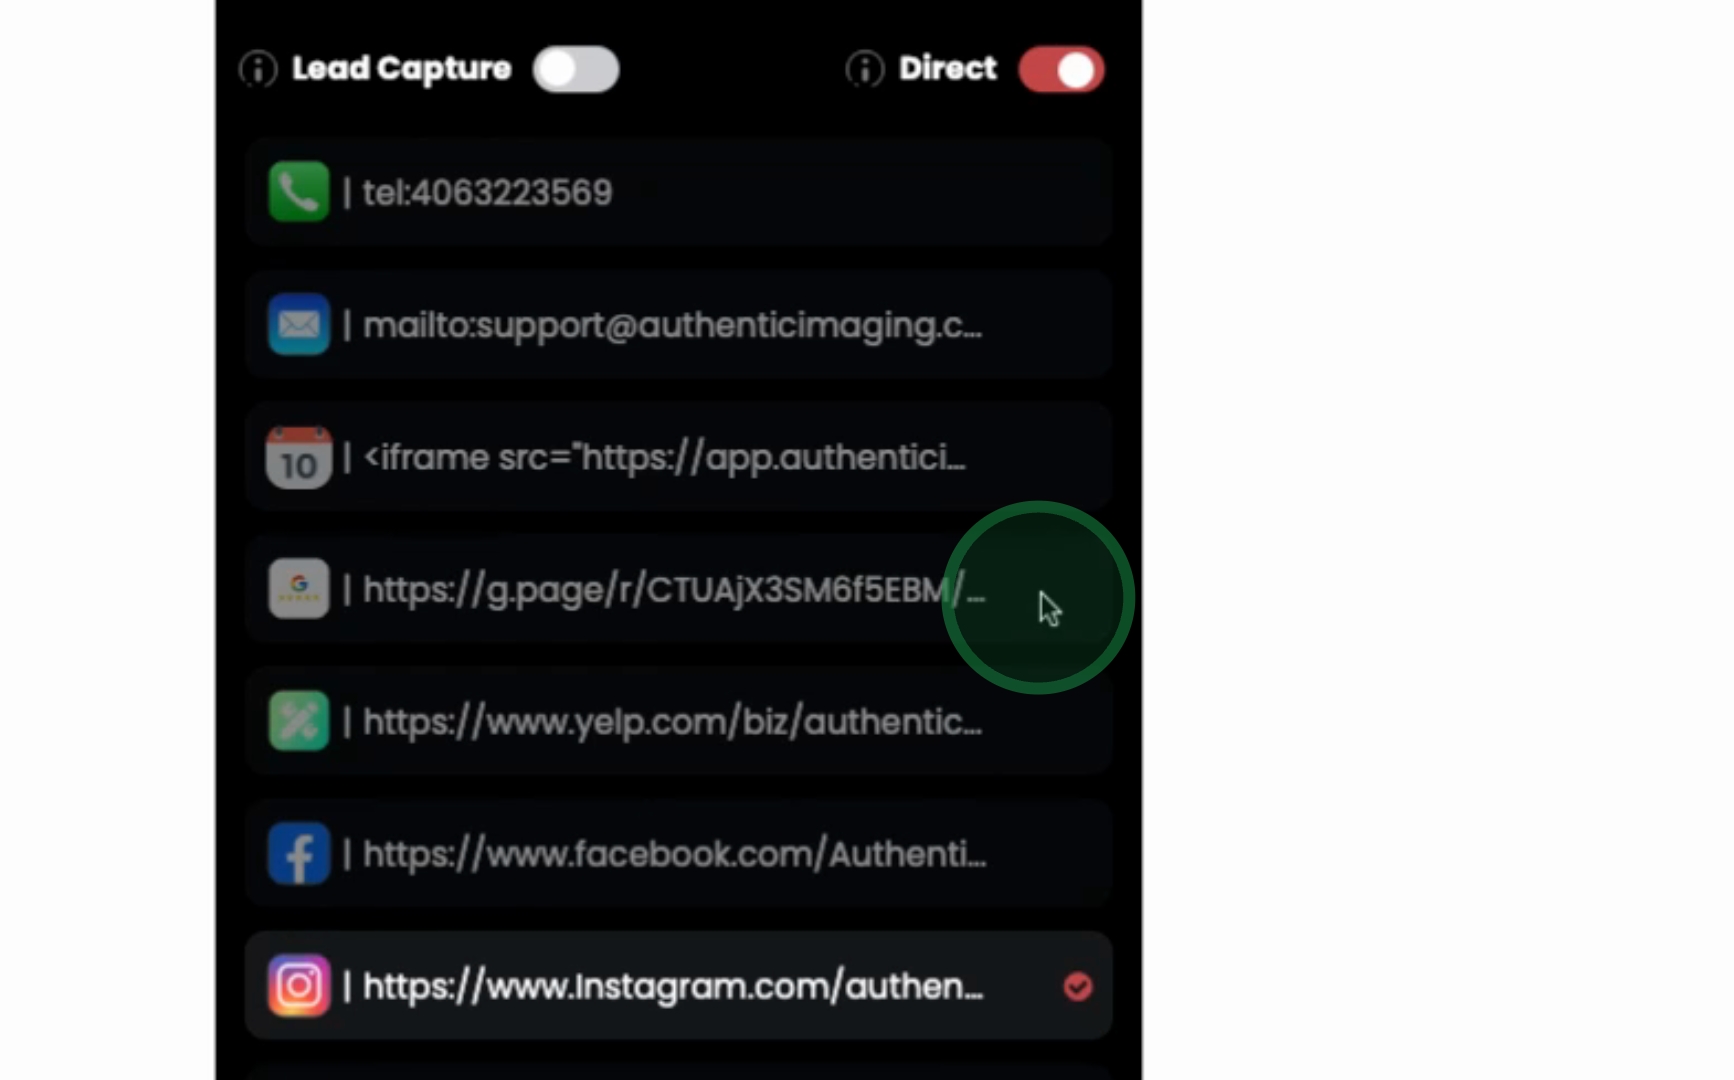
After adding URLs, return to the Dashboard. In this area, look for what is referred to as the direct link. This feature allows users to be redirected to the selected insert when they tap the Lightbox or scan the QR code.
For example, if you select Google Reviews, the Lightbox QR code and NFC will direct users to Google Reviews. Should you need to change the insert to Facebook, simply update it accordingly, and it will redirect users to the URL you have set for Facebook. This concludes how you can update the inserts for the Lightbox.
By following these steps, you can efficiently manage and update the URLs for your interchangeable inserts in the Fontopify Lightbox.
