

This tutorial will guide you through the process of updating and customizing your digital profile after receiving your card in the mail.
To begin, navigate to user.fontappify.com. This will allow you to log into your account.
Upon logging in, you will immediately see your digital profile.

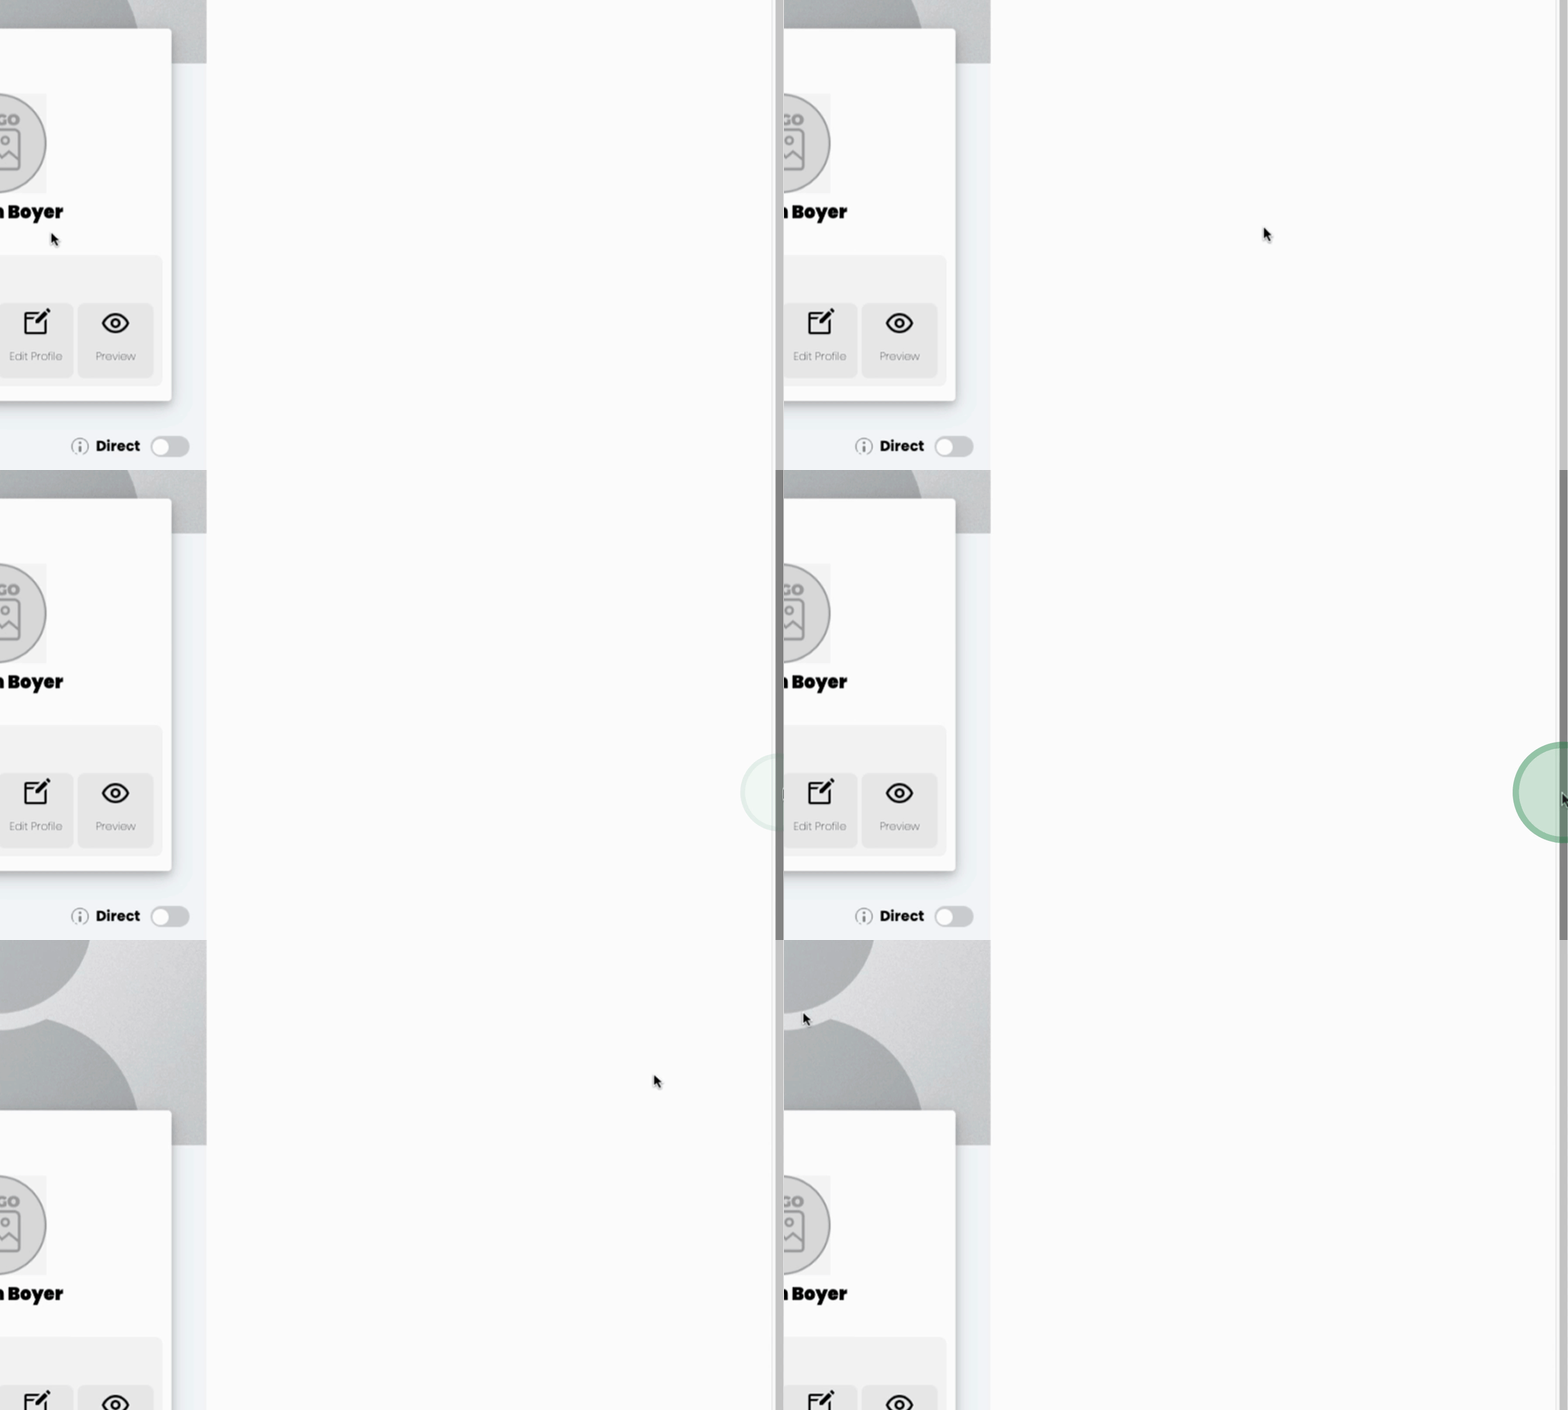
Make sure you have your profile image and branding logo ready. Start customization by clicking on the edit profile button.
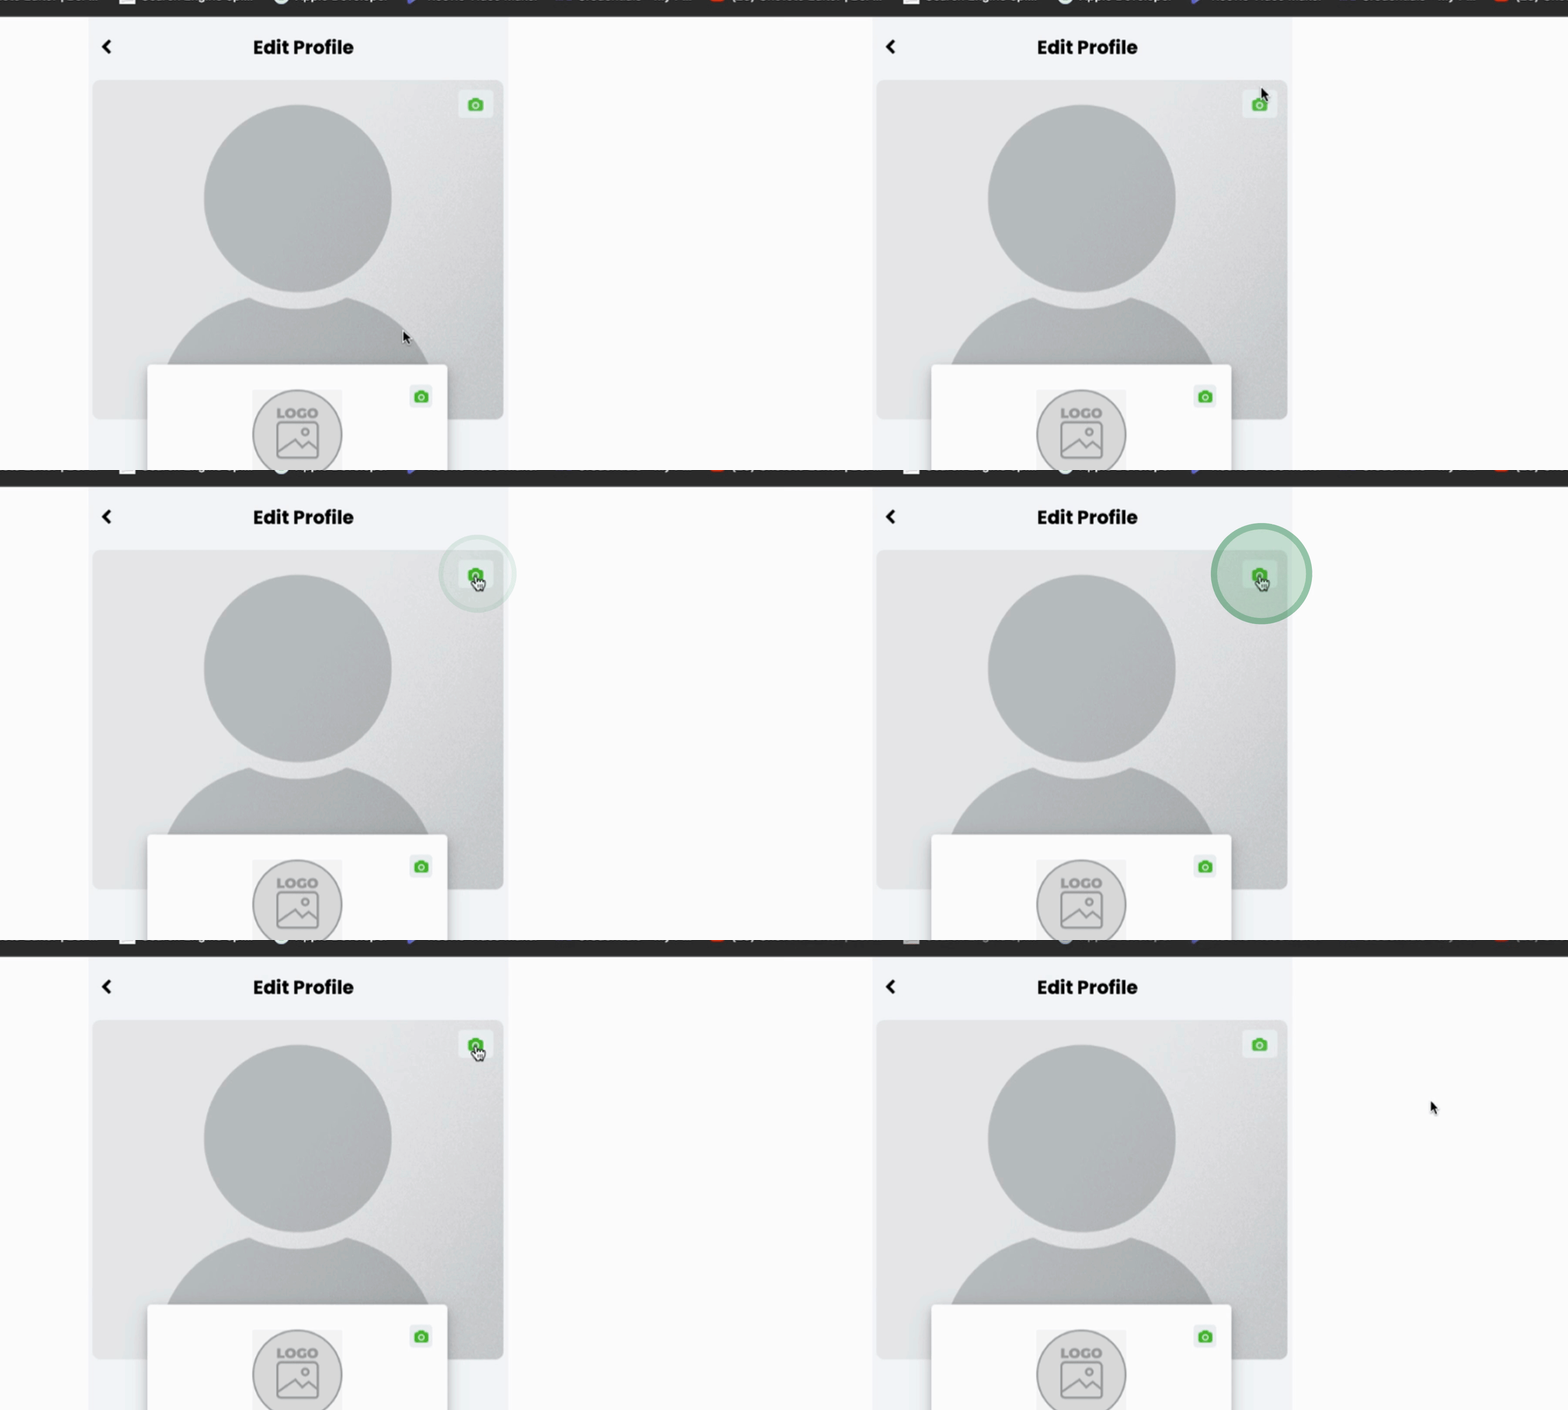
First, upload your profile image.
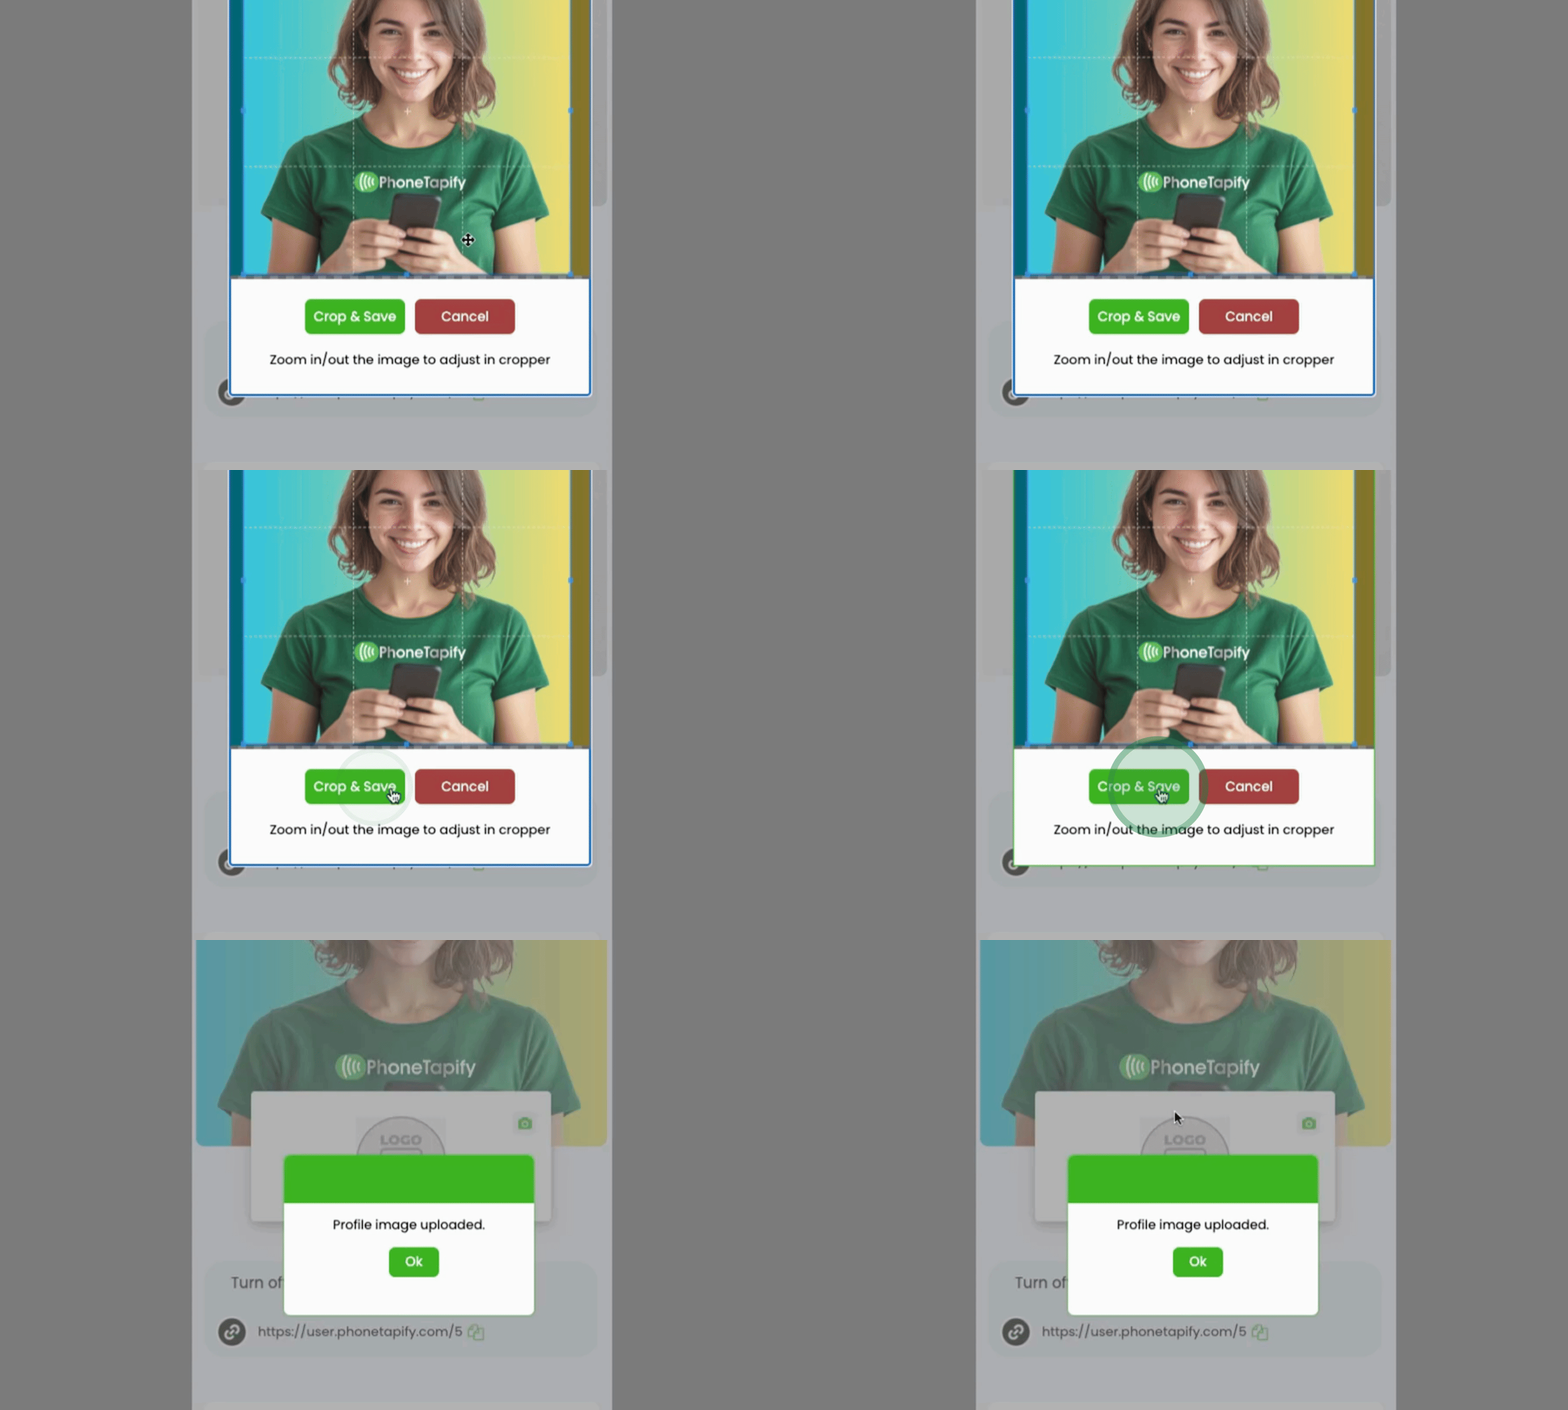
Next, adjust the crop size to fit your desired appearance.
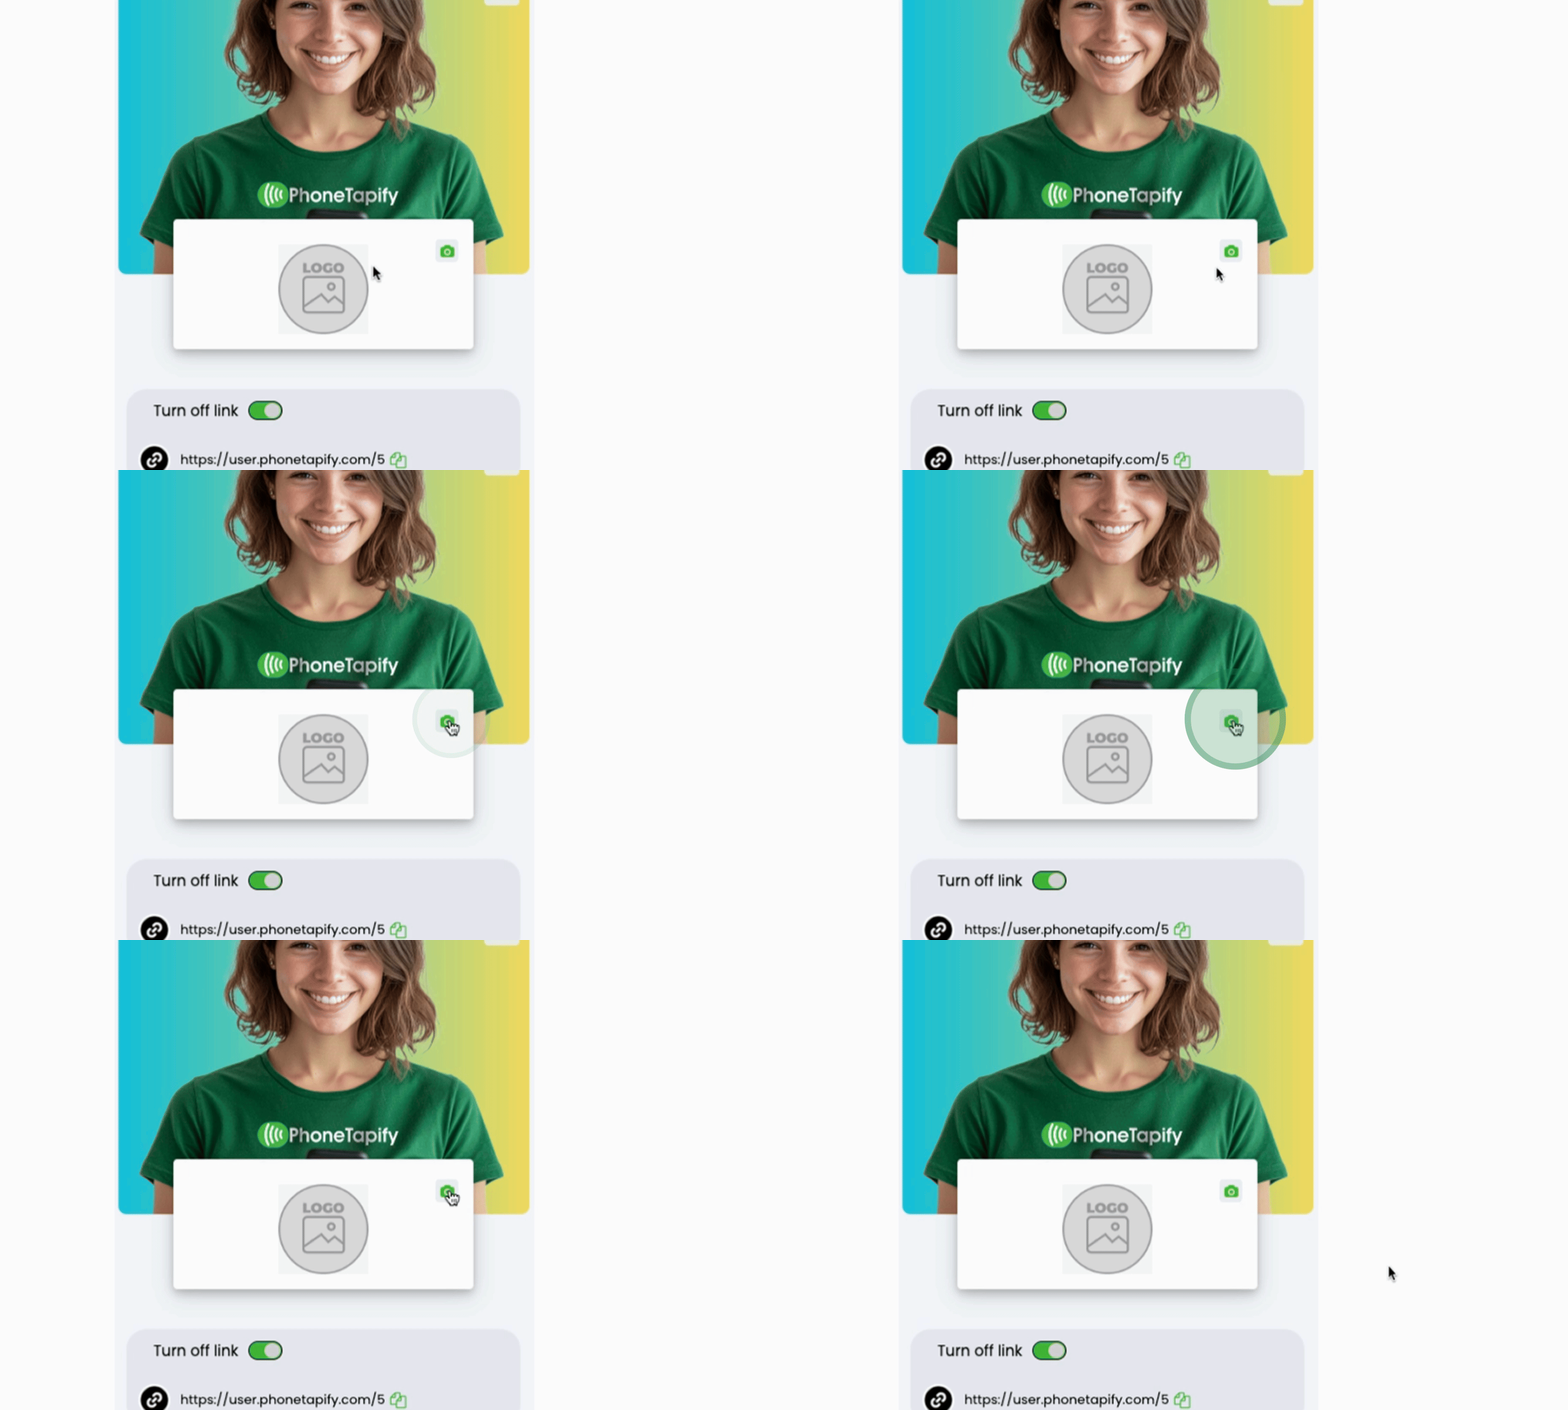
The next step is to add a branded logo. Click on the Add a logo button.
As you scroll down, fill in your full name, city, job title, and the company name, along with a brief bio about yourself.

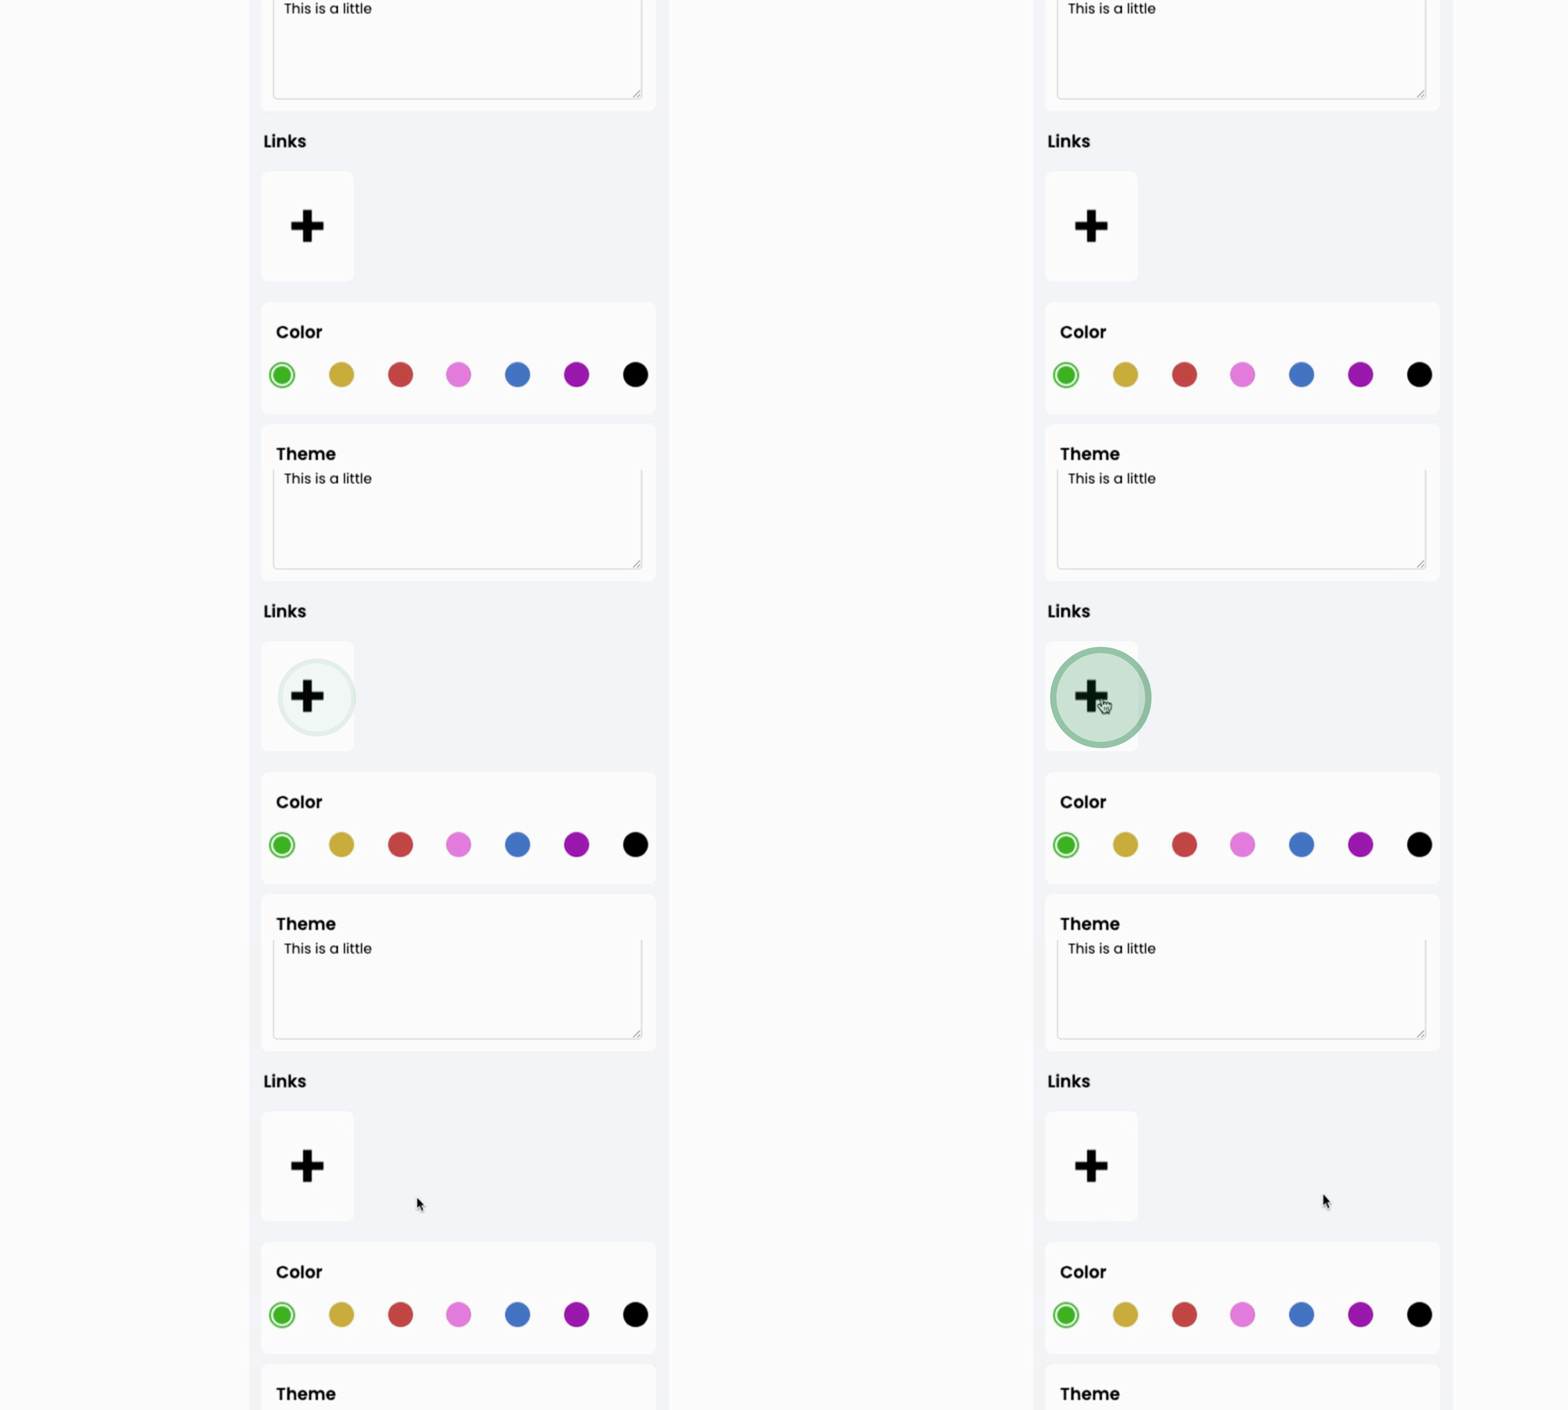
Right below your bio, you can add links. Click on add links to begin.
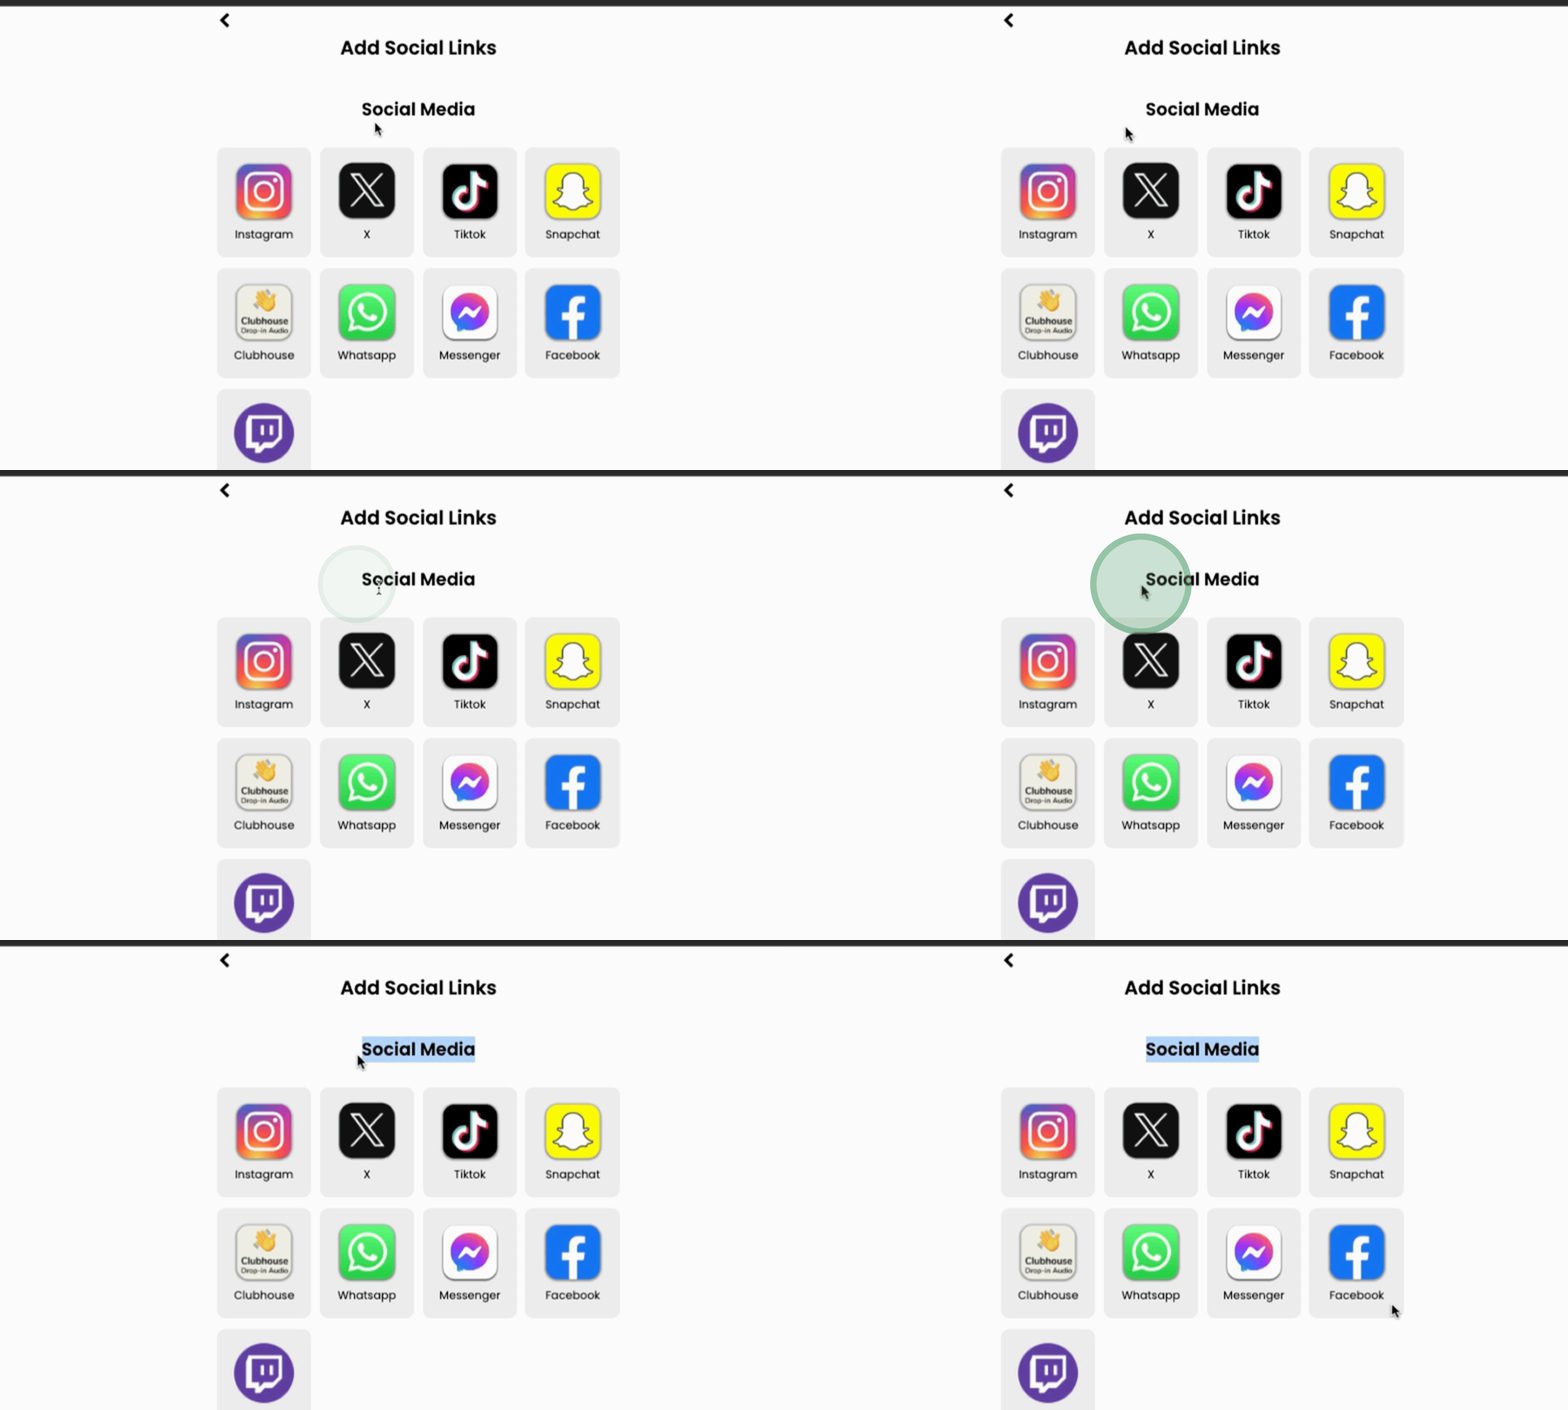
The links section is categorized into social media, contact, portfolio, video and audio, and financial and business.
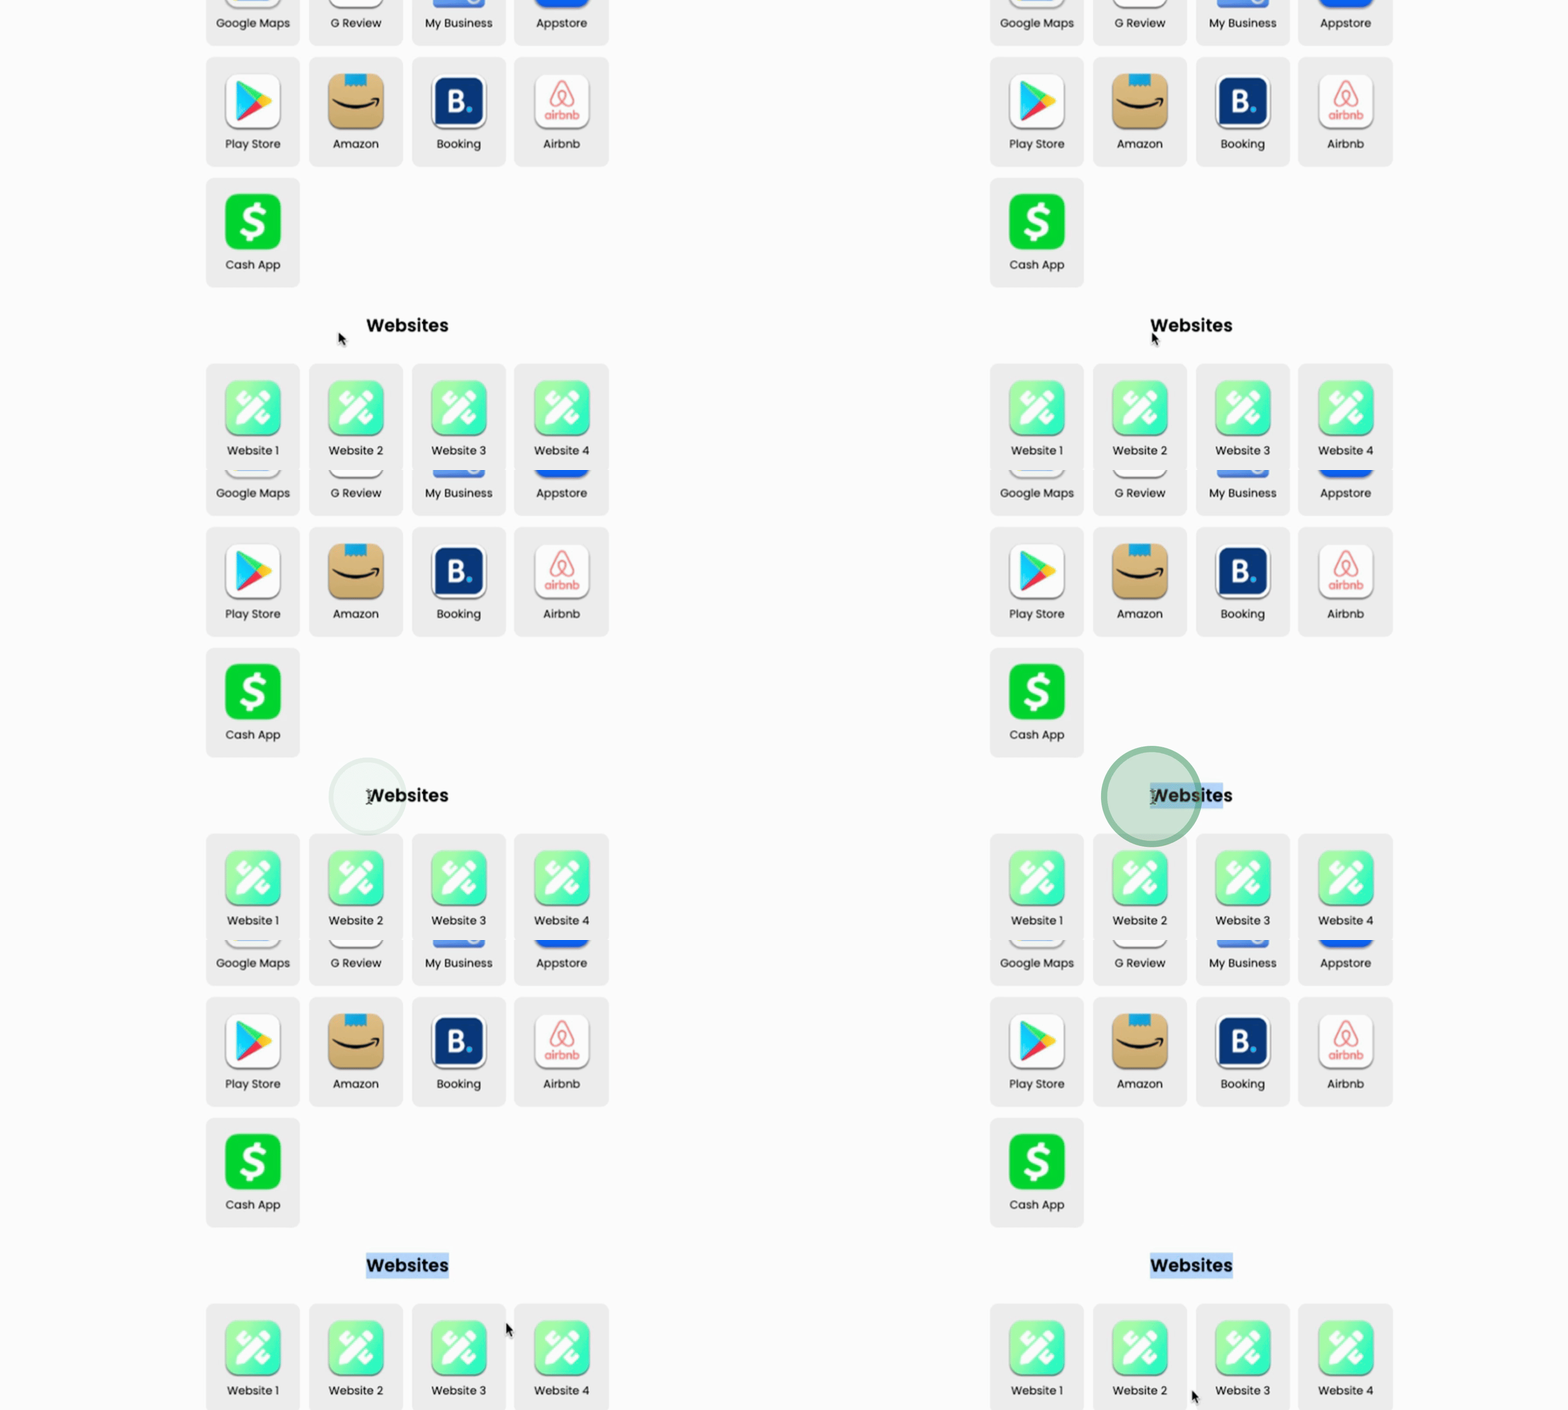
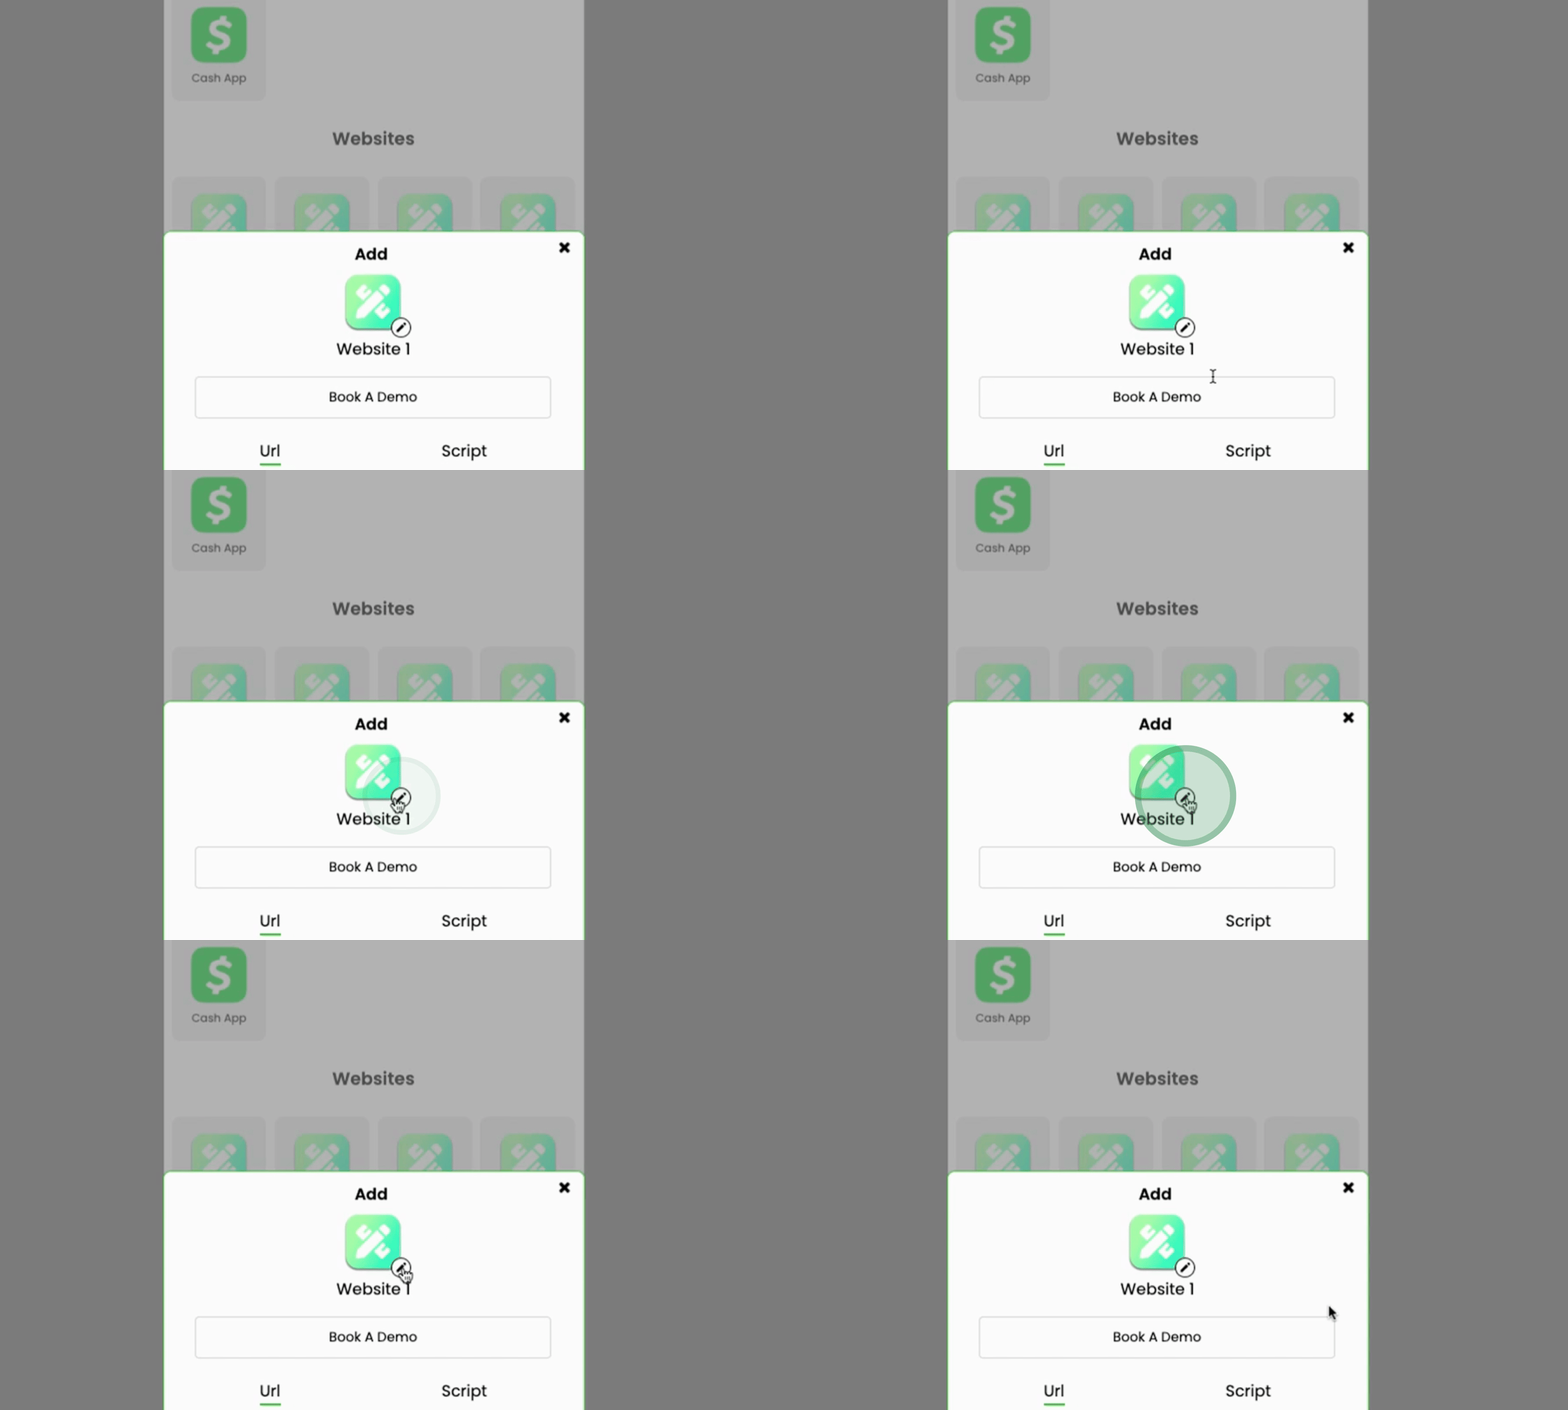
You also have the option to add a website. This allows you to input any custom URL and customize the associated icons.
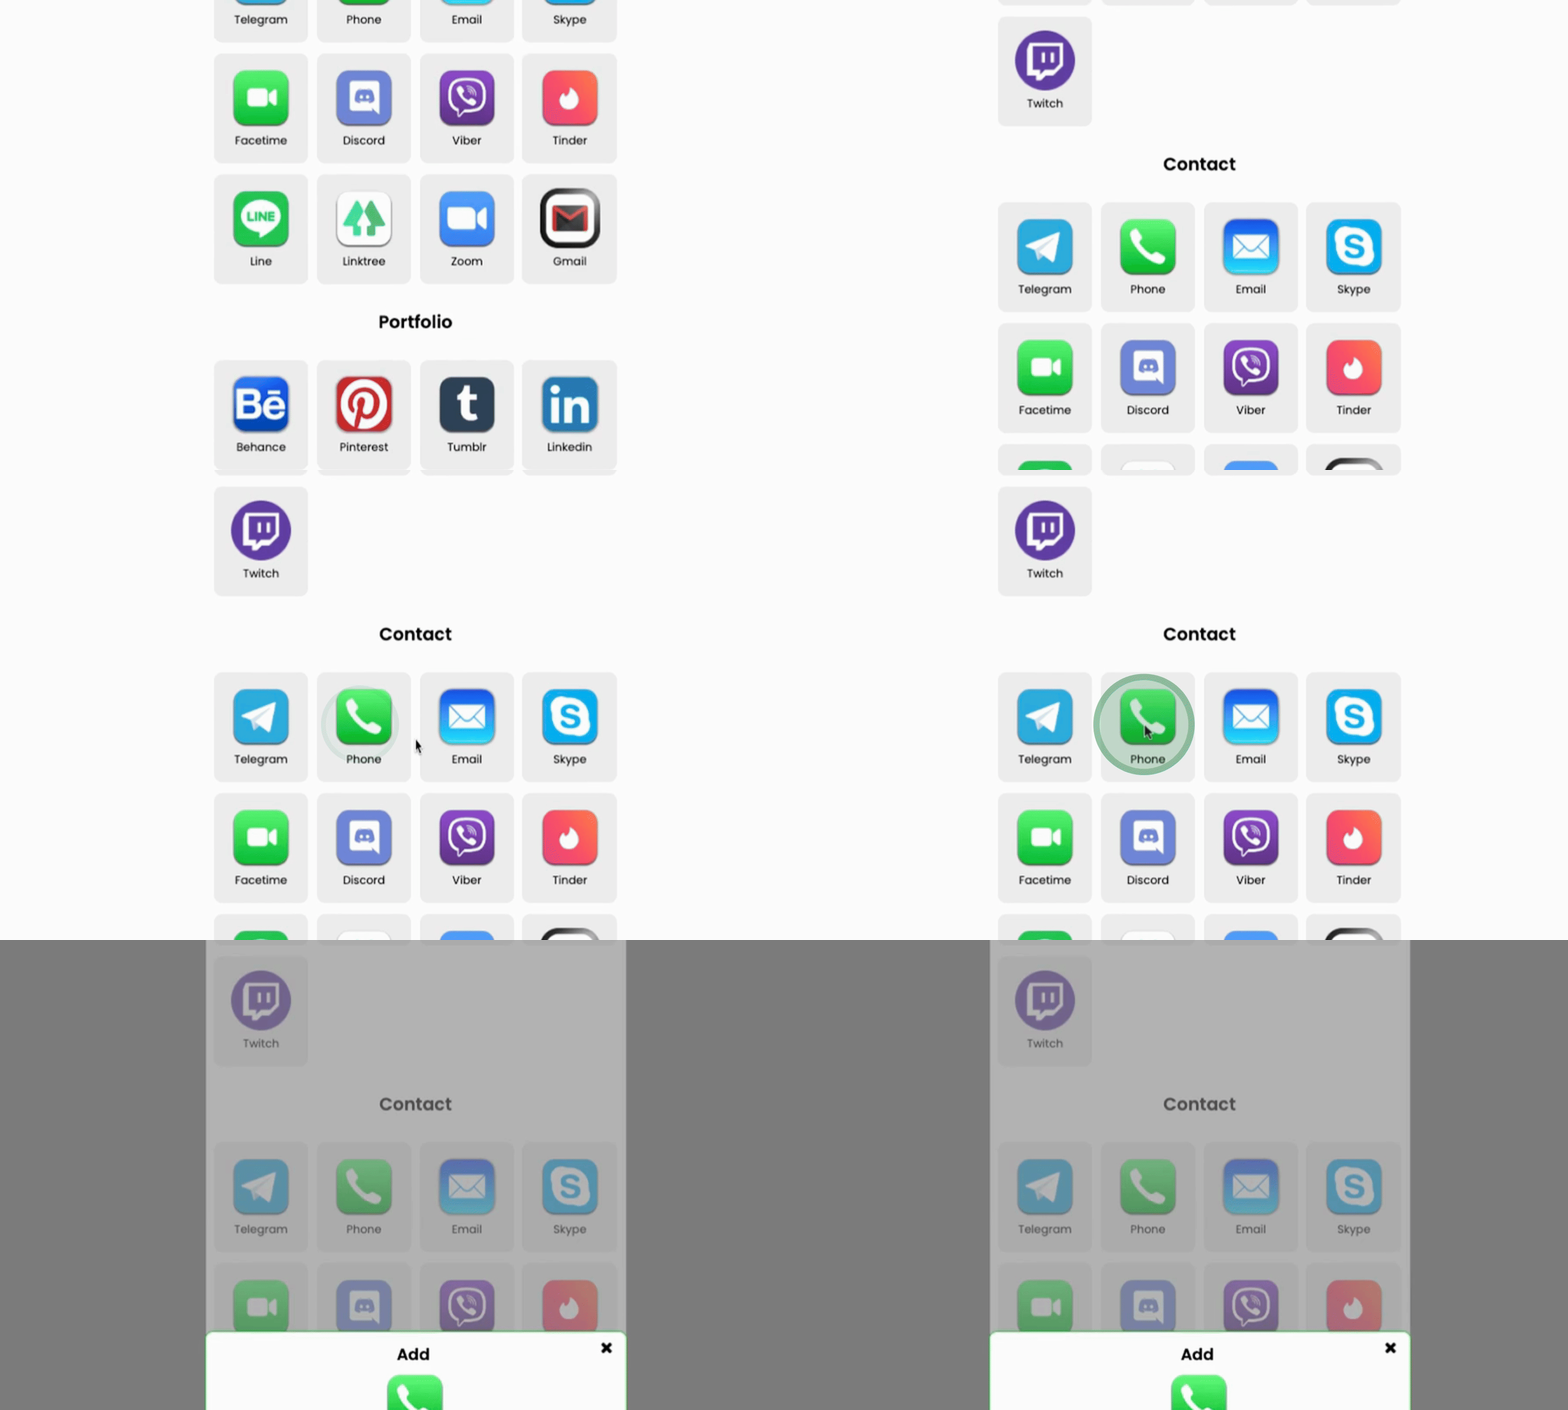
Start by entering a phone number and submit your entry.
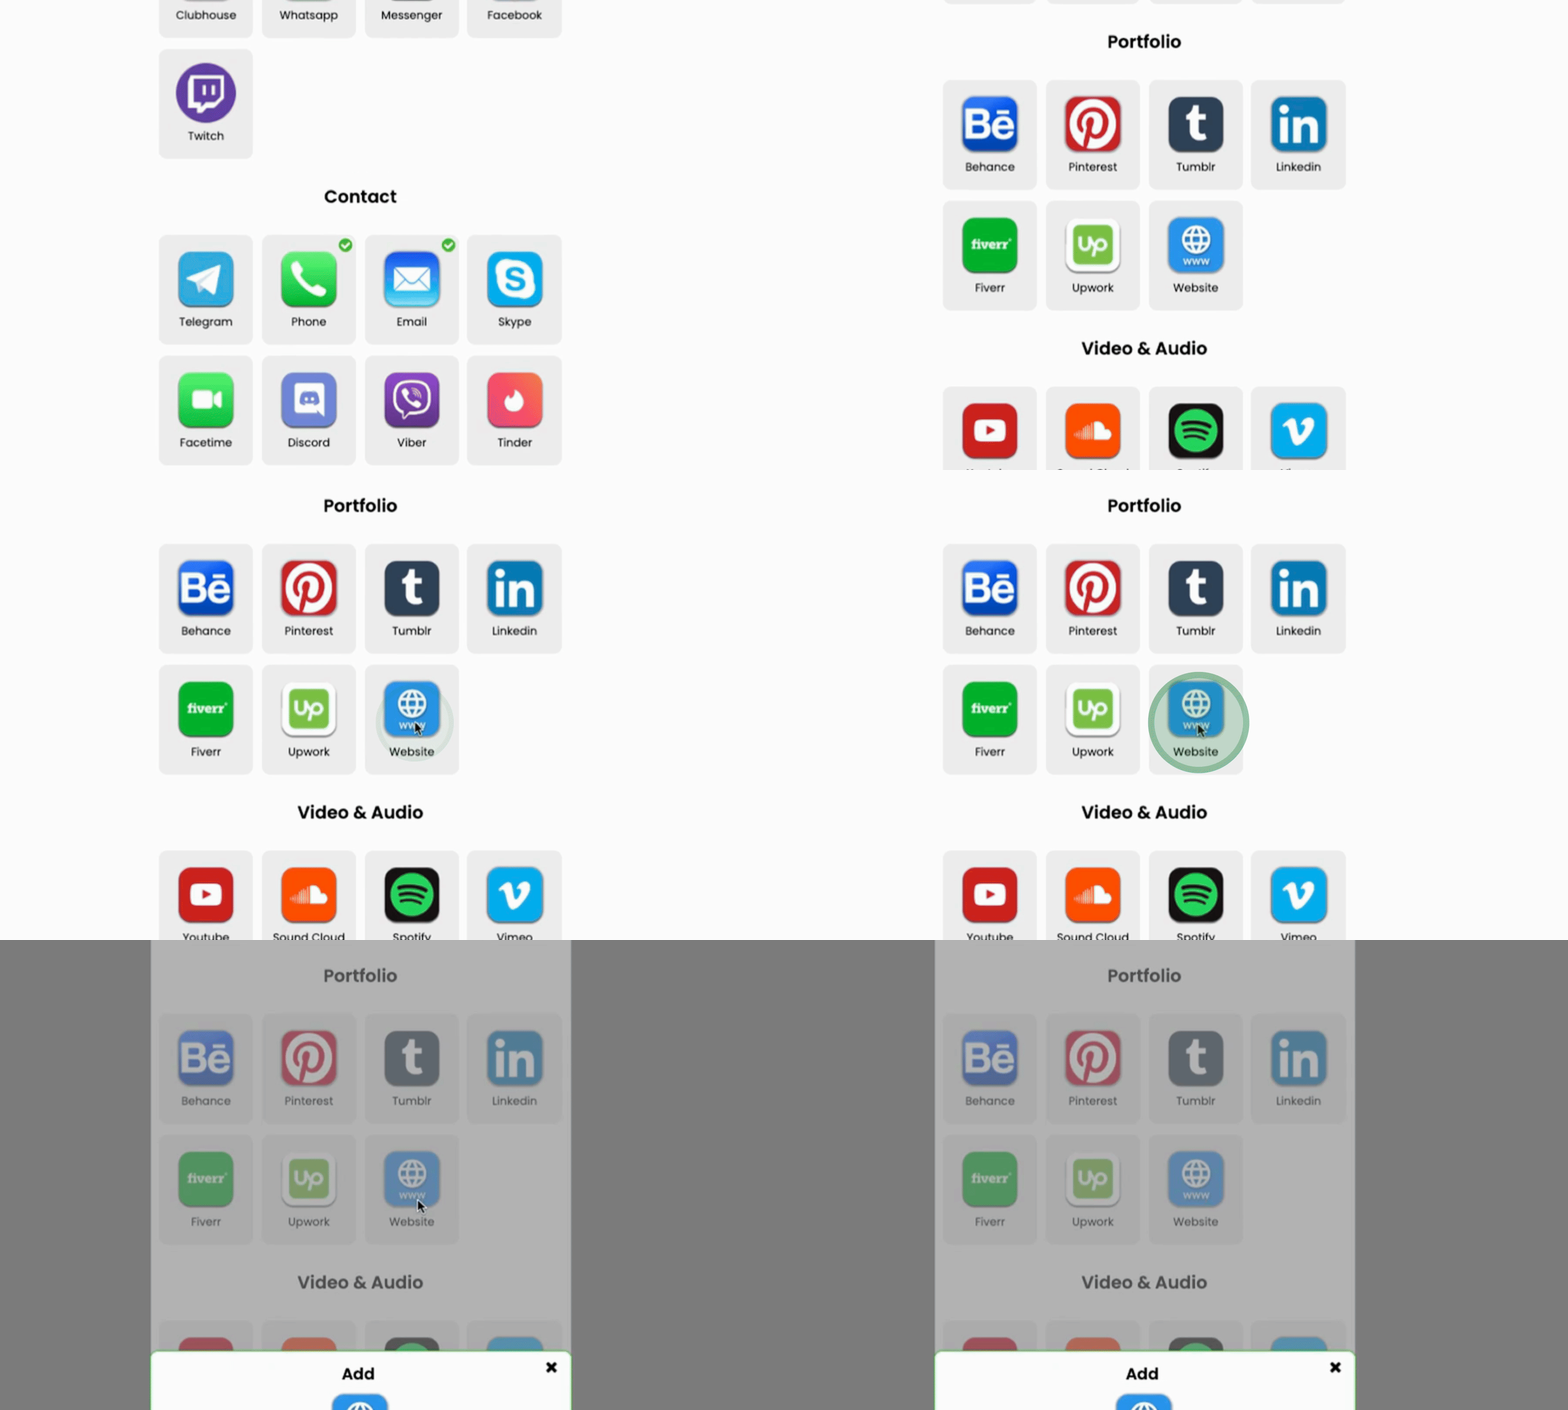
Then, ensure that you have provided a way for people to contact you via email and visit your website.
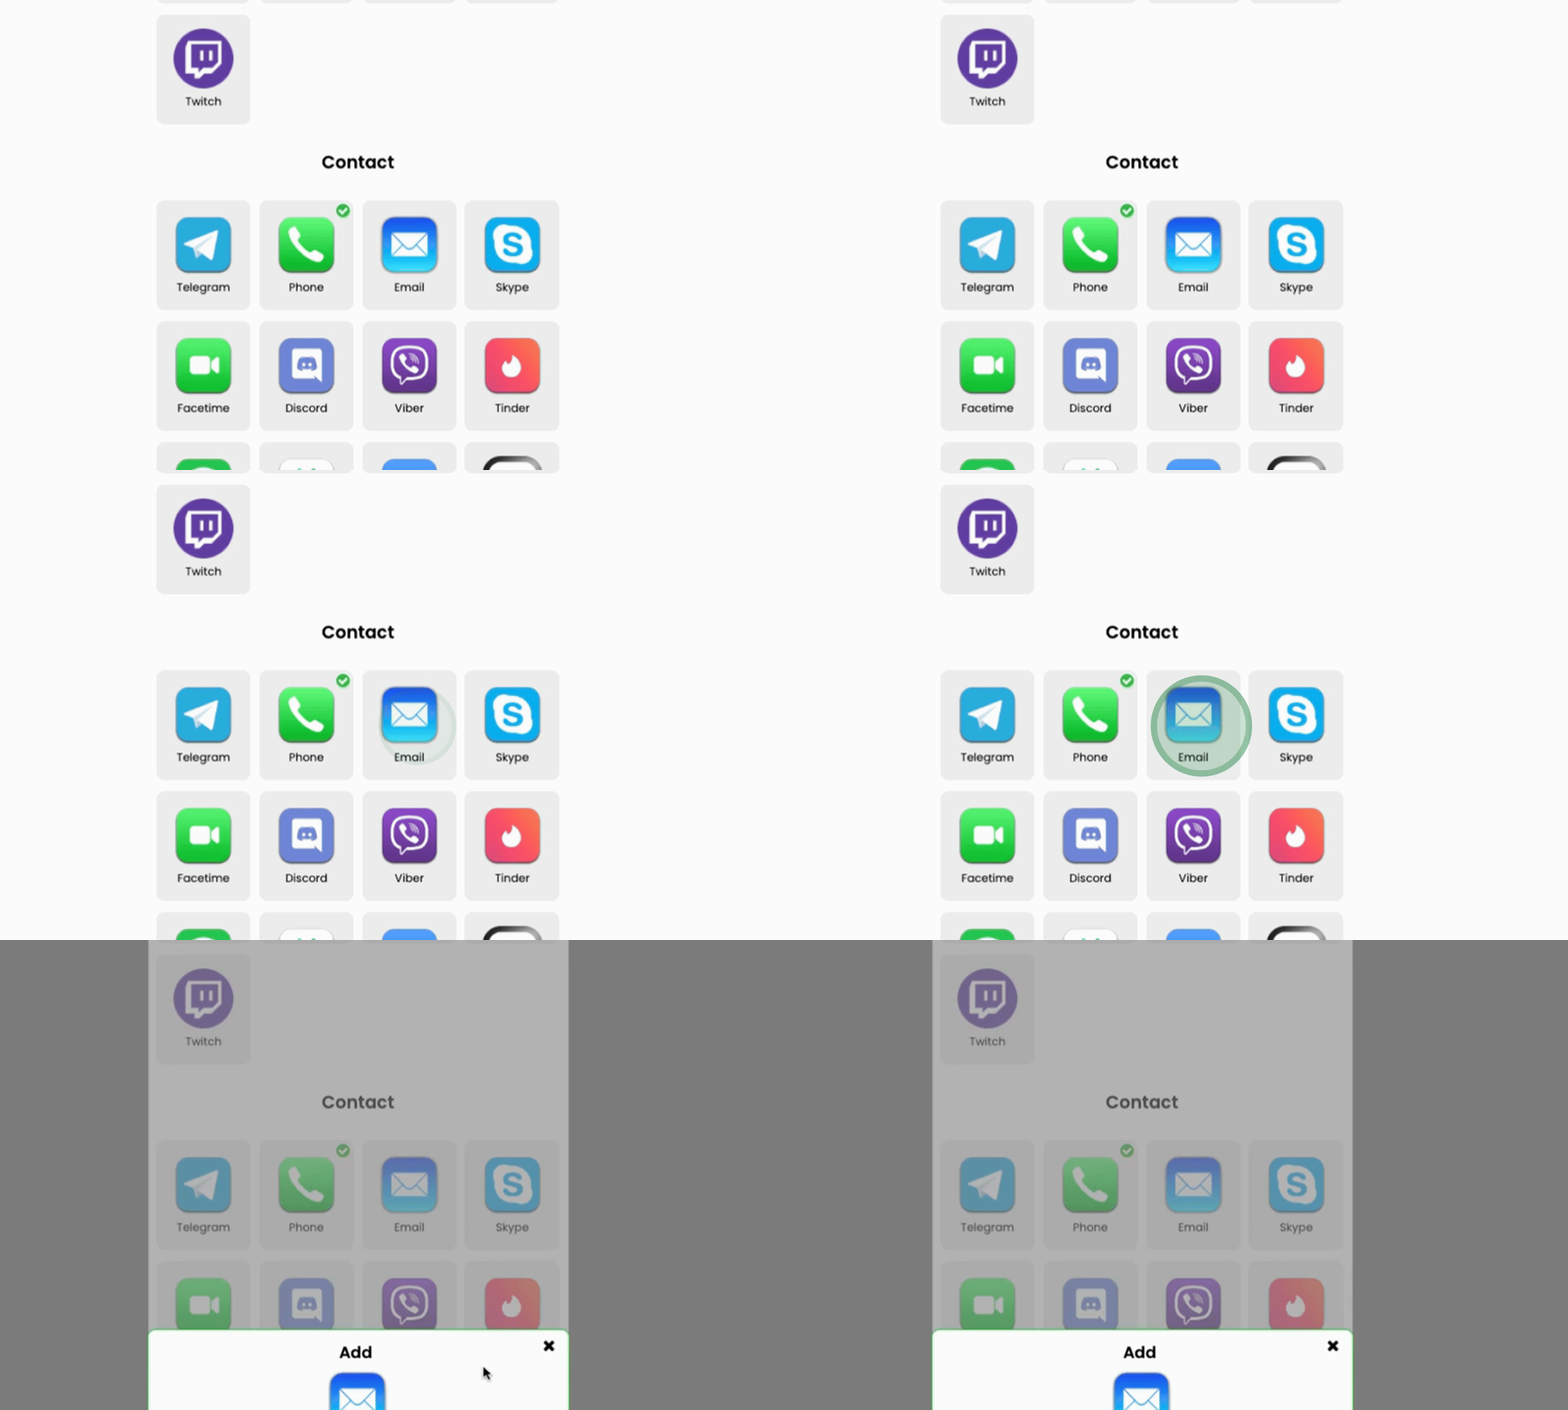
Next, add a website URL icon.
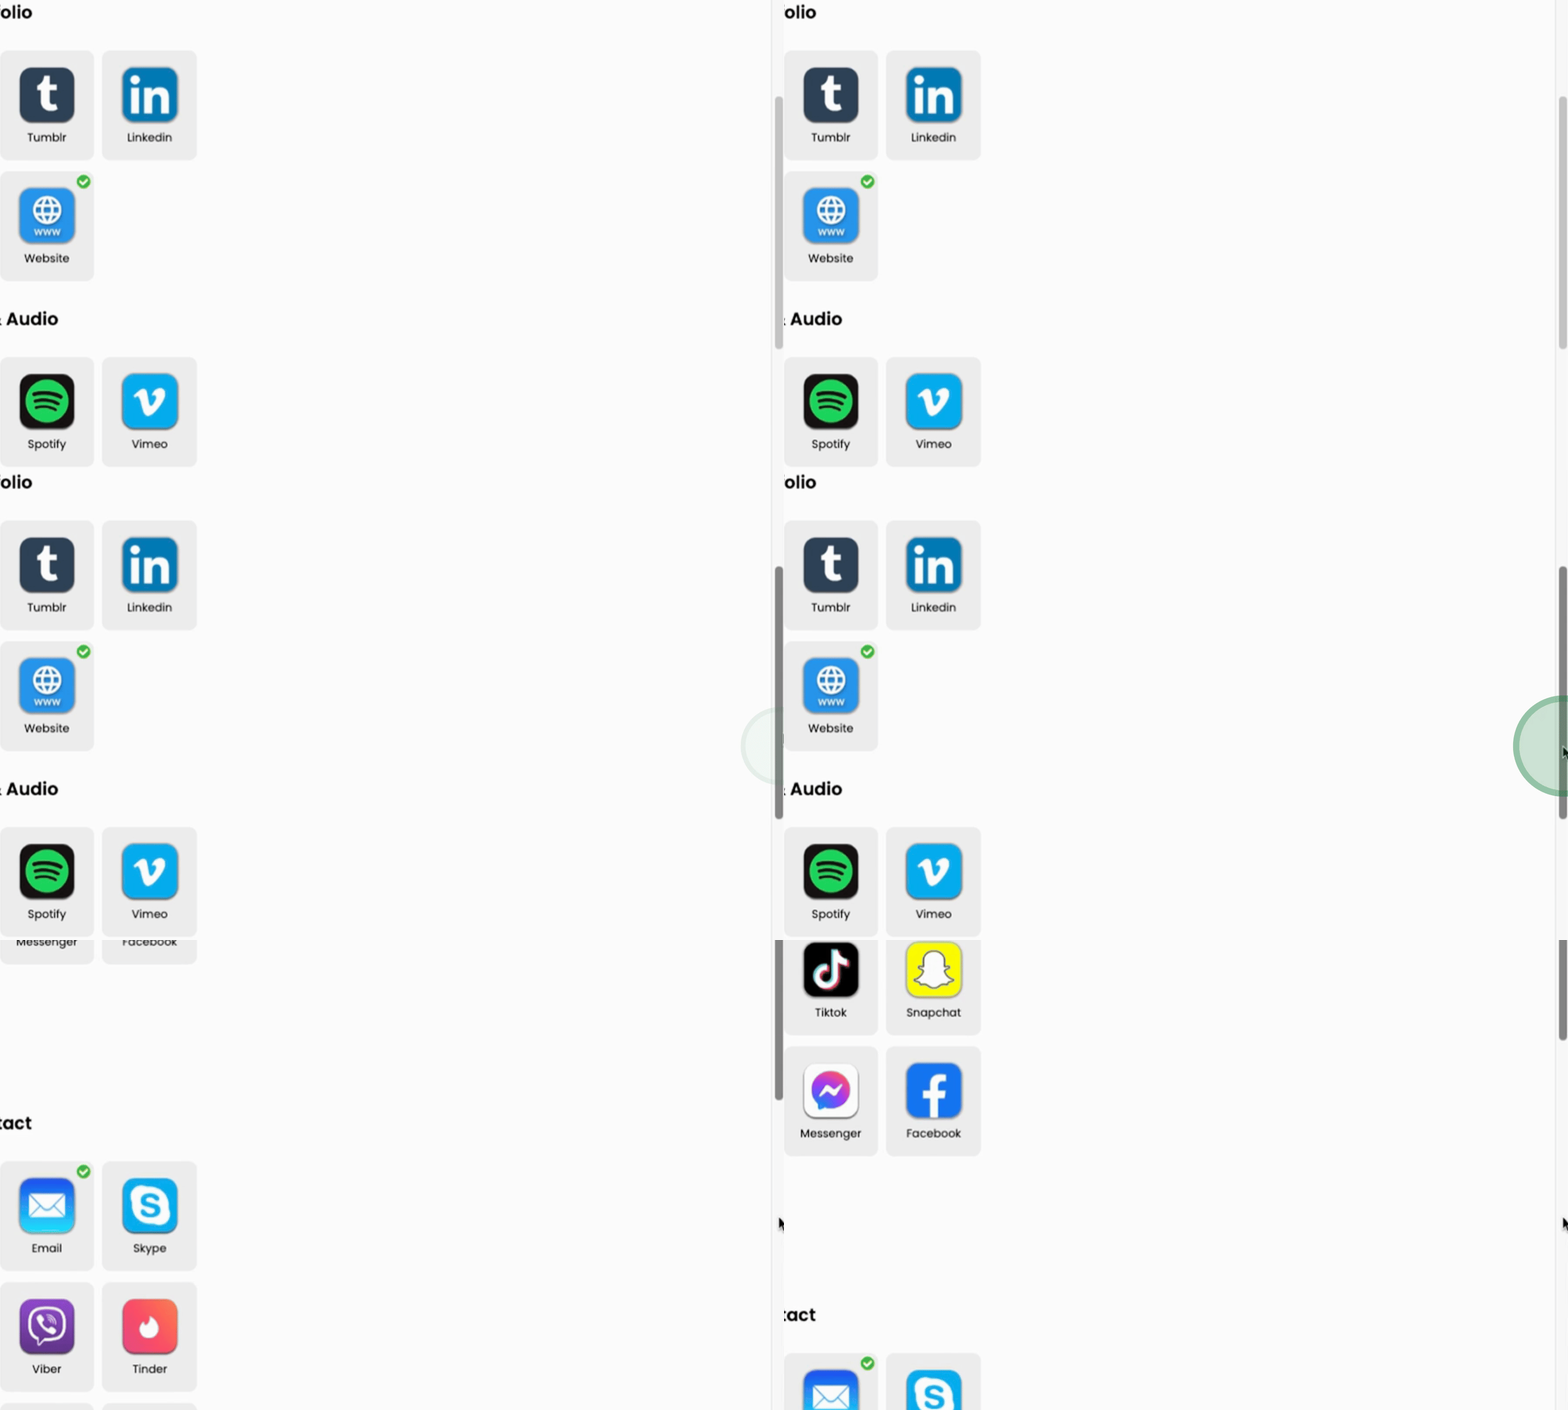
You can continue to add more social profiles as needed, such as your Facebook page.
One final task is to include a custom website link. For example, you could use this for your online booking page.
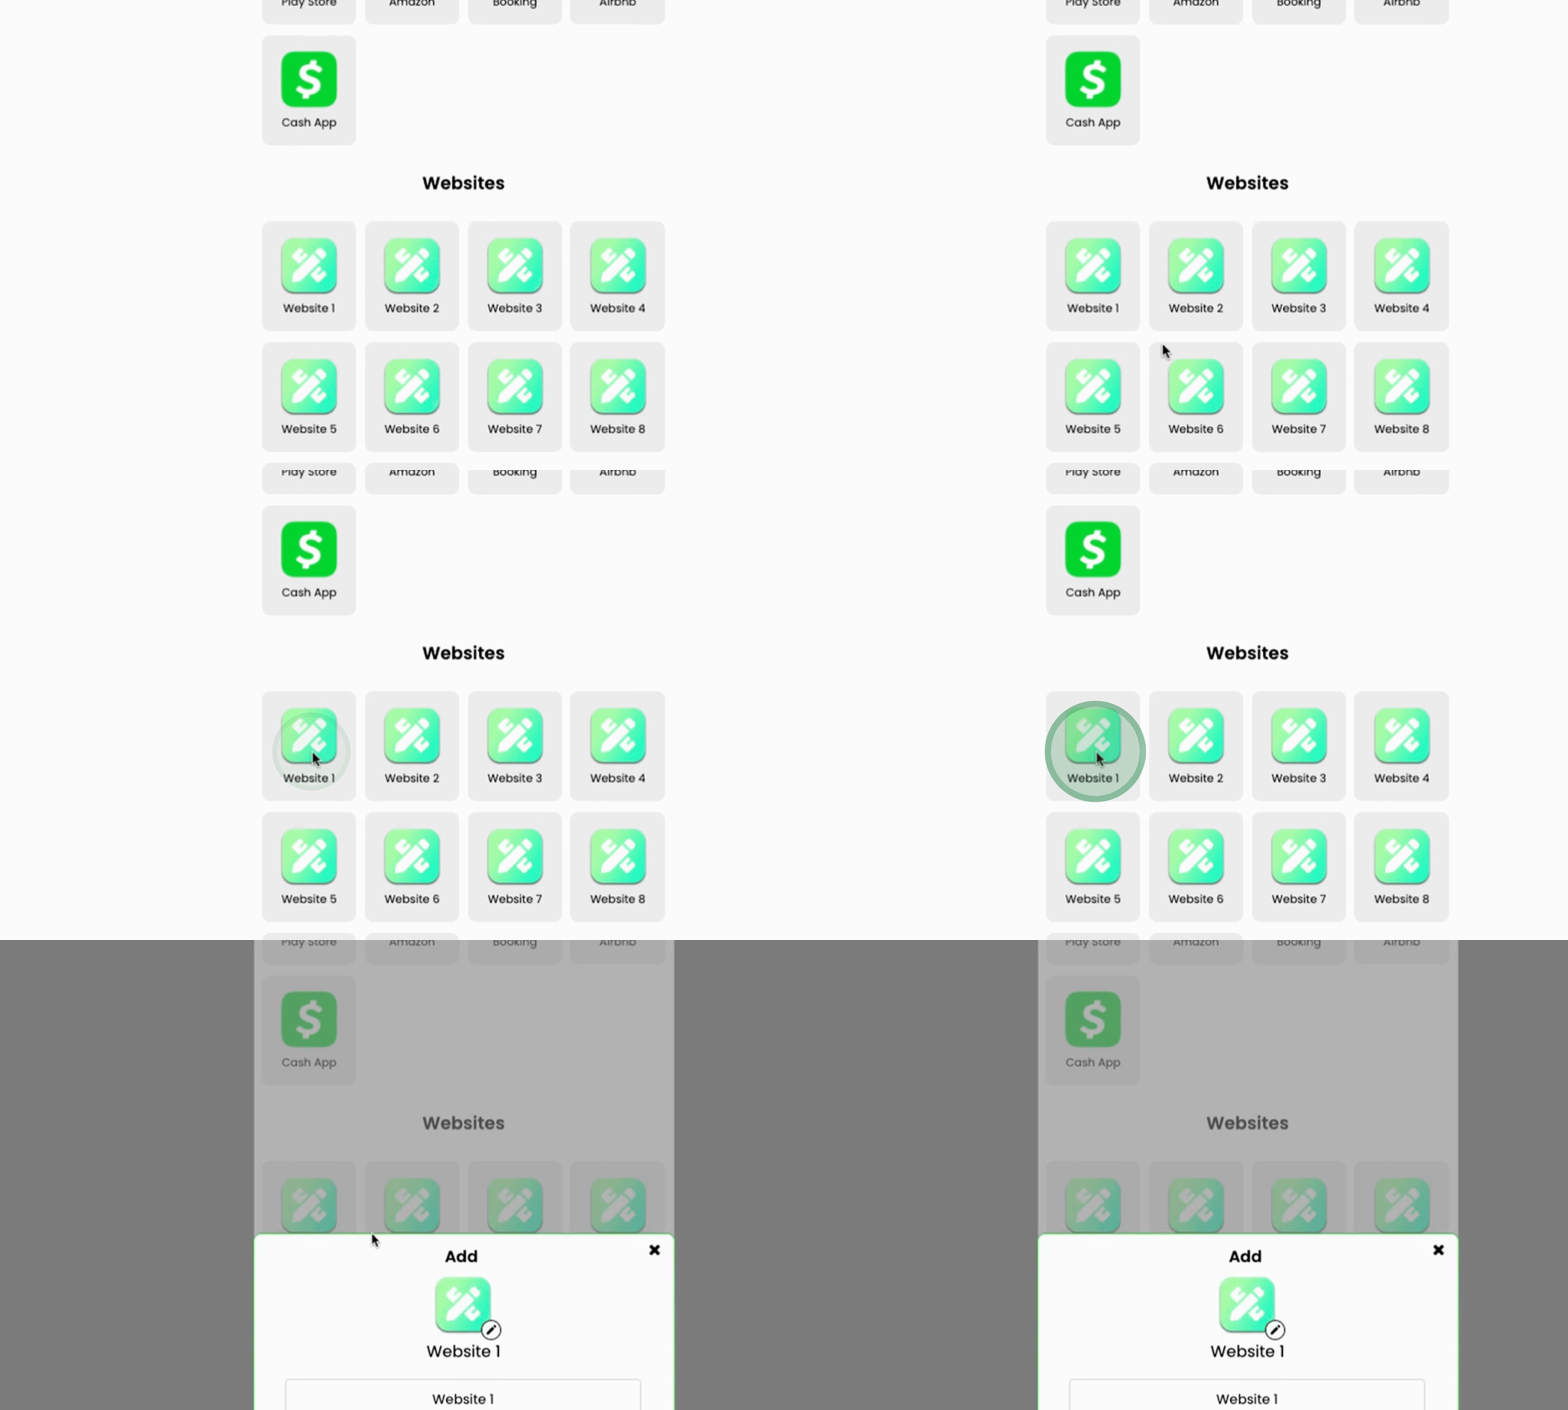
Enter the URL for the link and select an appropriate icon.
After adding your content, ensure to click the save button.

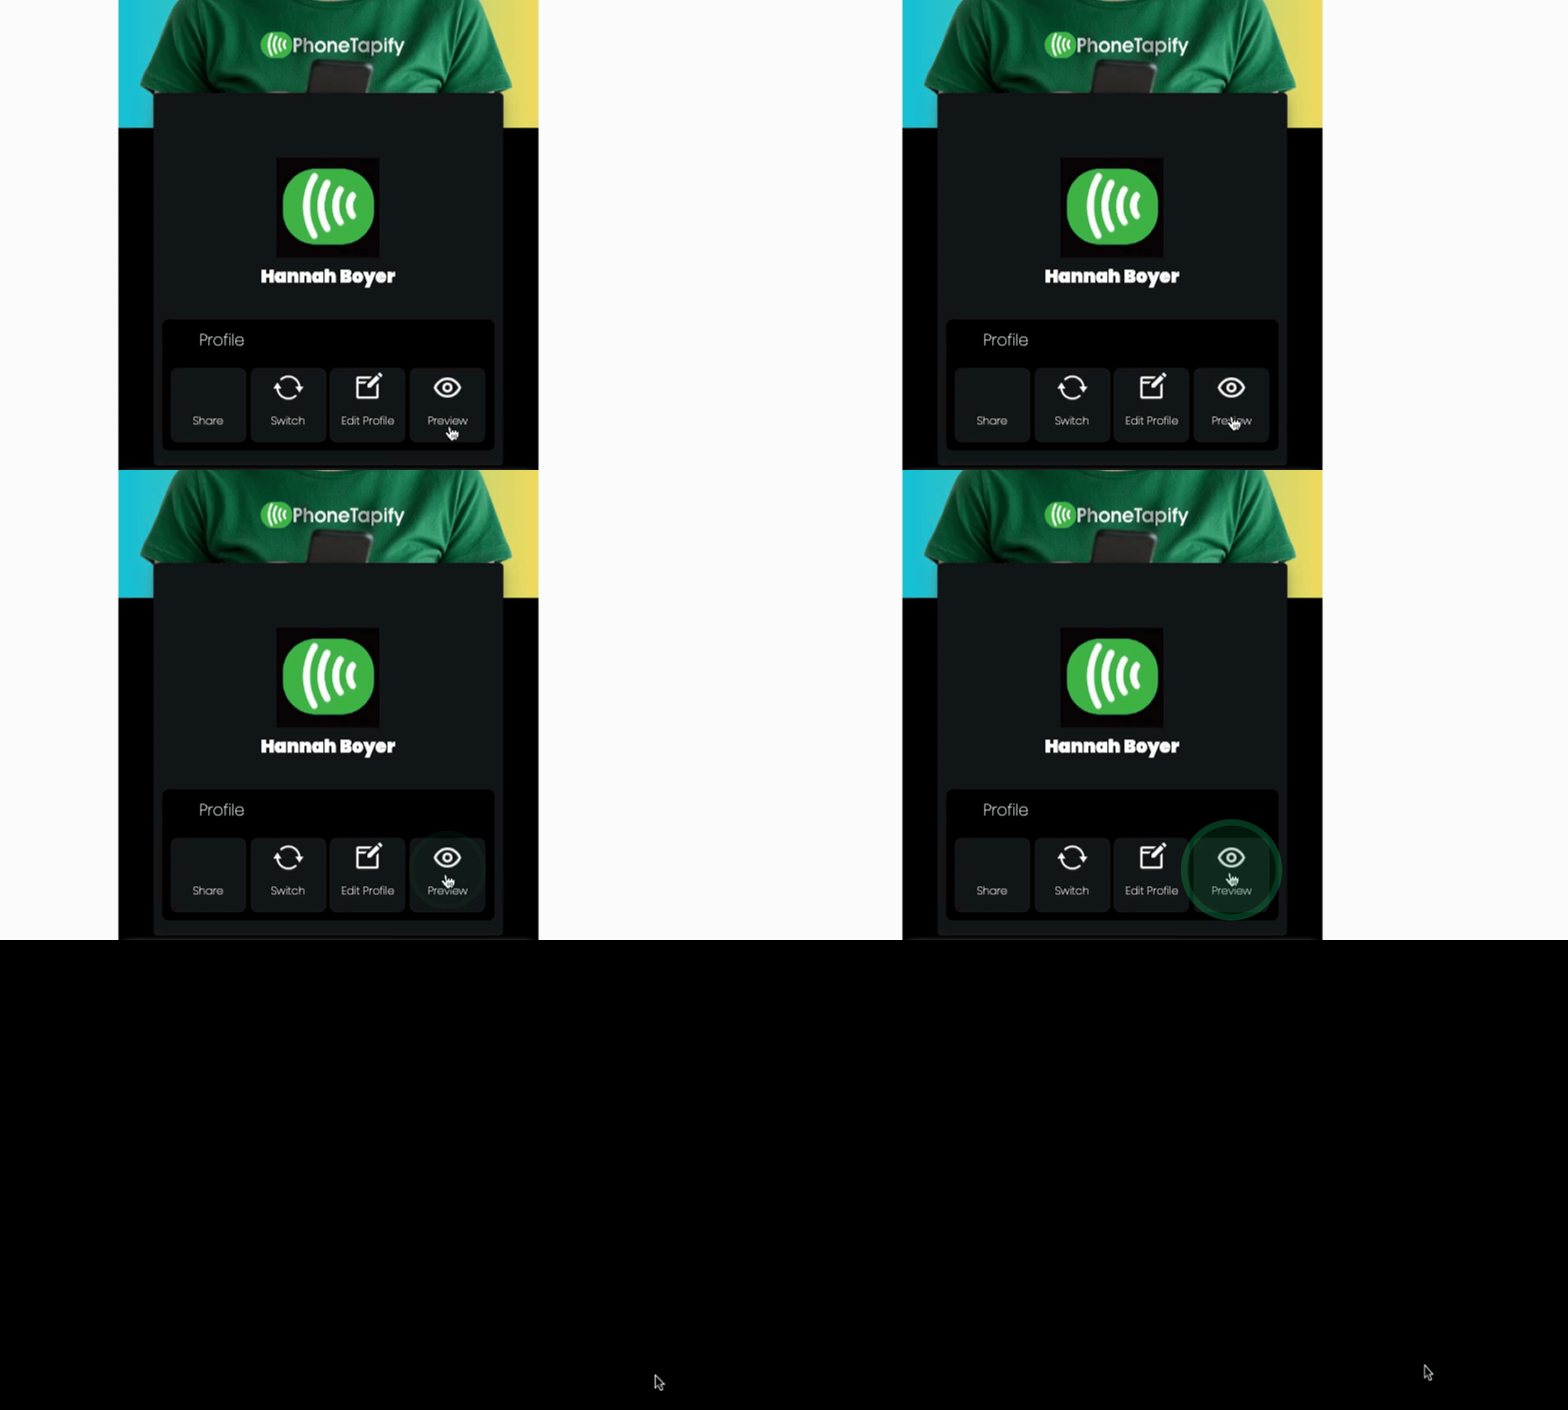
Once saved, preview your card to check how it looks.
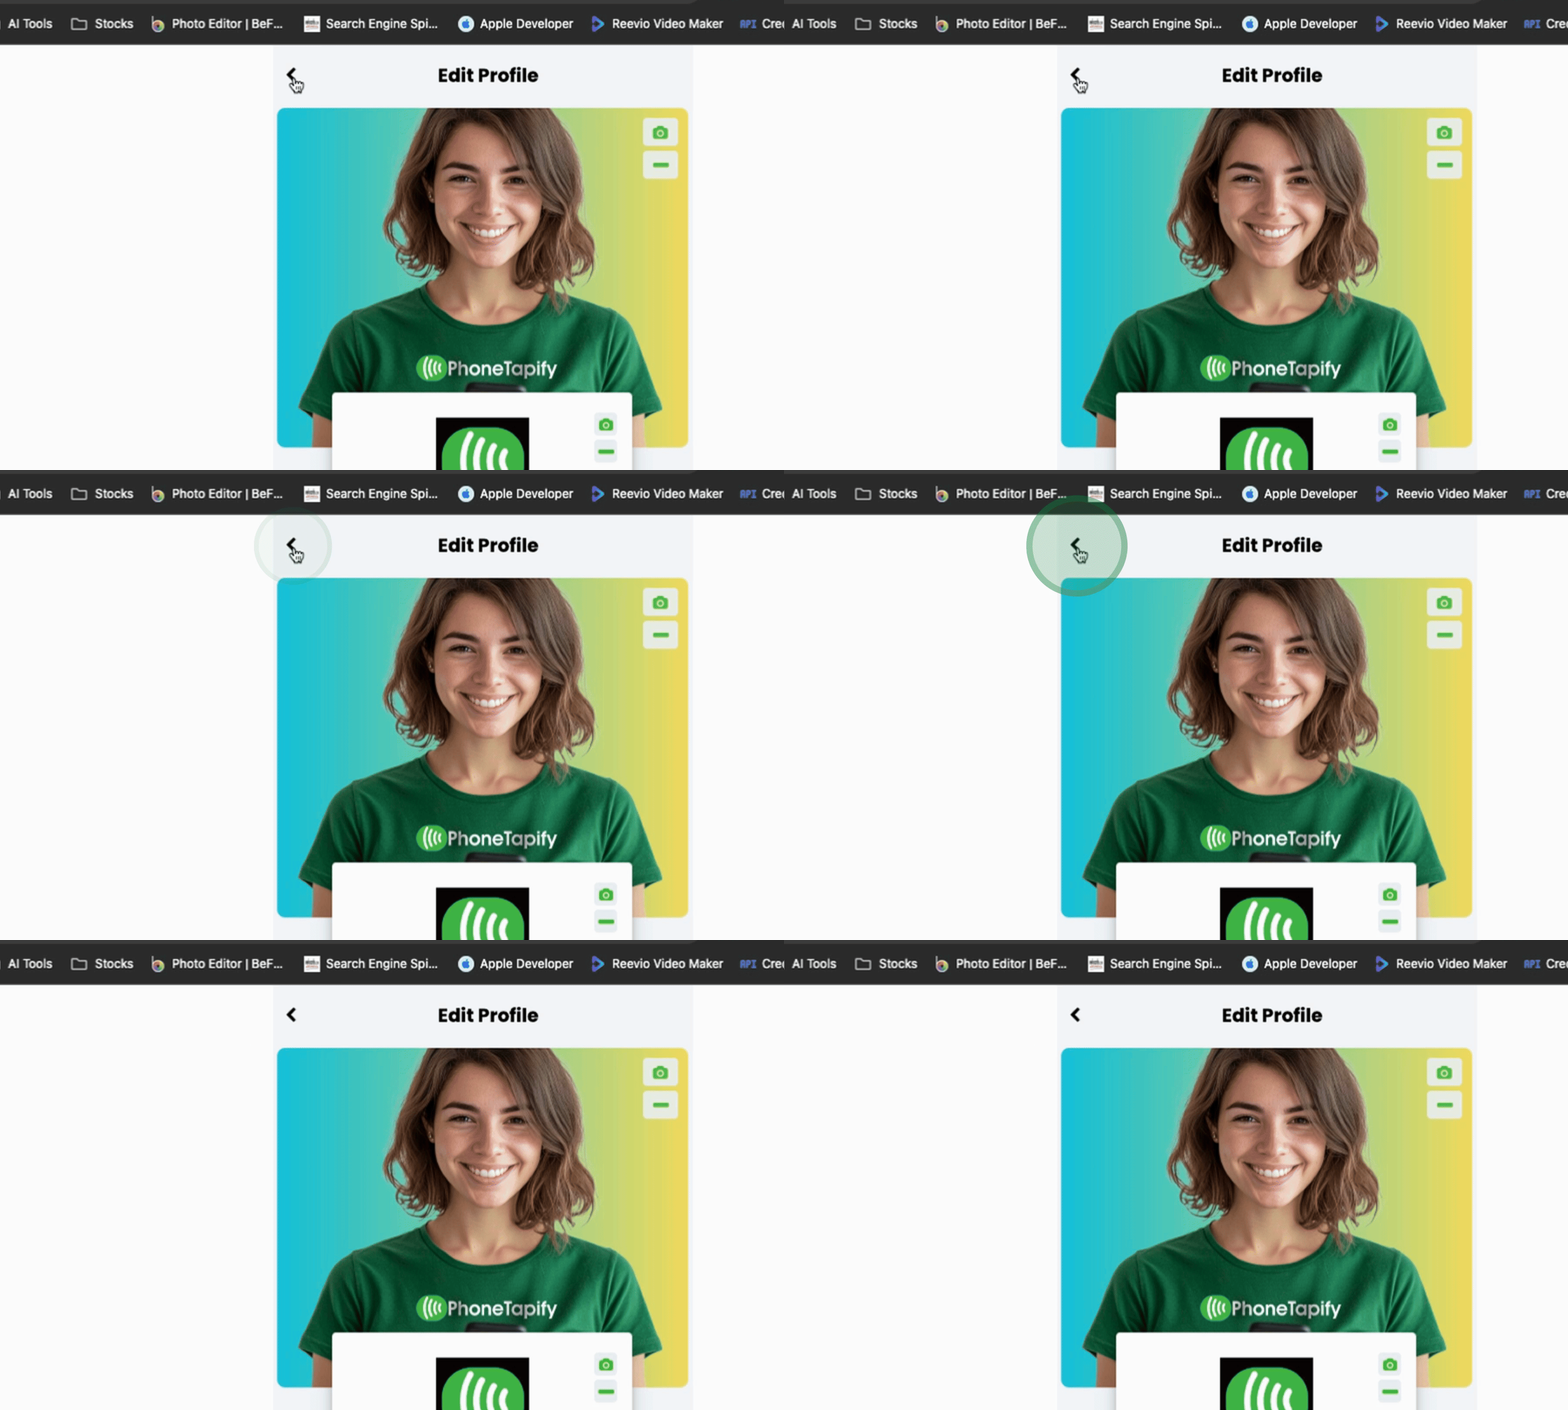
If you wish to match a specific theme, such as the Dark Team, edit the necessary fields, keeping the color scheme aligned with the theme, and ensure to save your changes again.

Your digital profile has now been customized and is ready to be shared.
By following these steps, you will successfully update and customize your digital profile, creating a professional representation of yourself.
