

This tutorial will guide you through the process of logging into Fontopify Teams step by step, including adding team members and creating sub teams.
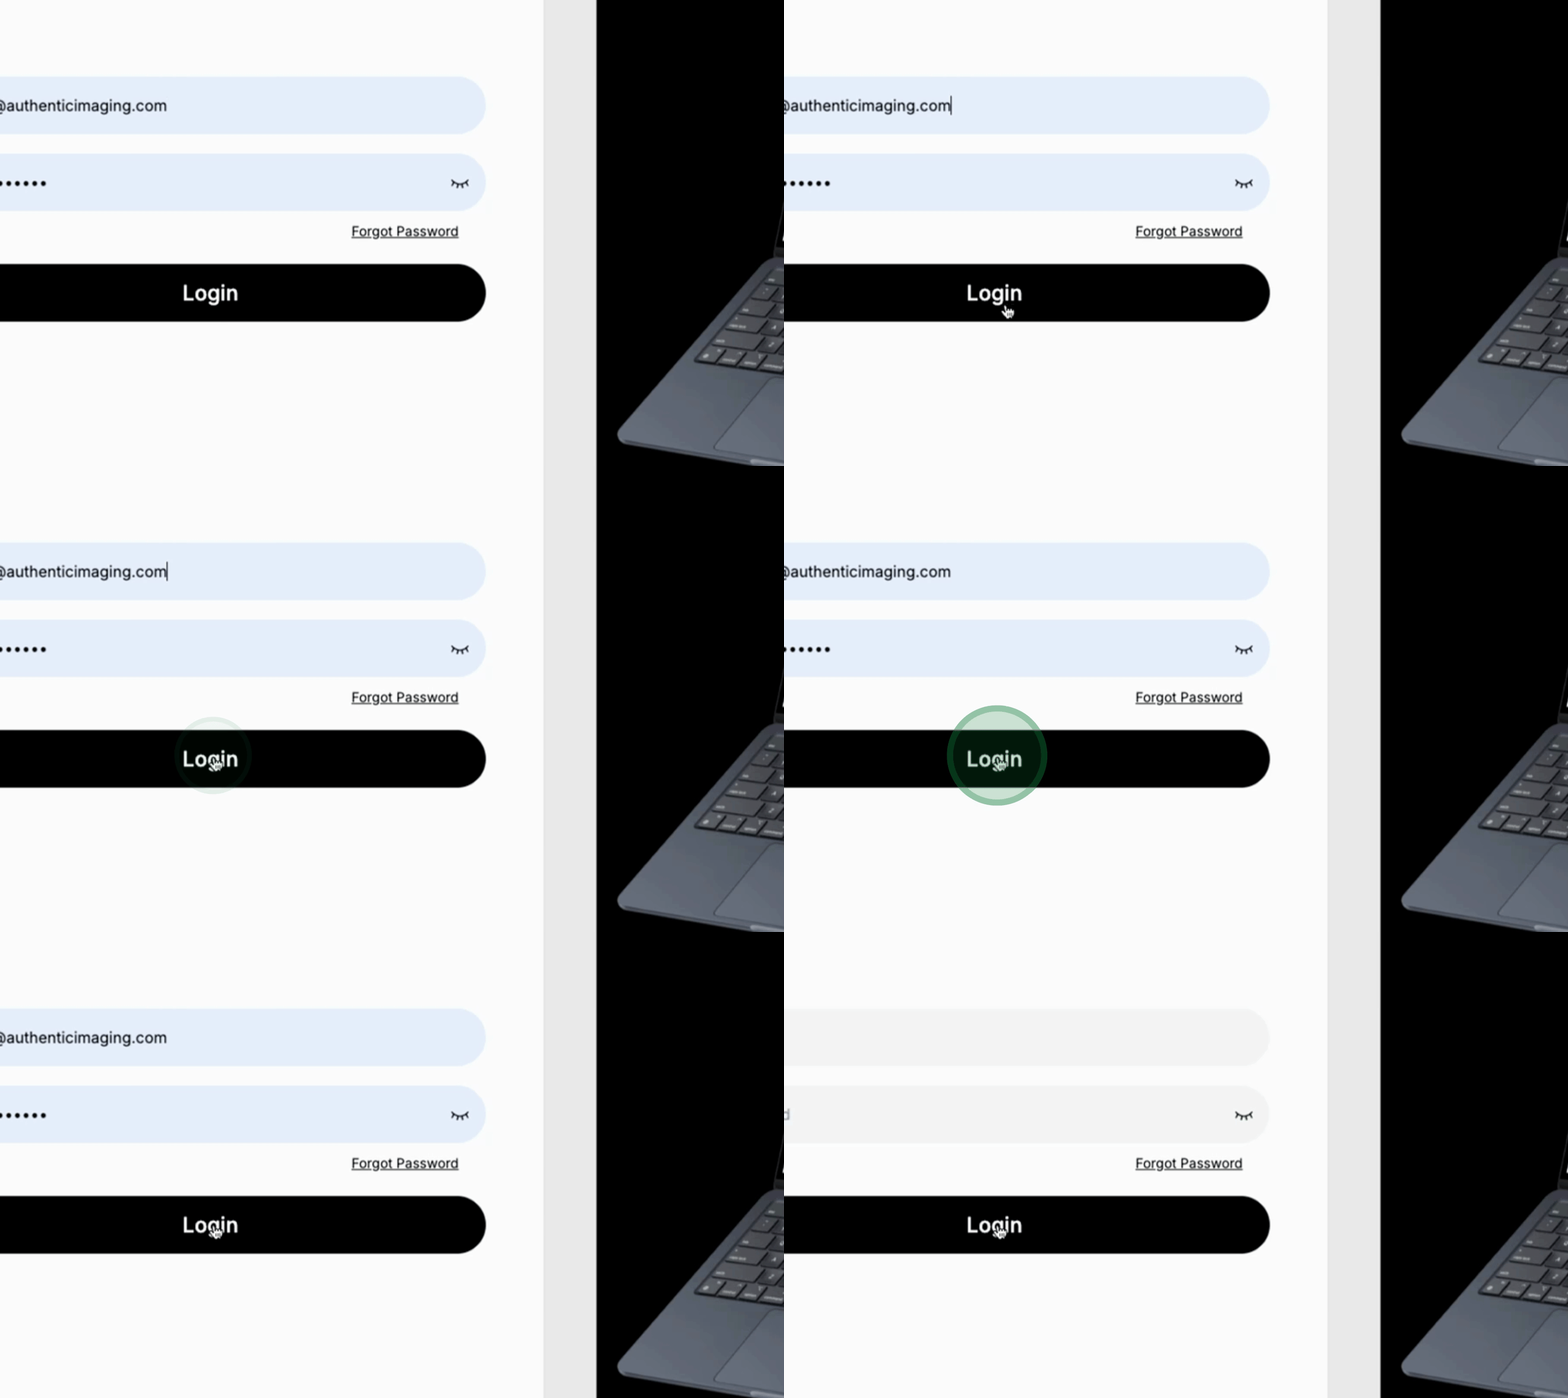
First, log in for the first time. Upon logging in, you will be directed to the team members cards.
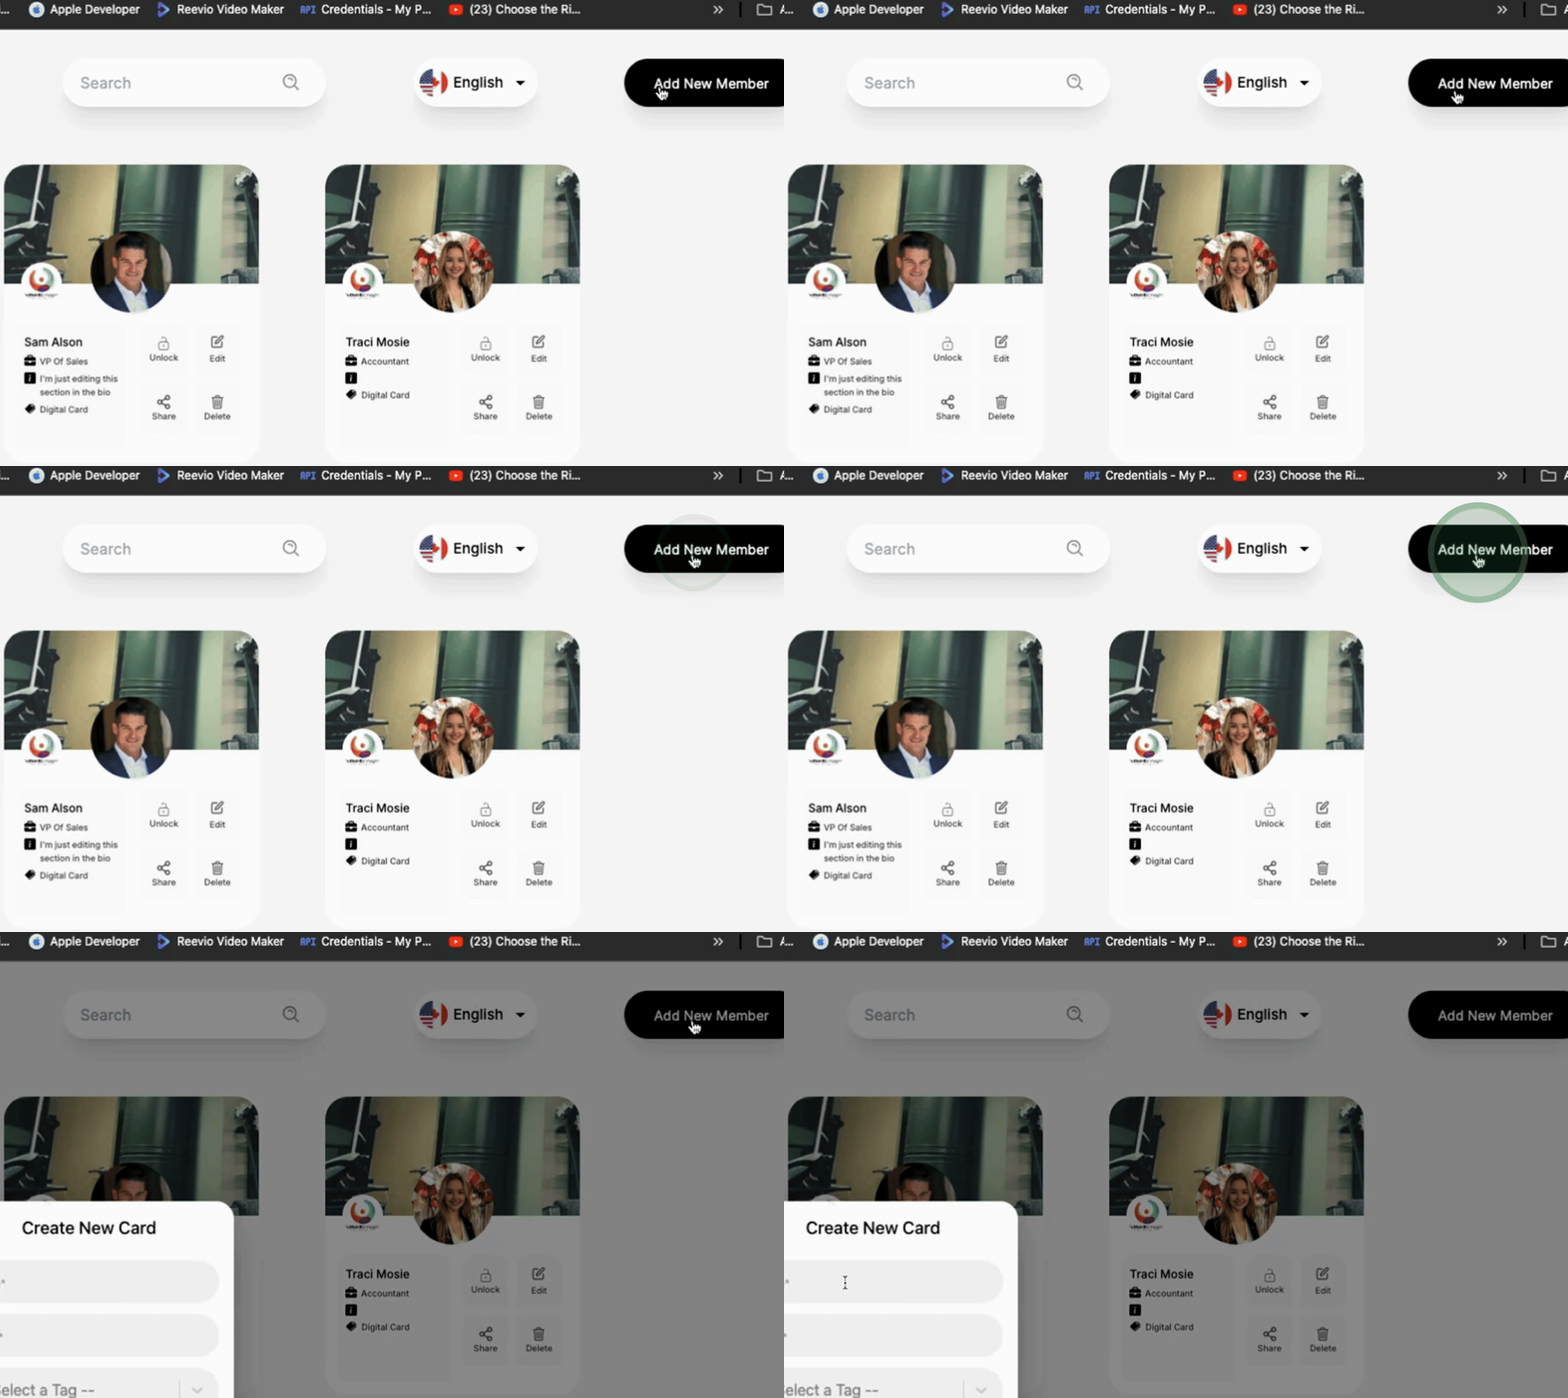
To add a team member card, click on 'Add a team member'. Provide the Name, Email, select a Tag to associate with the team member, and provide a Password. Finally, hit 'Create'.
After creation, you will see the team member card displayed.
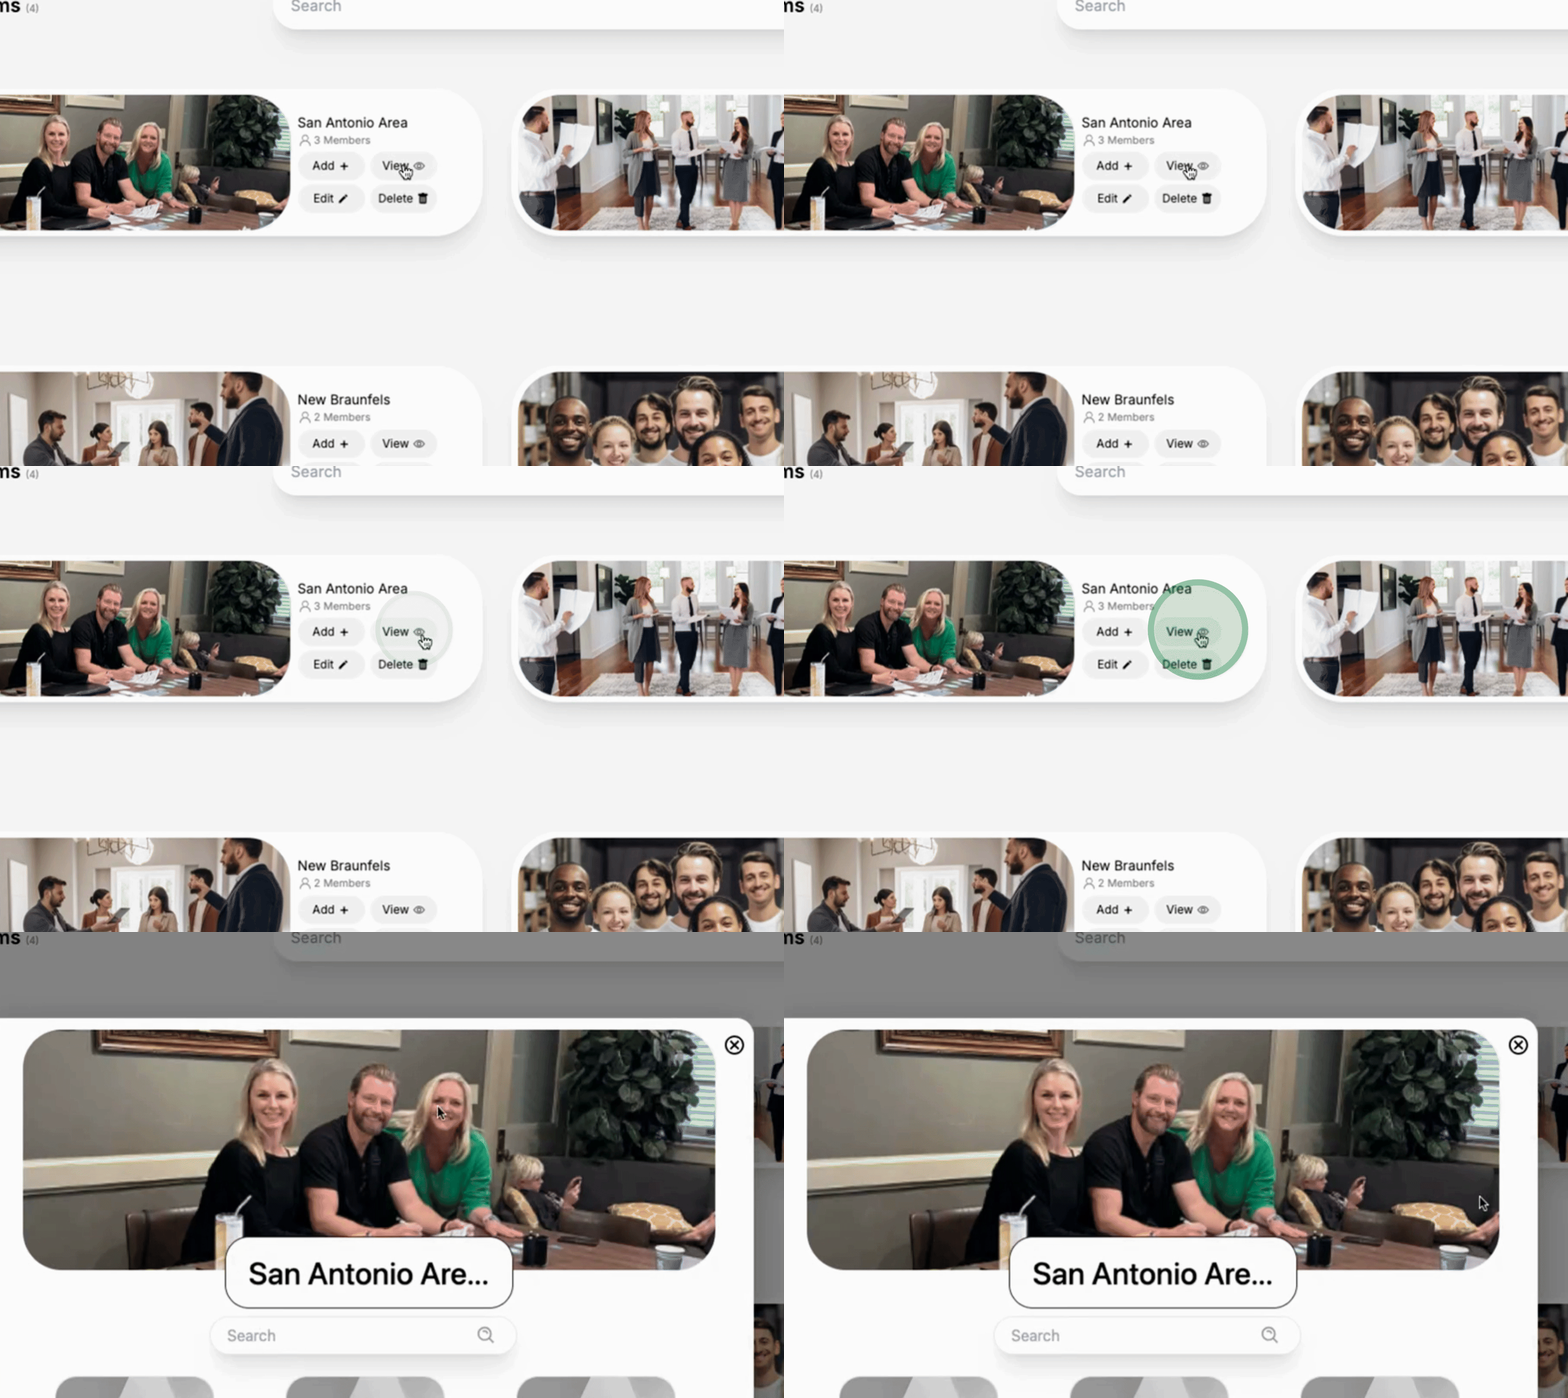
To create sub teams, follow these steps: Click on the option to create a sub team. Provide a Profile Picture and give the sub team a Name. Then, hit 'Create'.
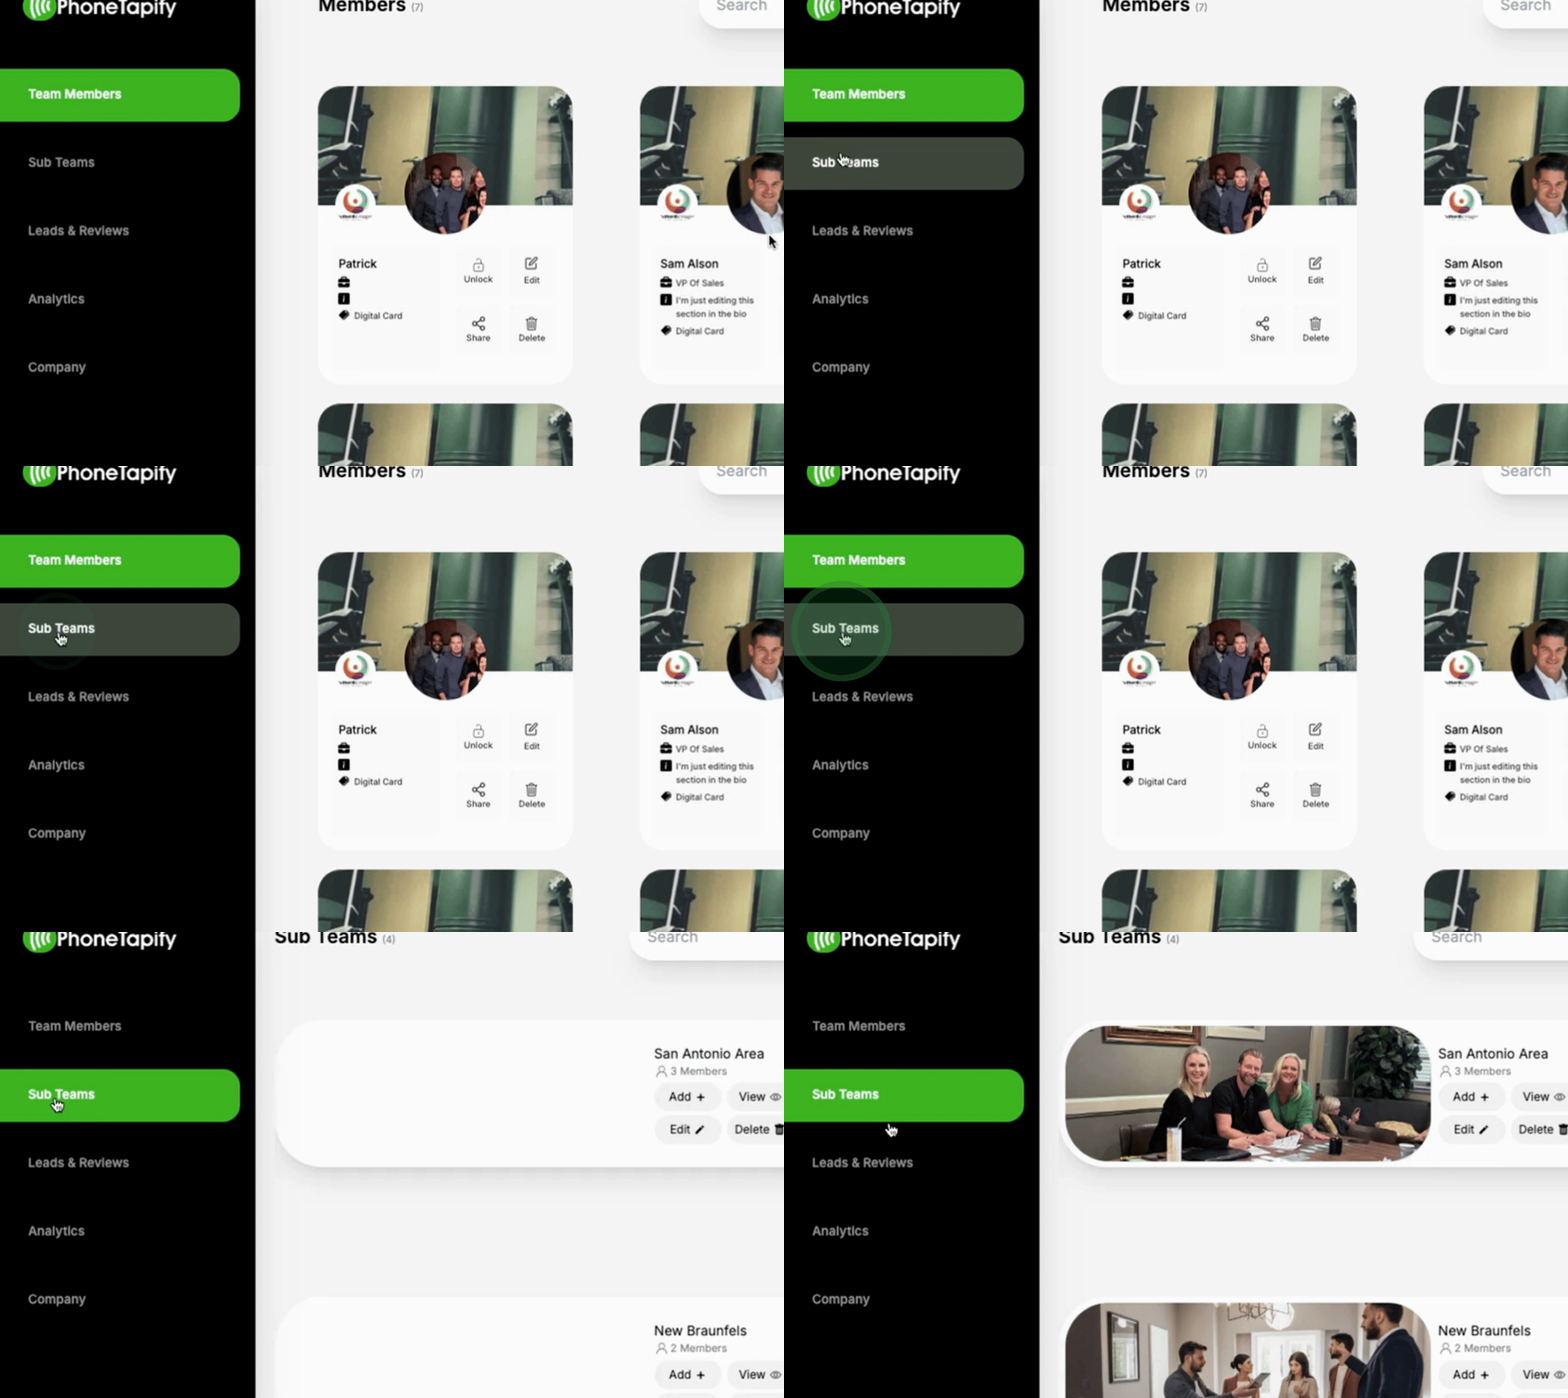
After hitting create, you will see how the sub team is displayed.
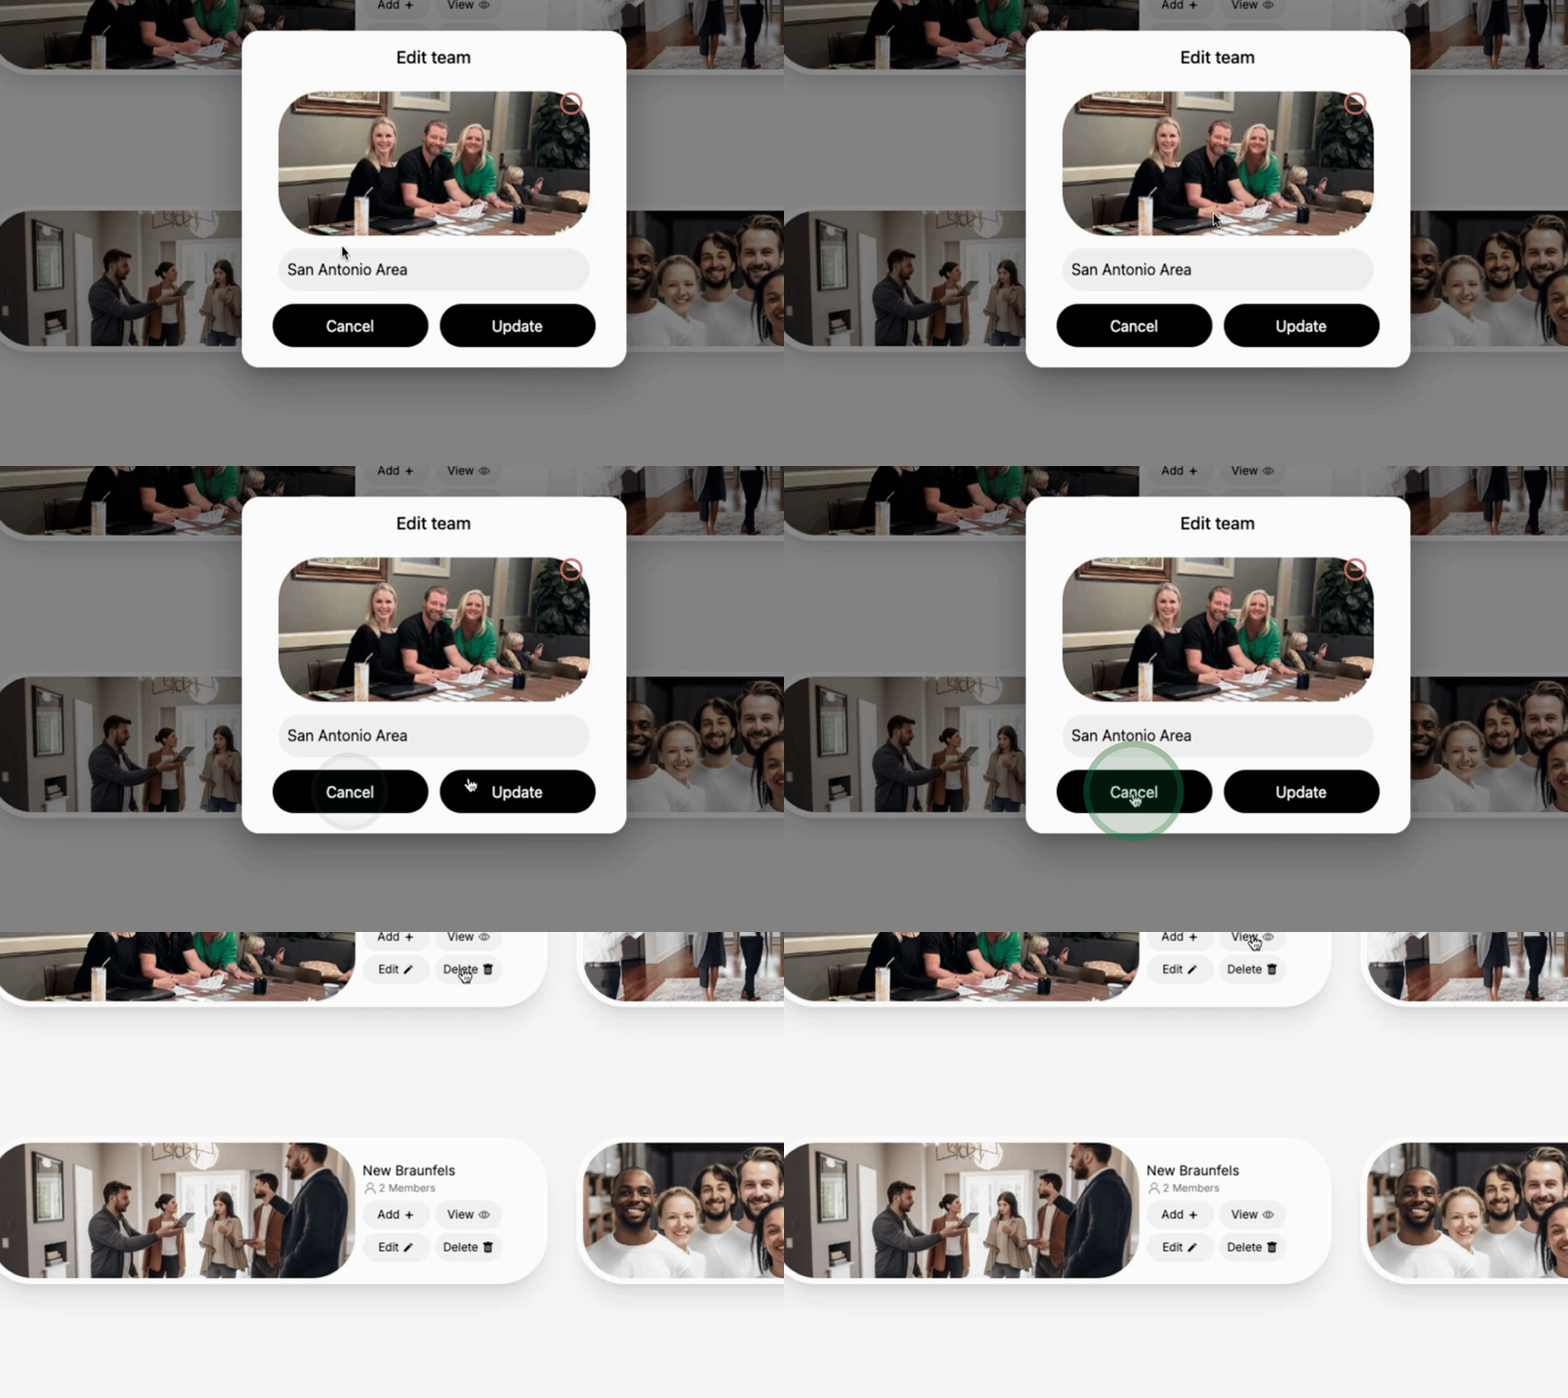
You can view individual cards to see all members. Alternatively, click on 'Add' to add team members to the sub teams for leads and reviews.
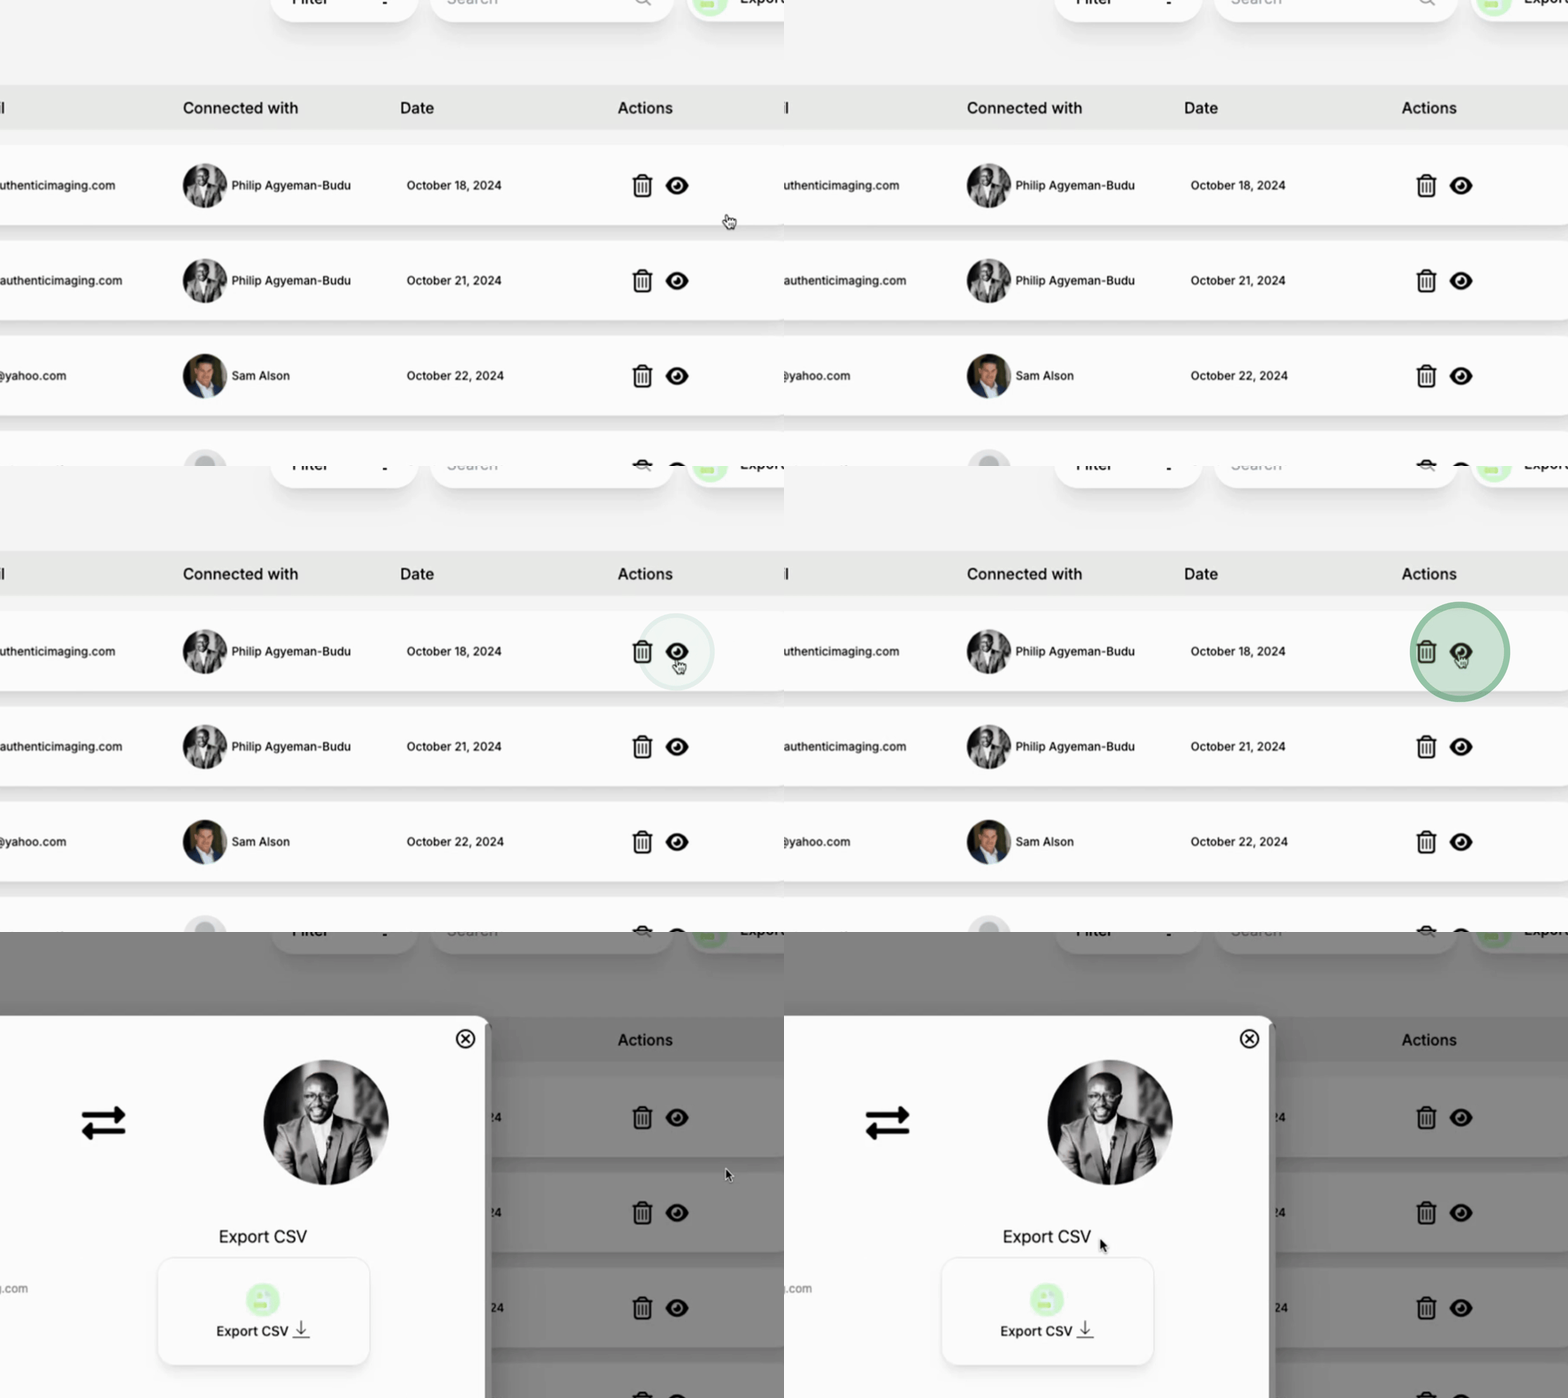
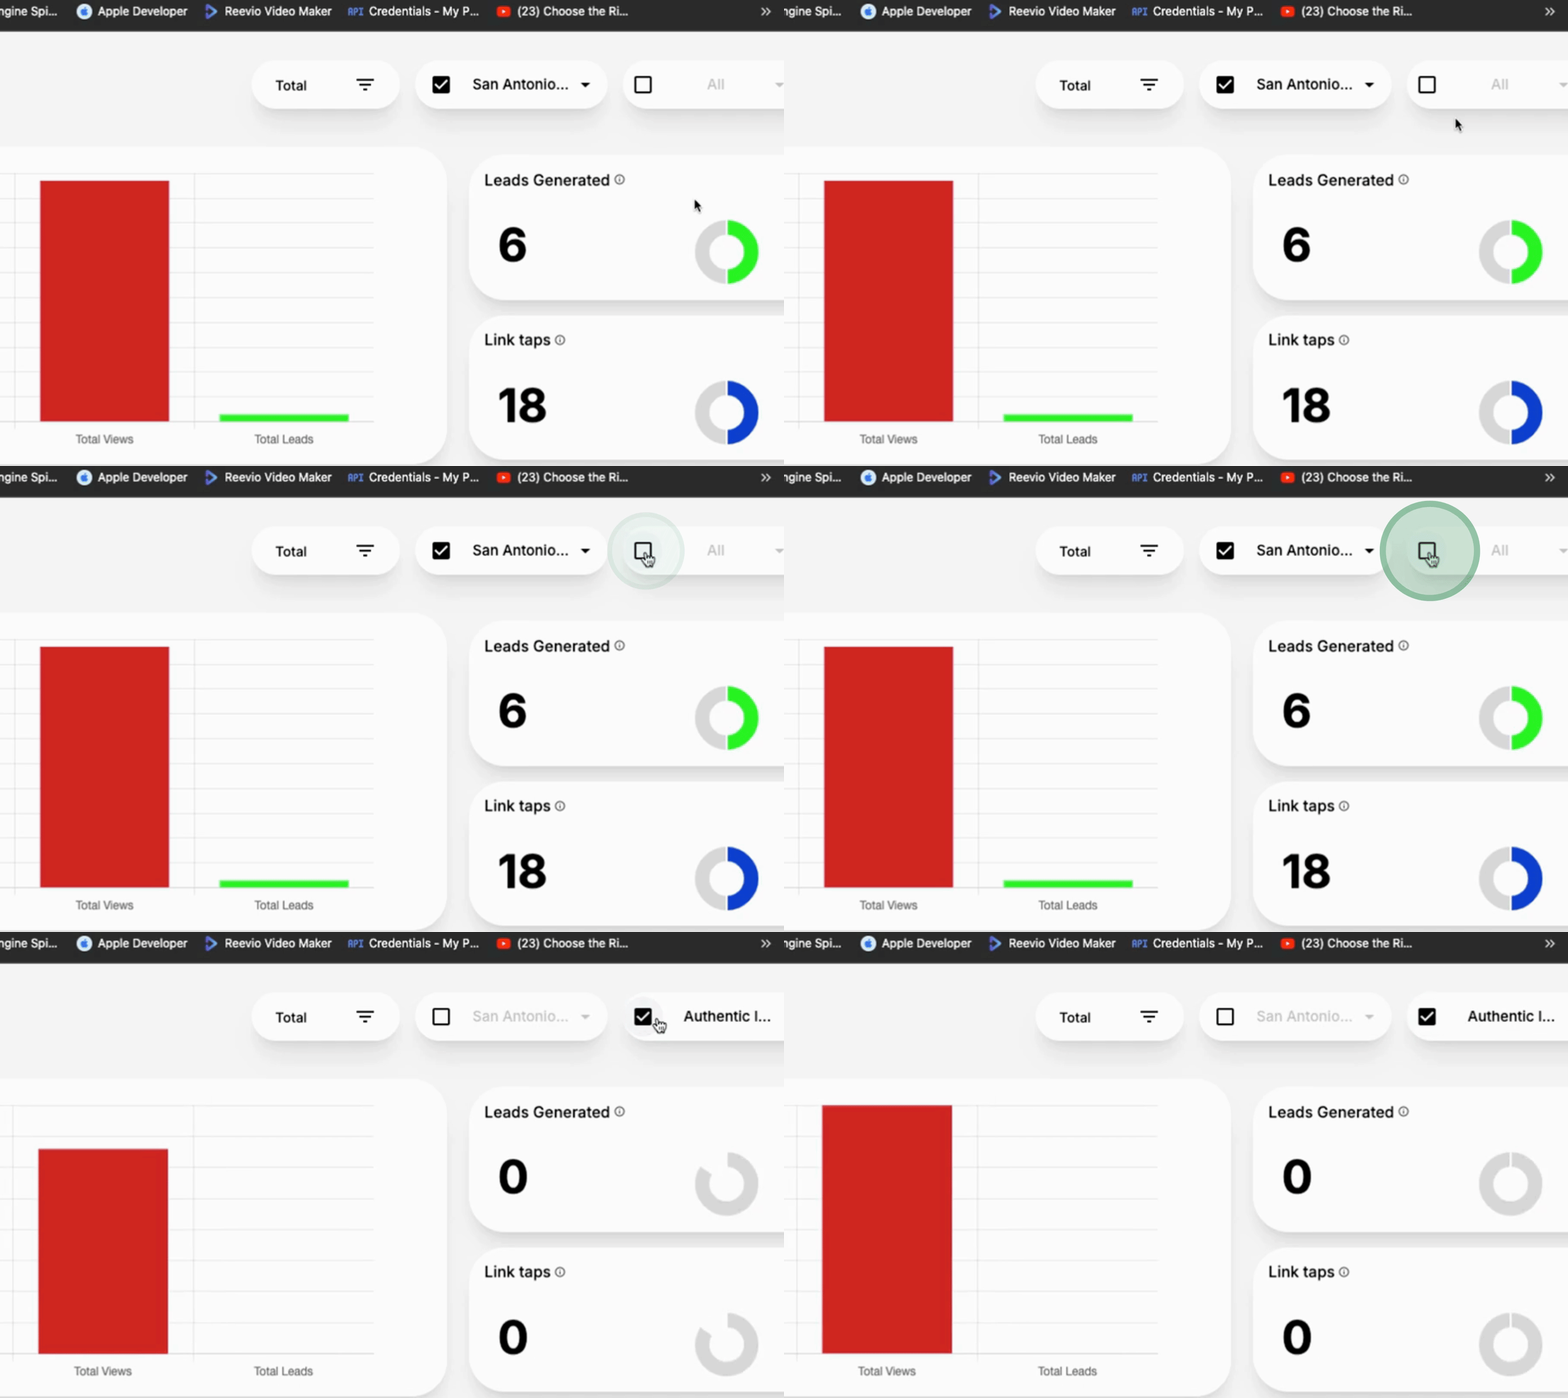
This section displays all incoming leads that your team members connect with. You will also have the ability to download a CSV file and export it as needed. Furthermore, you can filter your leads or reviews collected by team member, sub team, and date analytics.
The Company Tab contains account settings for global company information, organizational details, and branding.
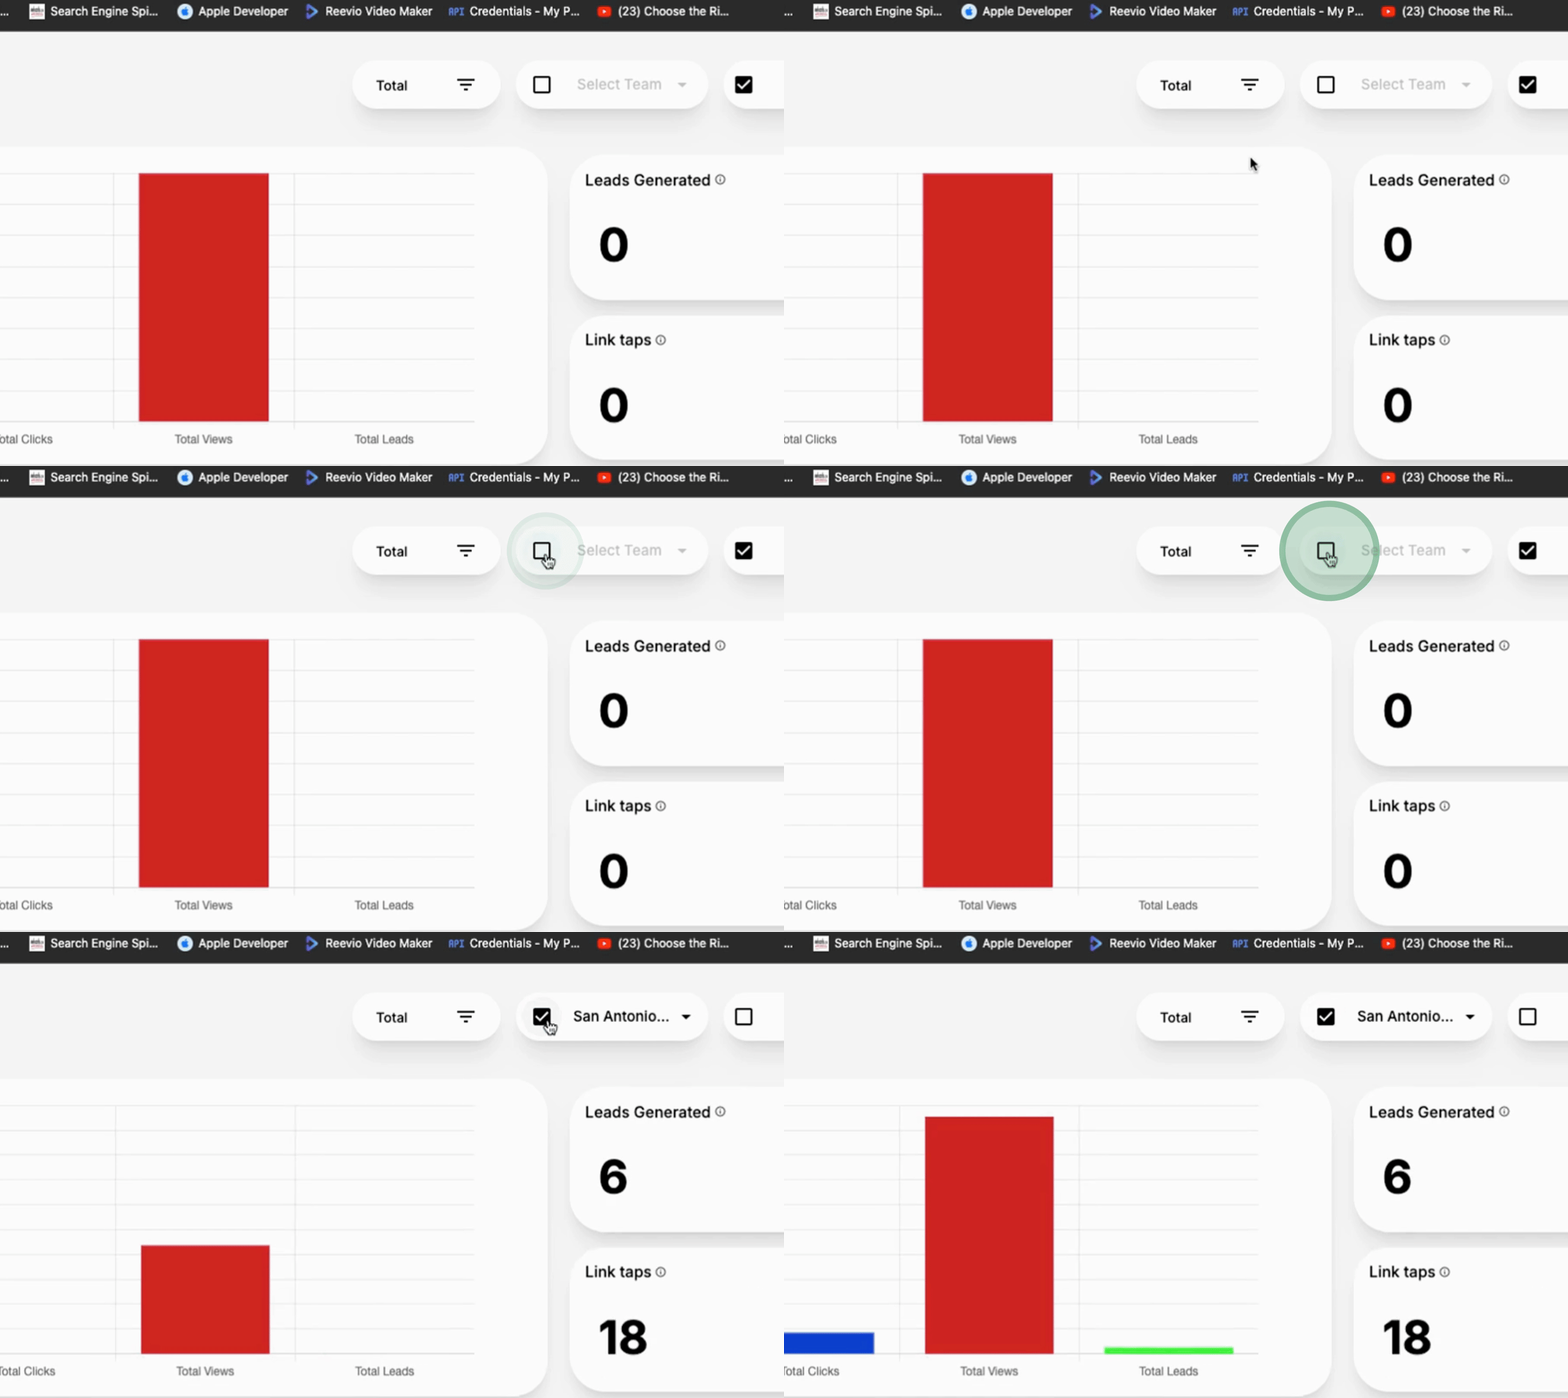
You can analyze individual performance based on activity metrics, which helps assess how well each team member is performing.
This feature facilitates a global function allowing any new member added to your team to follow or maintain the same branding on a global scale.
The last aspect is API access, which enables you to connect to your CRM leveraging Zapier. This allows you to connect Fontopify leads directly to your CRM for preferred automation setups.
By following these steps, you will effectively navigate Fontopify Teams, manage team members, and utilize sub teams to enhance your marketing efforts.
