

This tutorial will guide you through the process of adding a new digital card for your team members, including customization options and features to enhance the card's functionality.
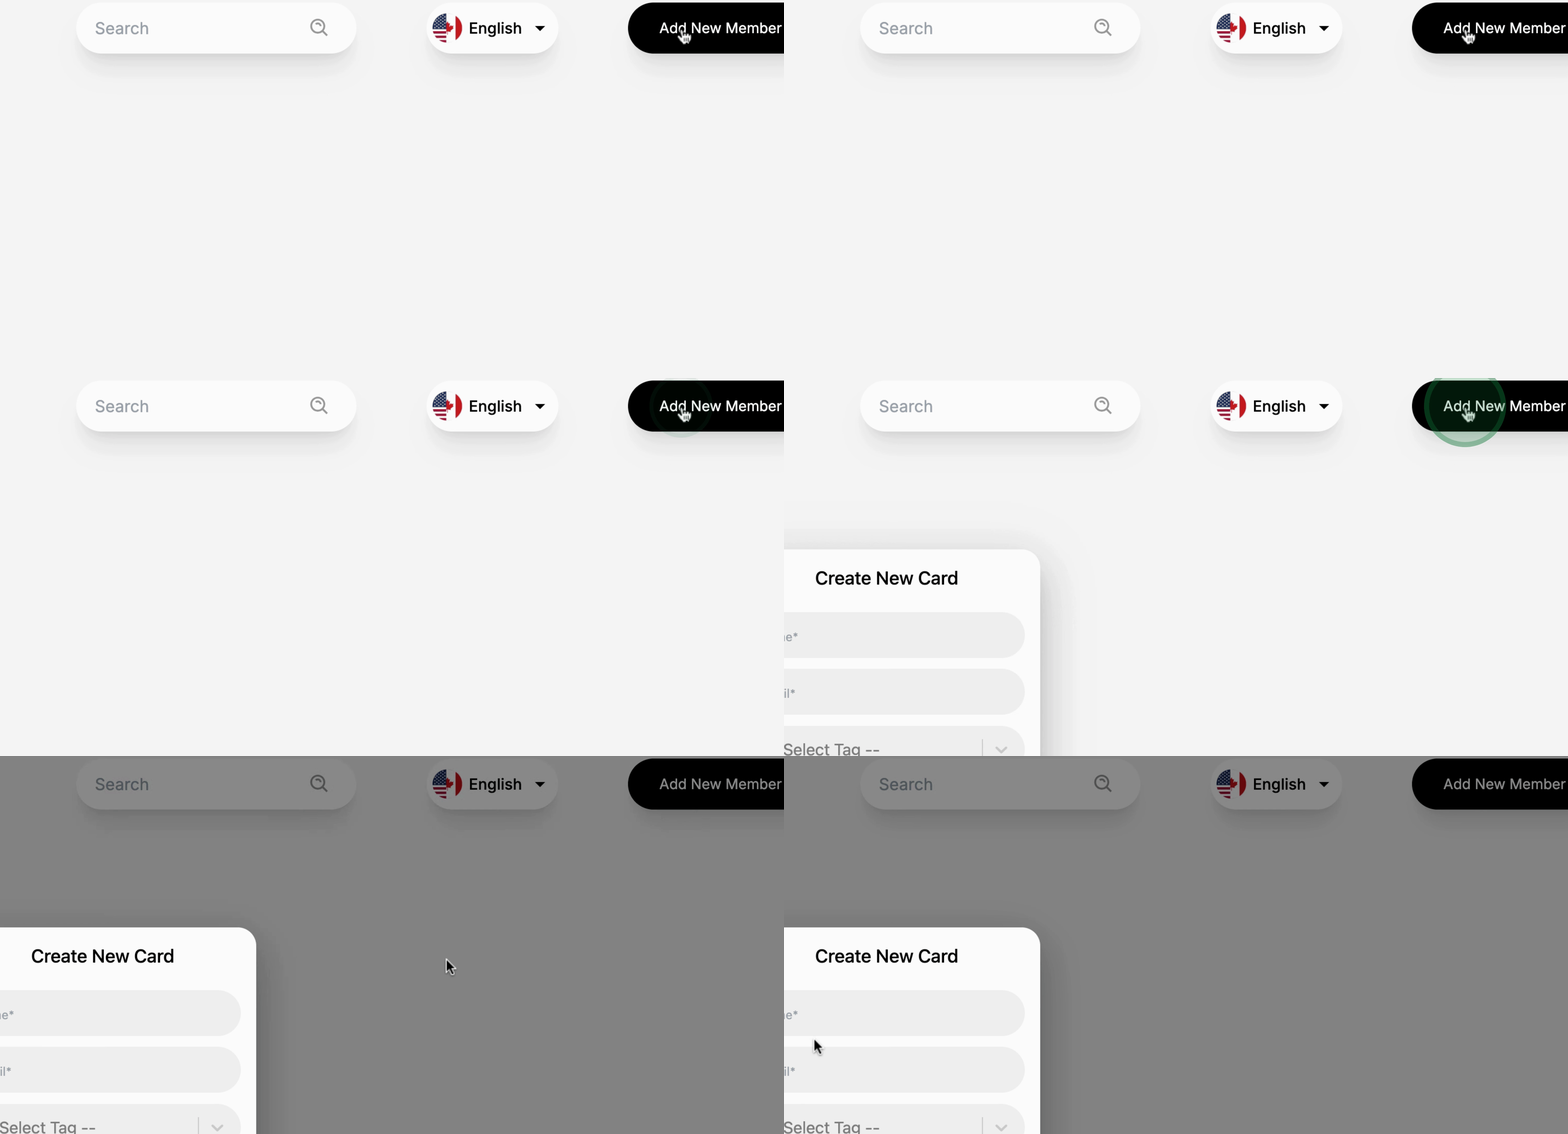
Begin by clicking on Add New Member.
Next, provide a Name for the member.
Then, Select one of the digital cards and Give it a Password.
Finally, click on Create.
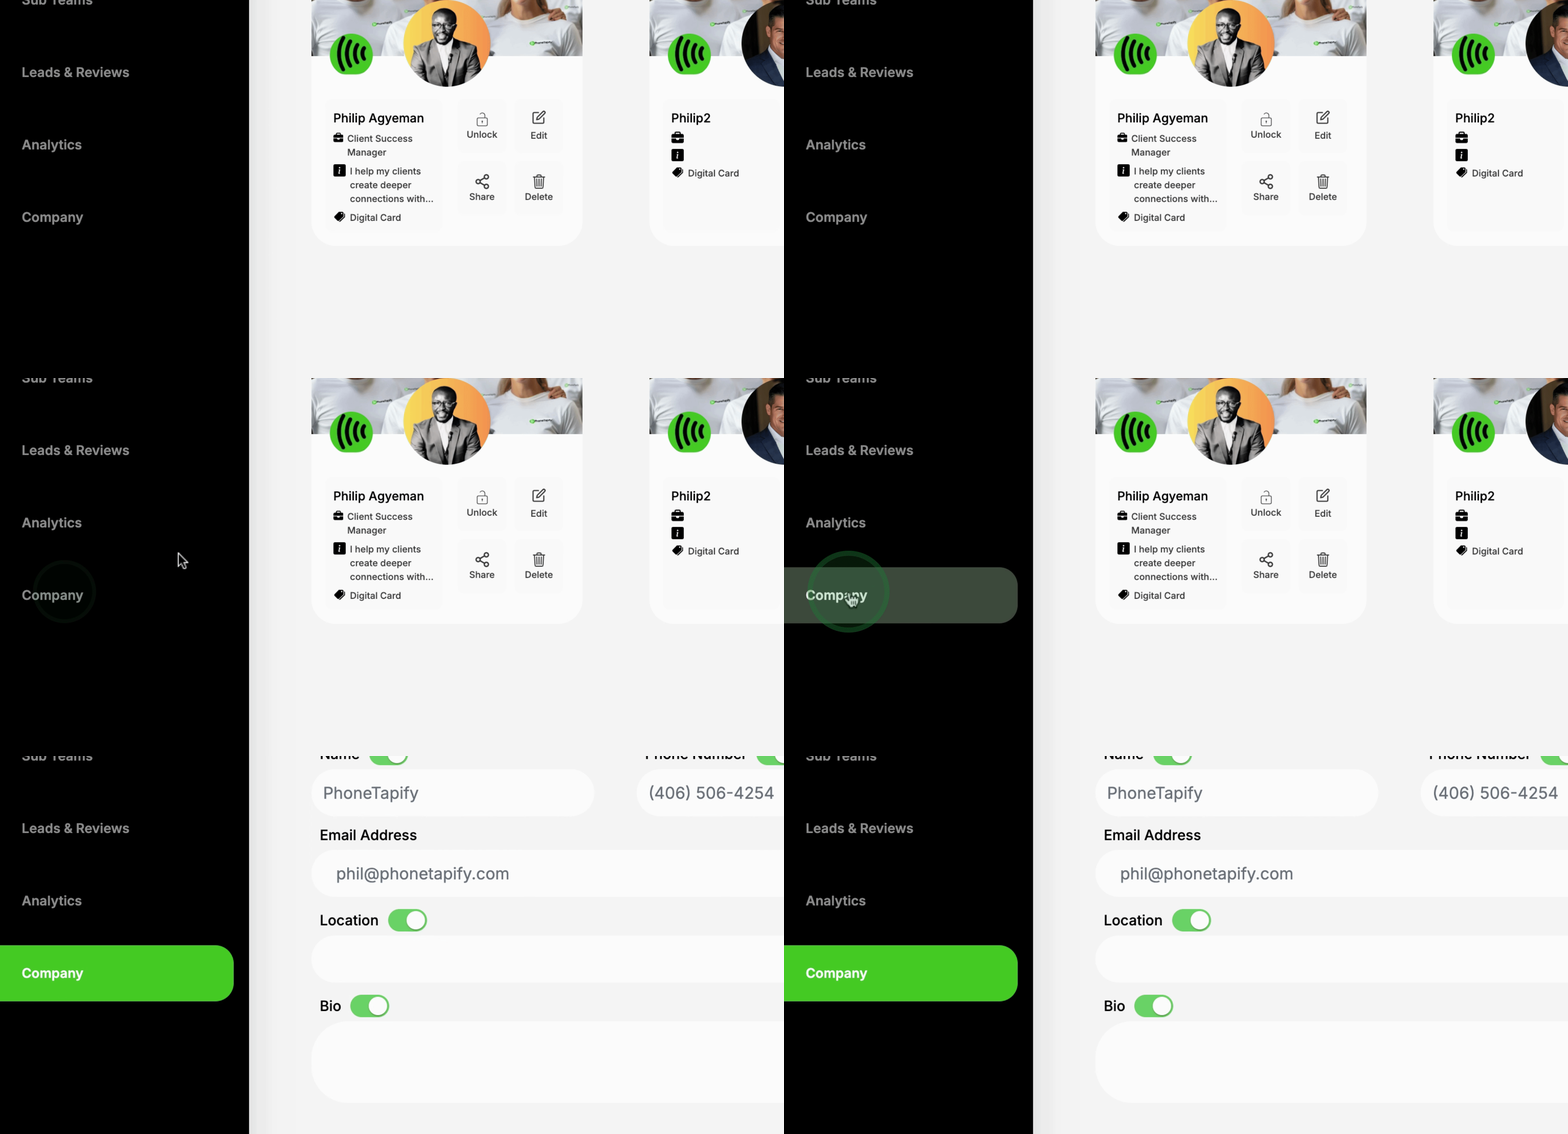
Upon creating the card, it will inherit the settings from the company profile setup.
If customization is needed for individual cards, you must Disable the inherited options.
Uncheck these options to allow editing of the individual cards.
For this purpose, keep everything as is, except for the Profile Image.
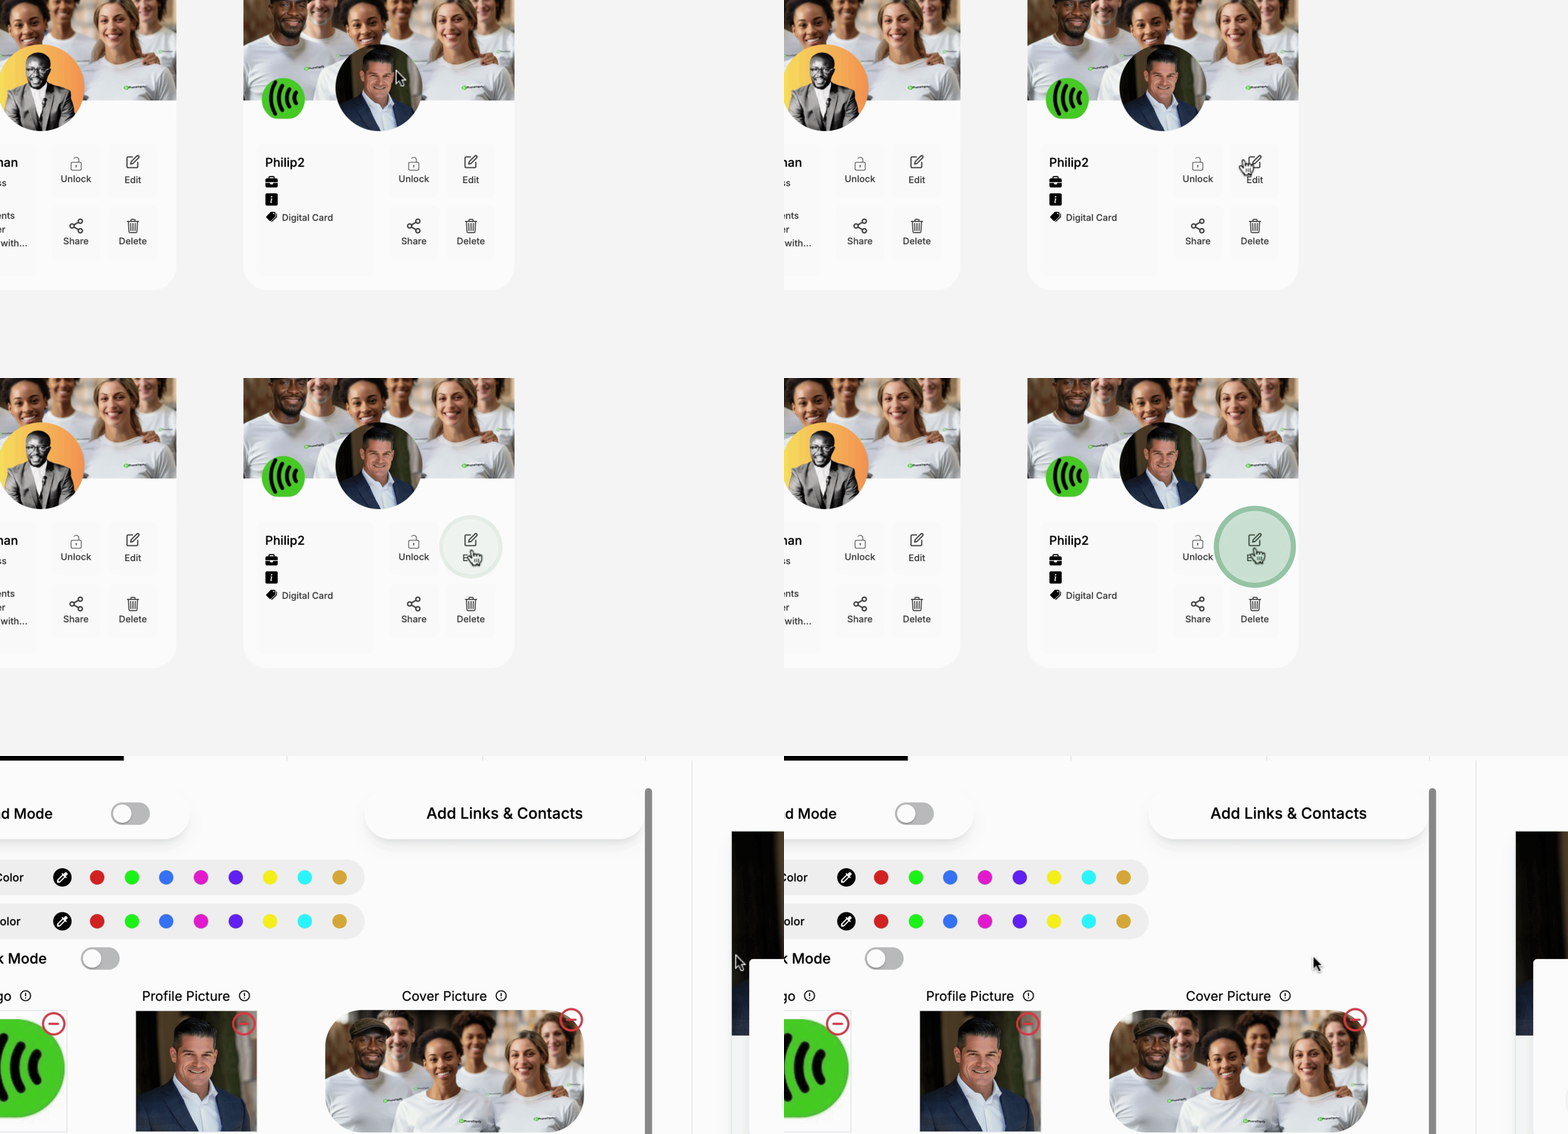
To customize the profile image, click on Edit Profile Image.
Proceed to edit the Profile Picture for the new team member.
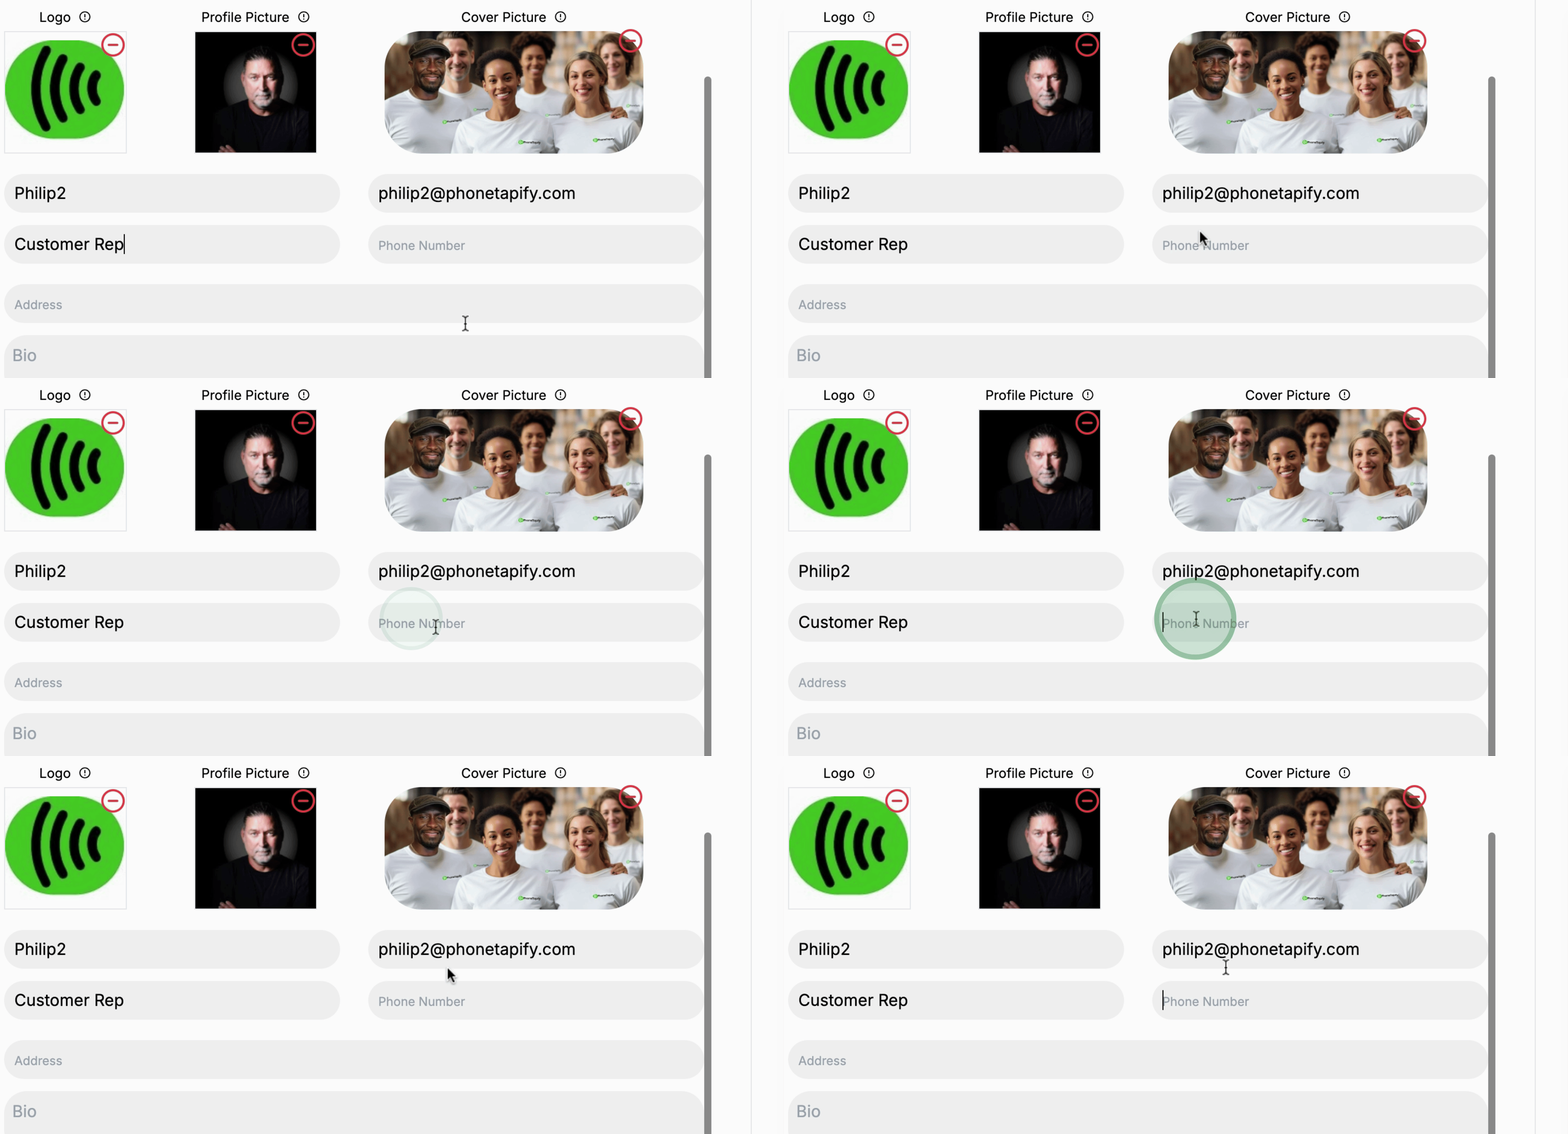
Next, provide the following details: Phone Number, Address, and Buyer Info.
After entering this information, Update the card.
To view the card, click on Preview the Card.
If the card is still displaying the company profile, refresh the page to ensure it reflects the correct card.
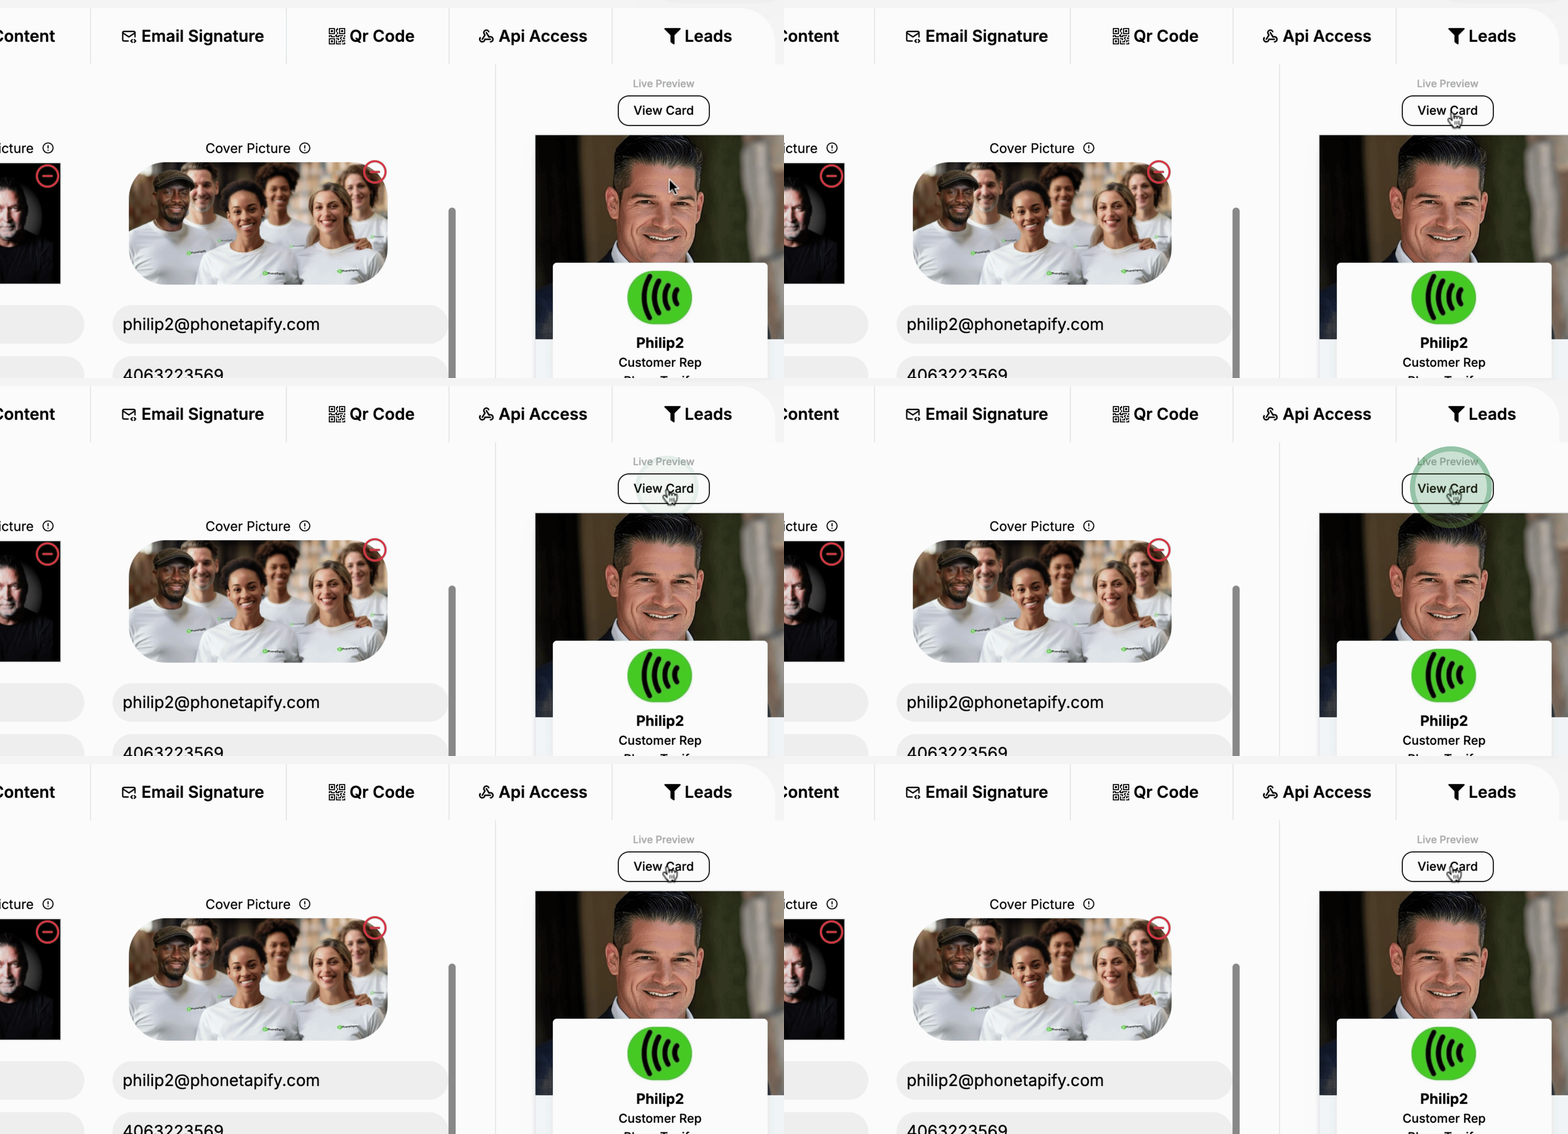
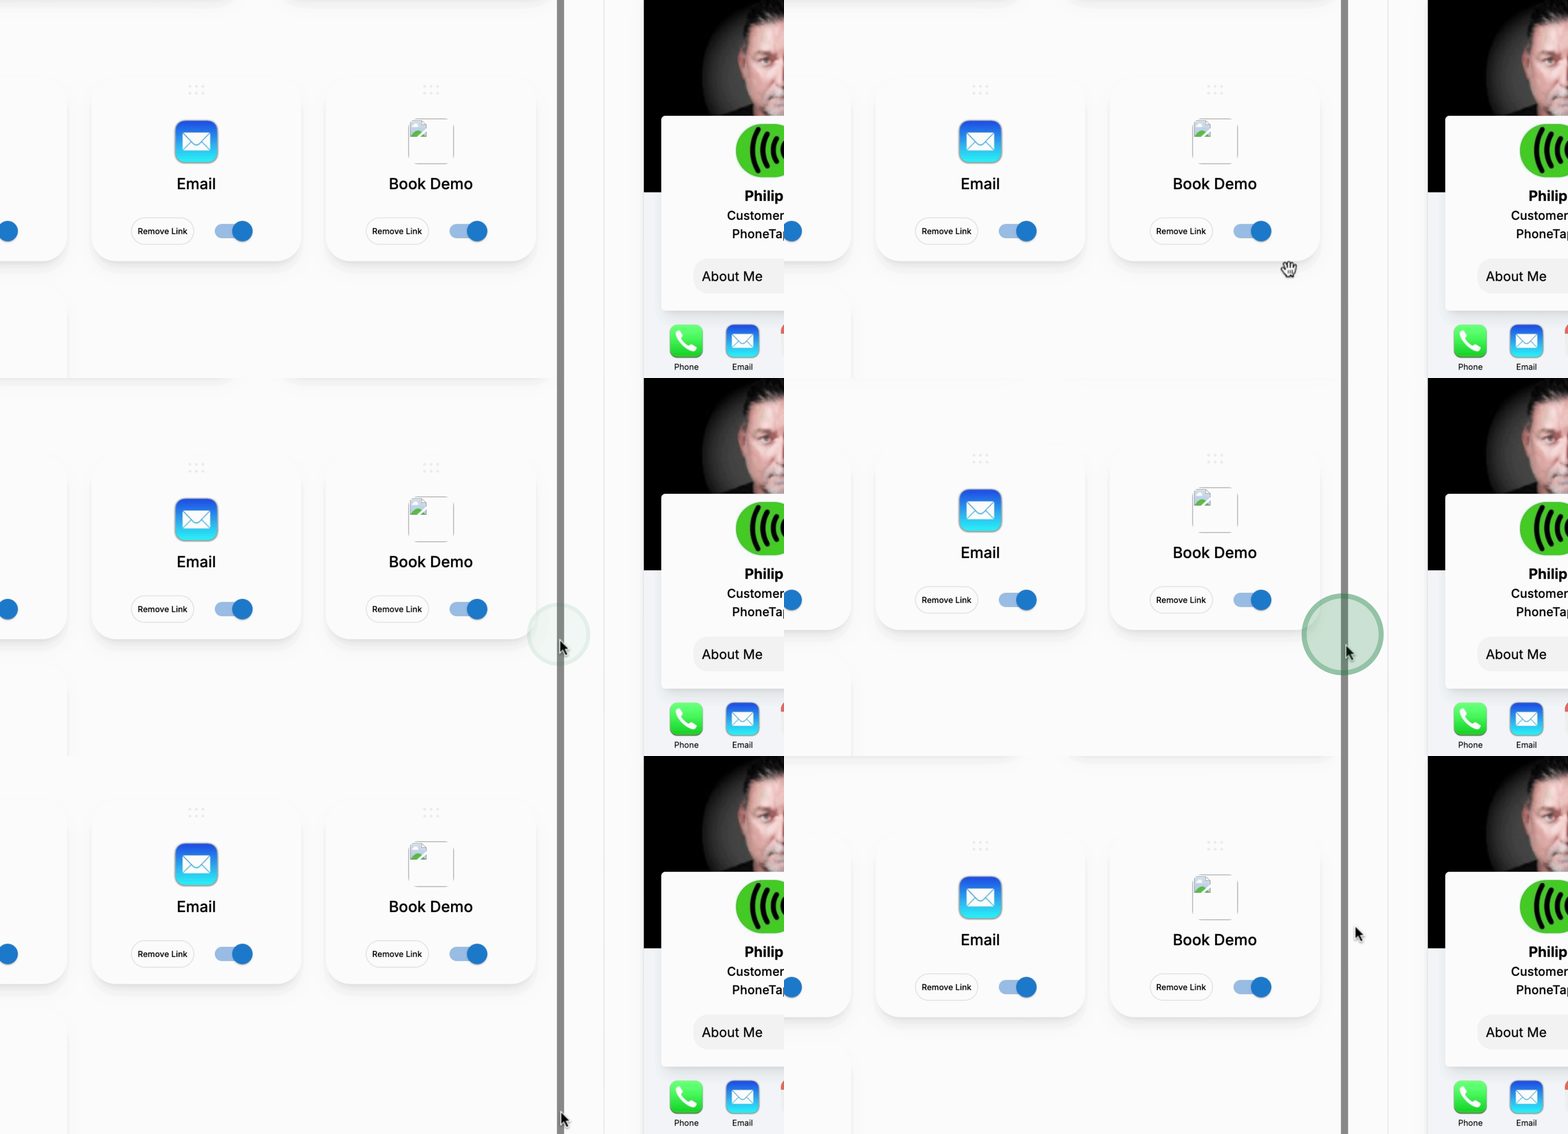
You can now add additional links to the individual card.
If you wish to include a Custom Link, proceed to do so accordingly.
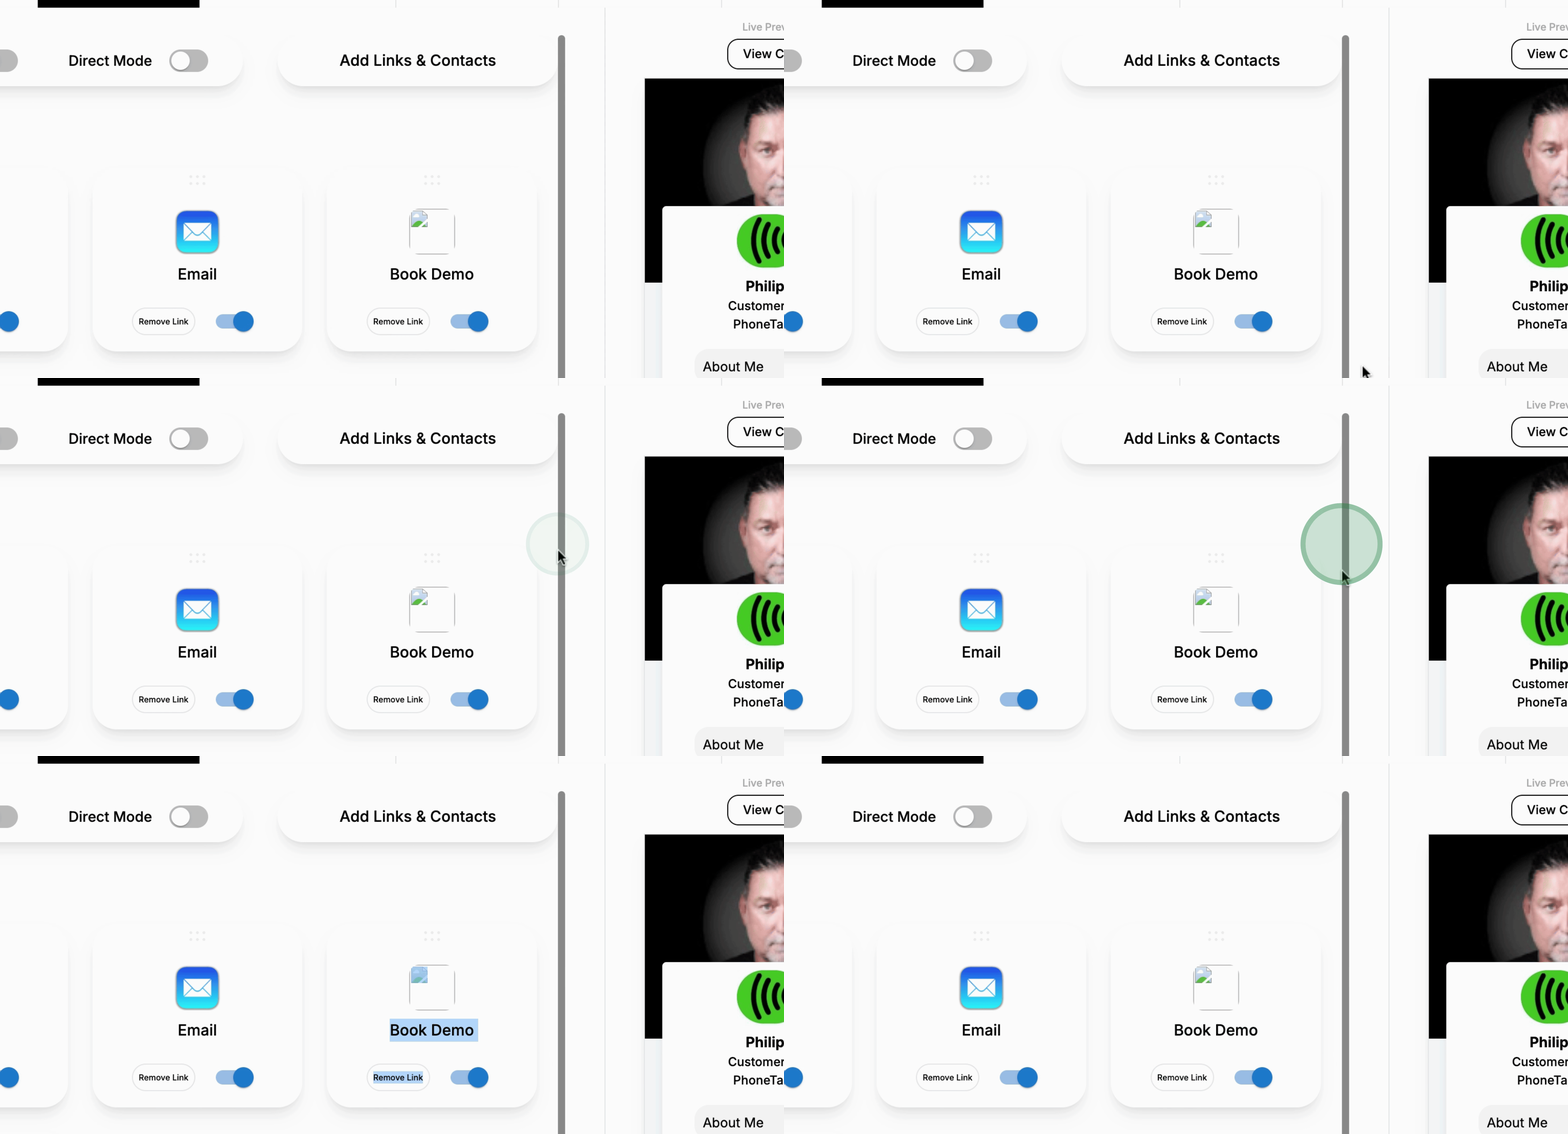
If you want to set a Direct Mode, this will allow one of the links to activate immediately when someone taps the card.
You can choose which link will serve as the call to action.
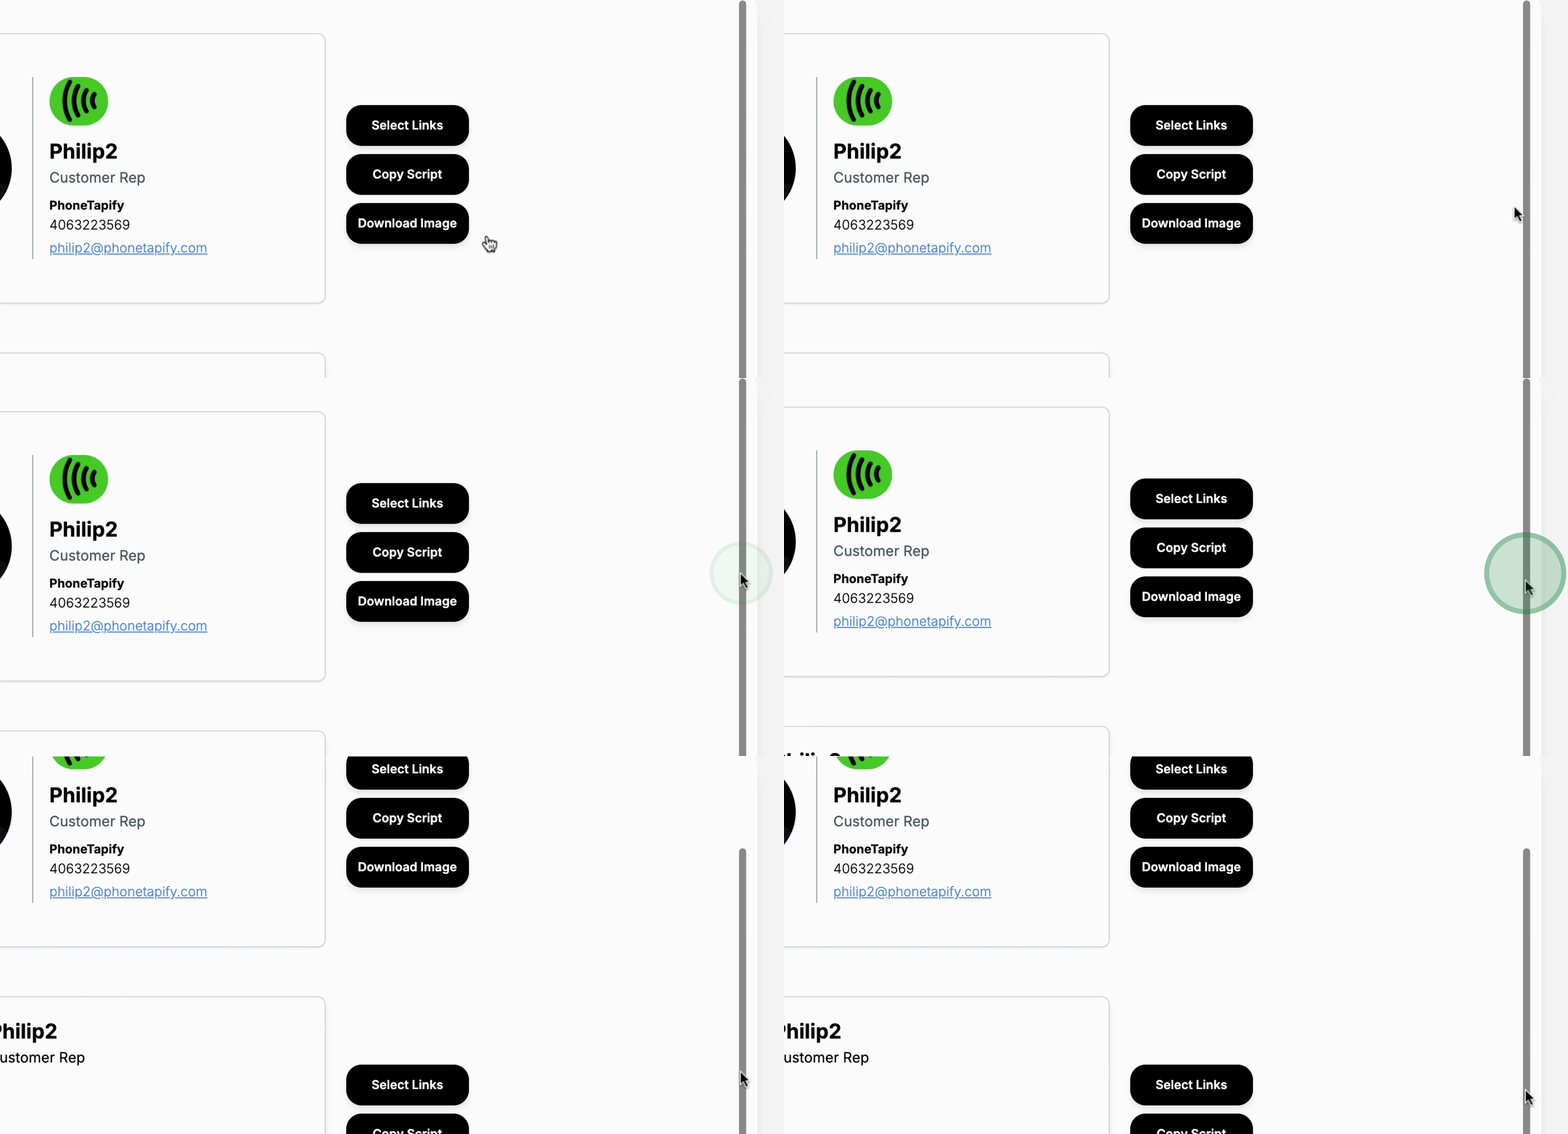
Additionally, have the option to Download an Image or Download the Script.
The image option is recommended for maintaining formatting based on the type of email.
There are two format options available for your selection.
The following option is to generate a QR Code, which you can download.
You also have the option to add this as a Wallet item on your phone.
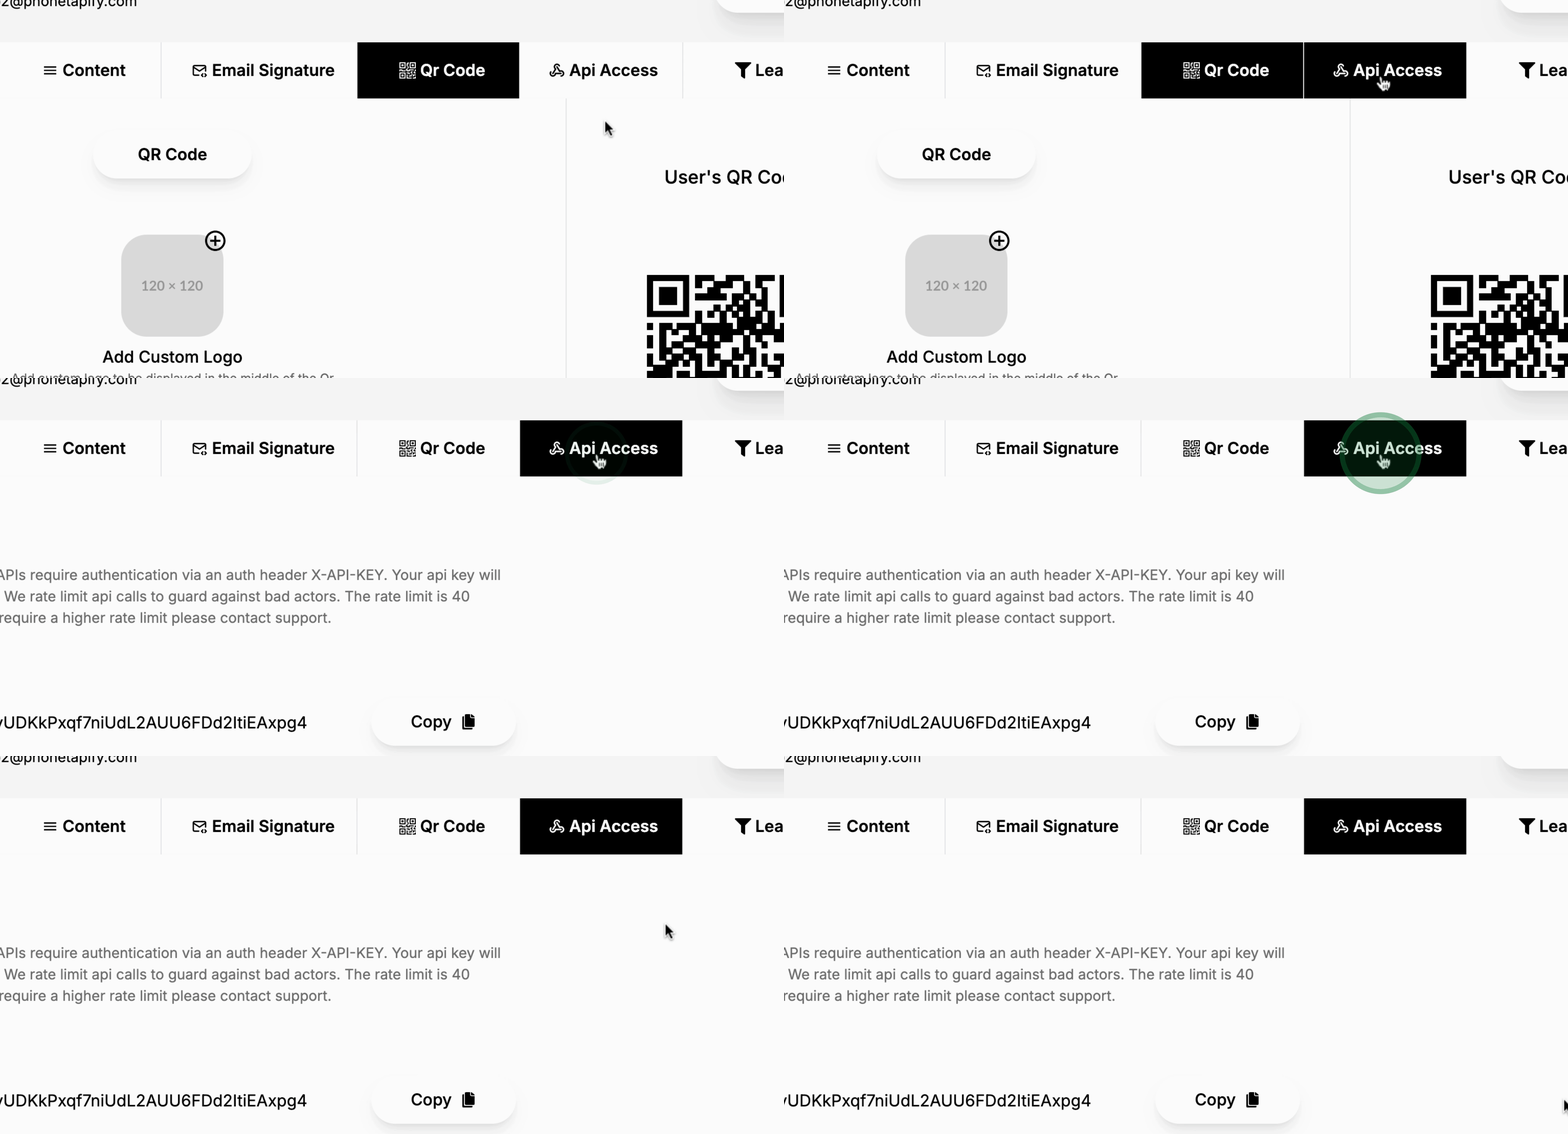
For API access, if you want to send leads directly to your CRM, you can integrate Zapier using API keys for easy lead transfer.
This concludes the tutorial on adding a new digital card for your team members. By following these steps, you can efficiently manage and customize each member's card.
