

This tutorial will provide an overview of your company's settings and guide you through the various configurations available.
Navigate to the Account Settings, which is the first tab within the company settings. Here, you can configure the Company Information, including the company's name, phone number, email, location, and bio.
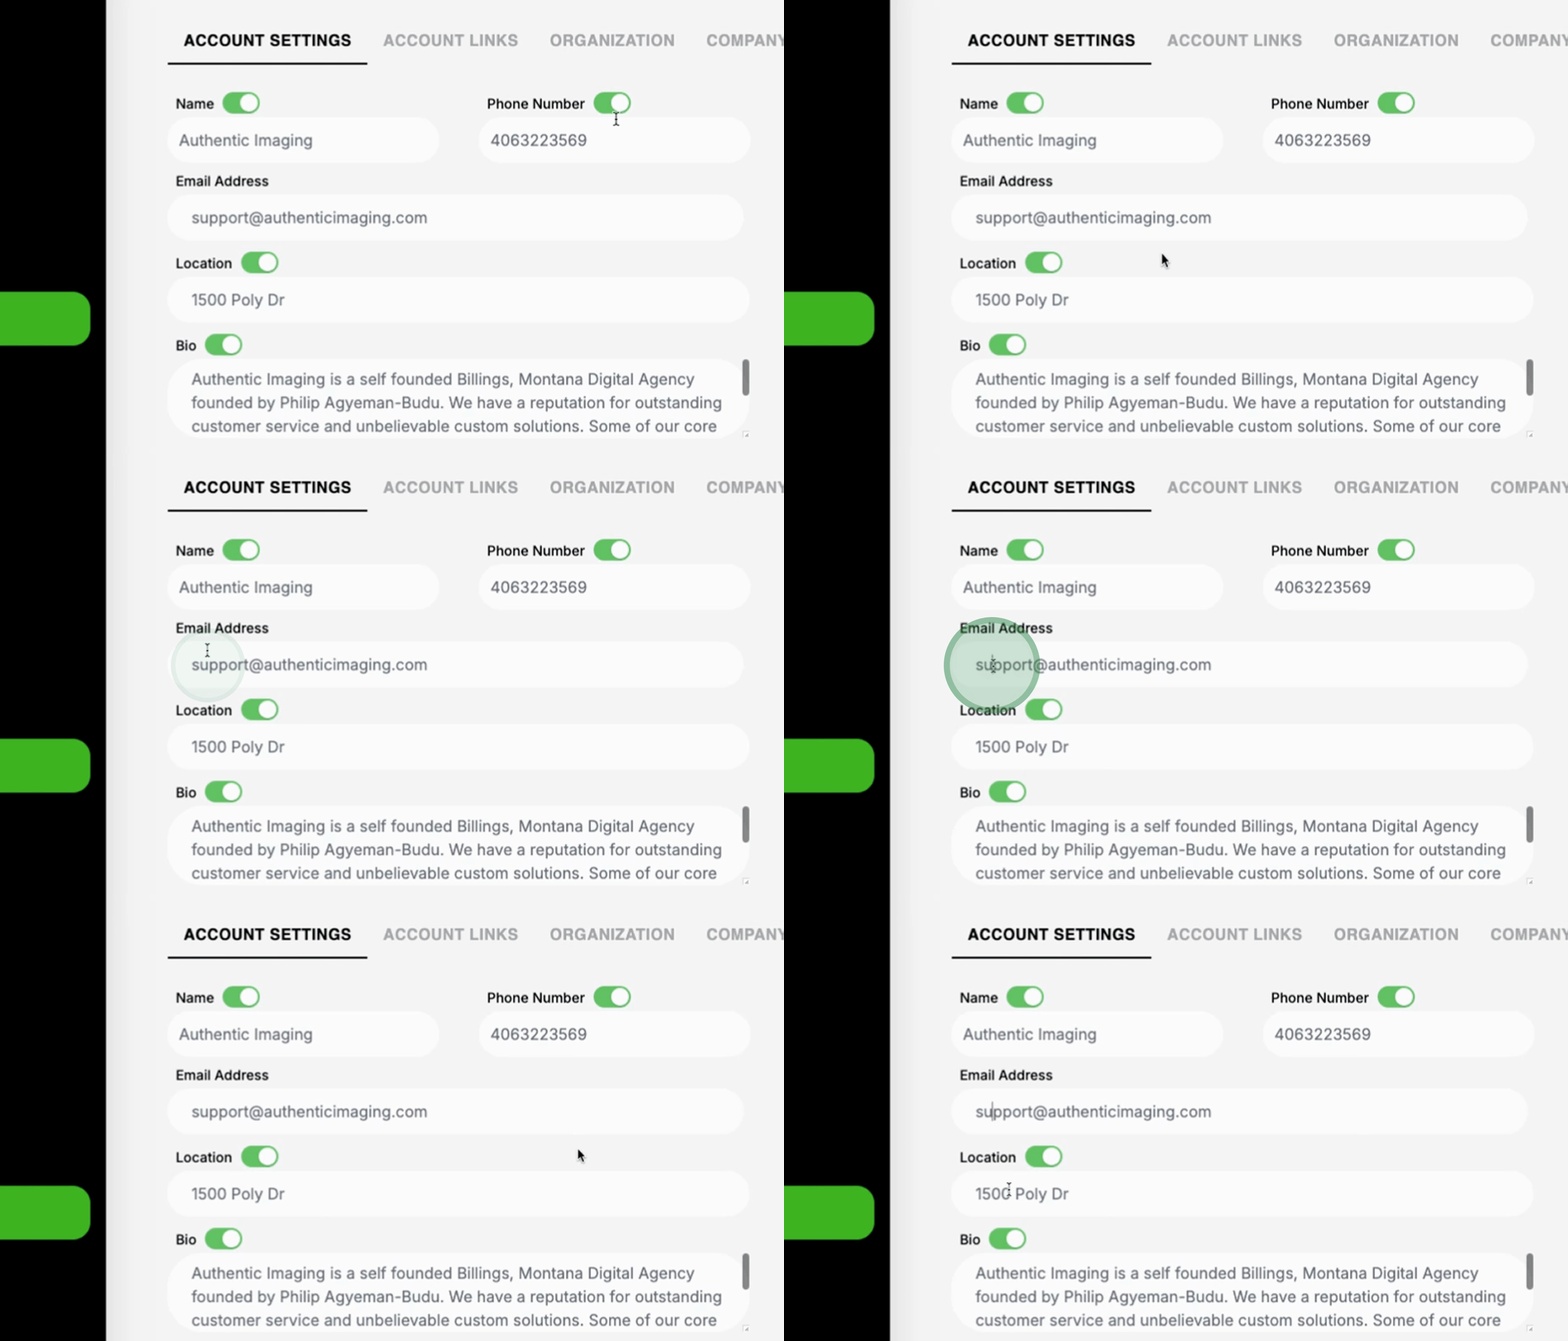
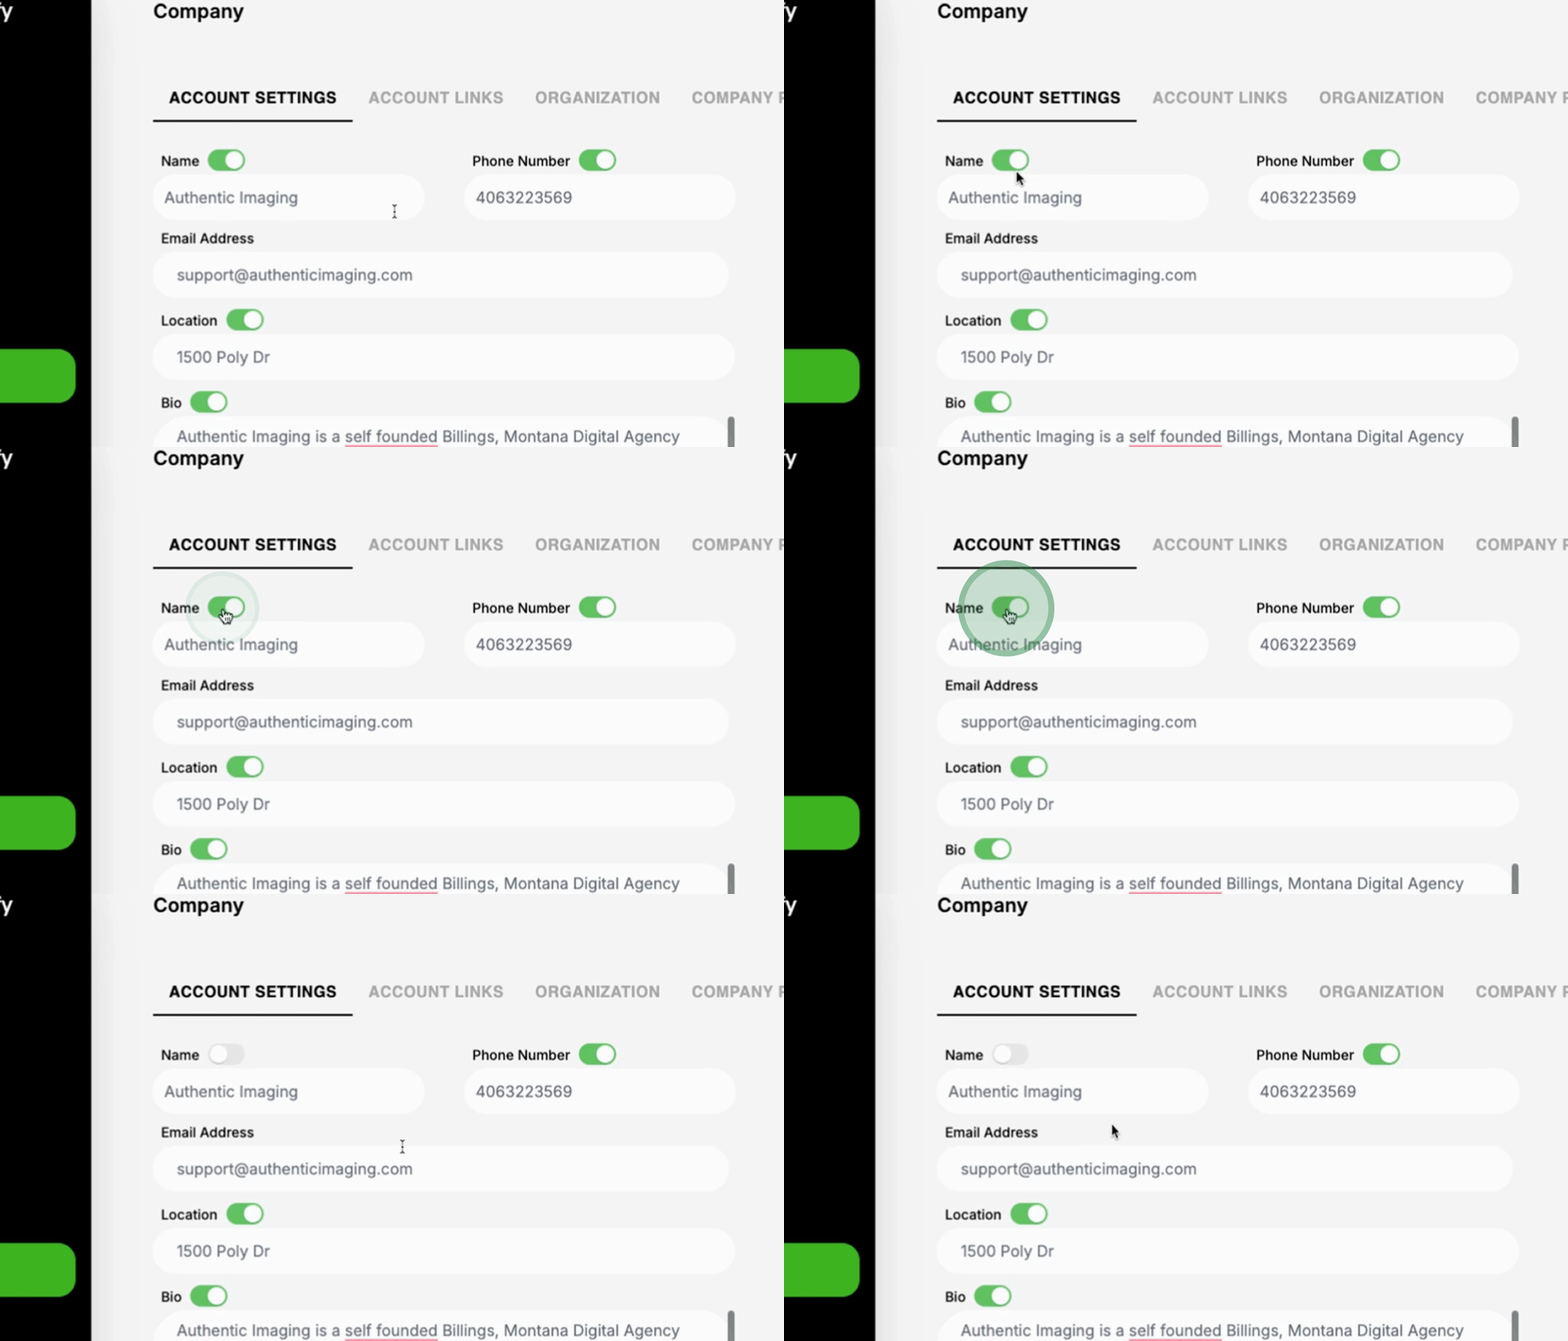
Please note that the check marks indicate global functions. To ensure that any new team member added will inherit the company's global settings, make sure that the global settings box is always checked green.
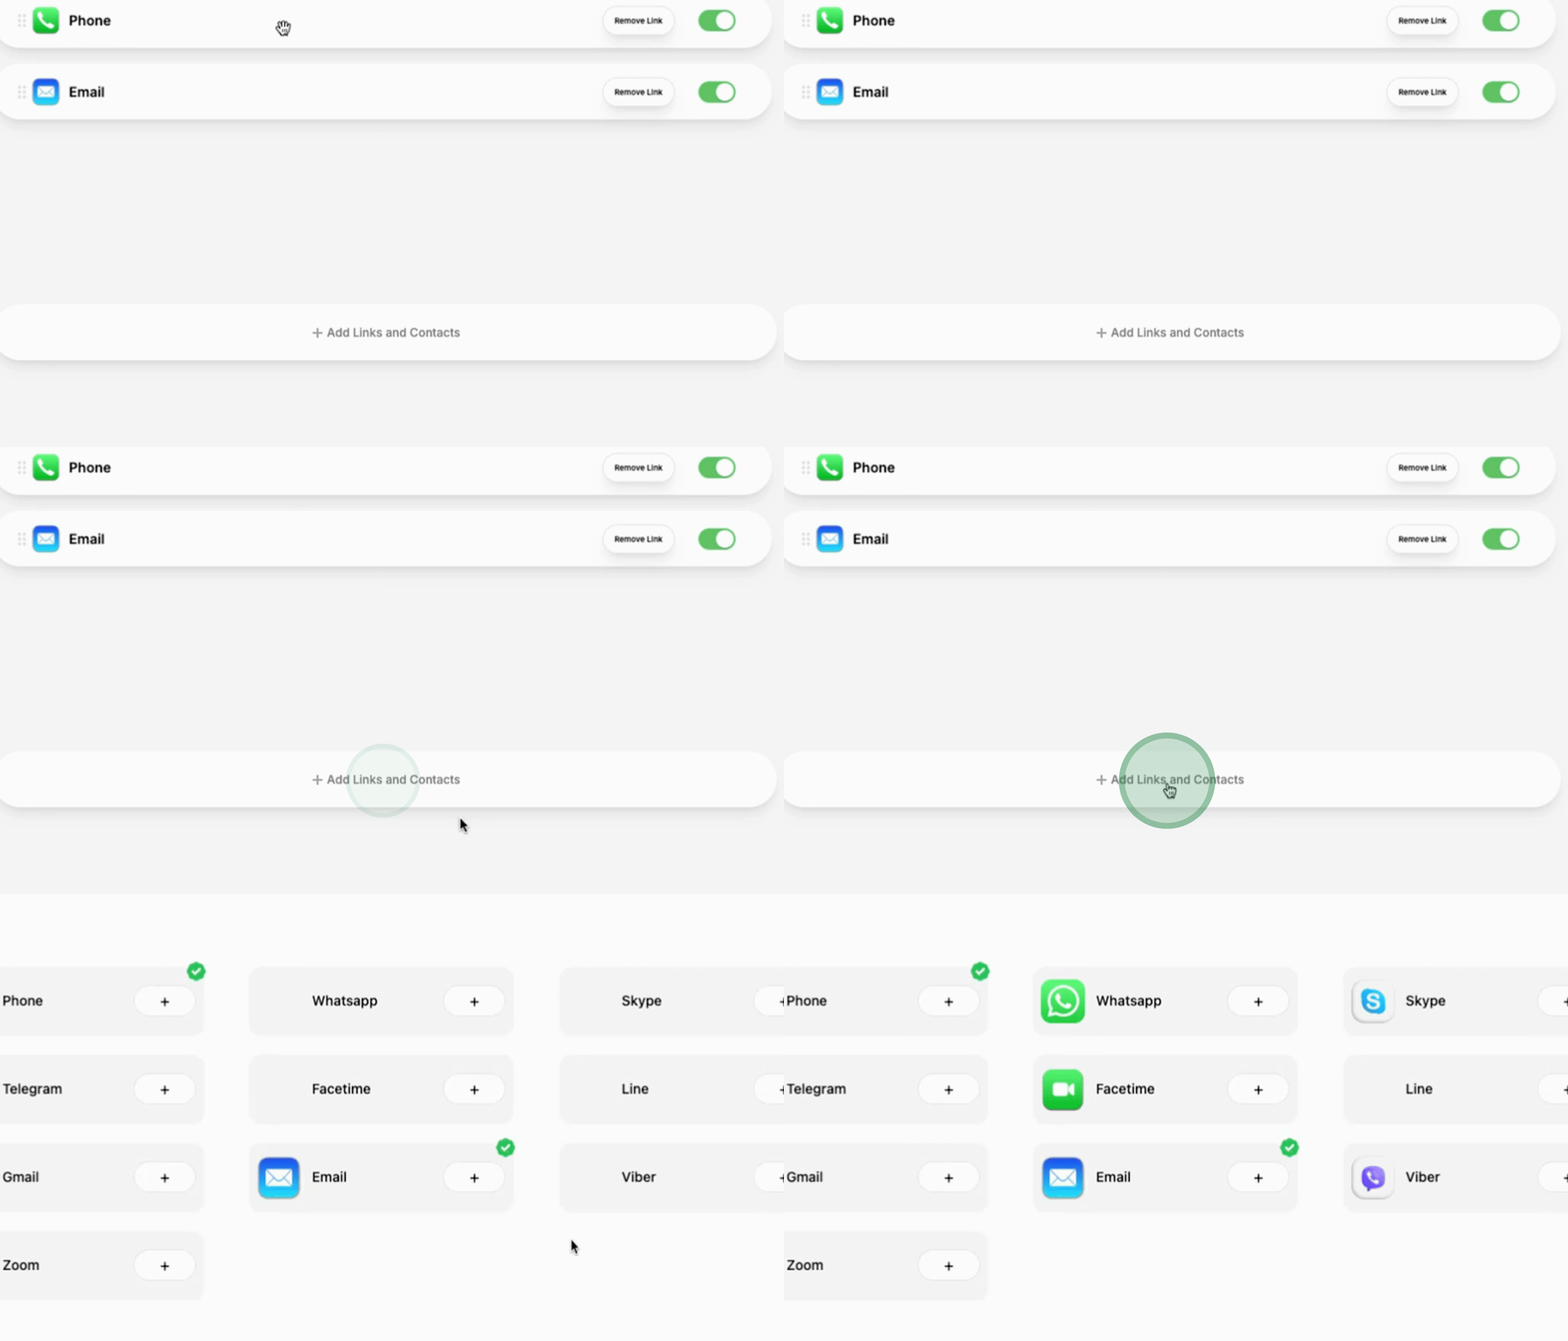
In the Links section, you can create all necessary links for your company. If linked to the global function, all new team members will have access to the company’s links. To ensure uniformity across all team members, it is recommended to set this to the global option.
This section allows you to invite additional team members who can manage the company’s team members.
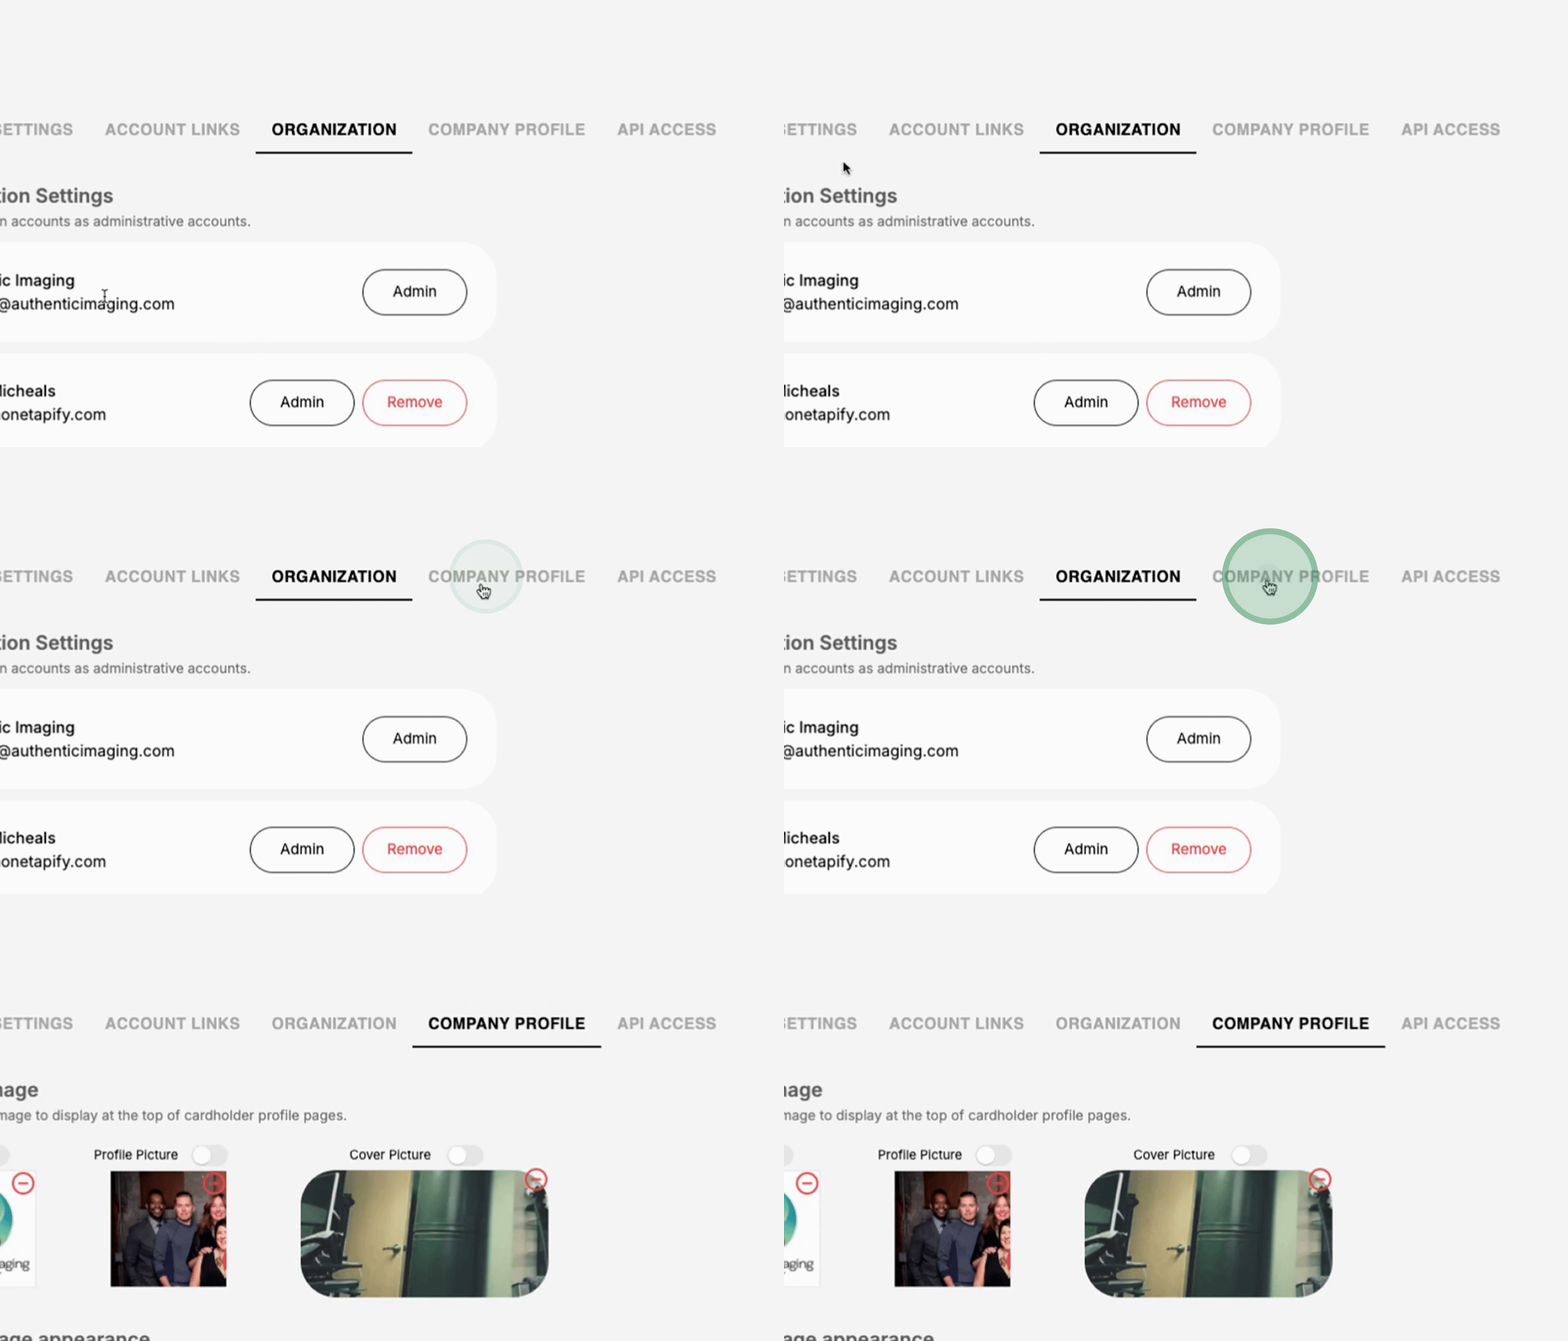
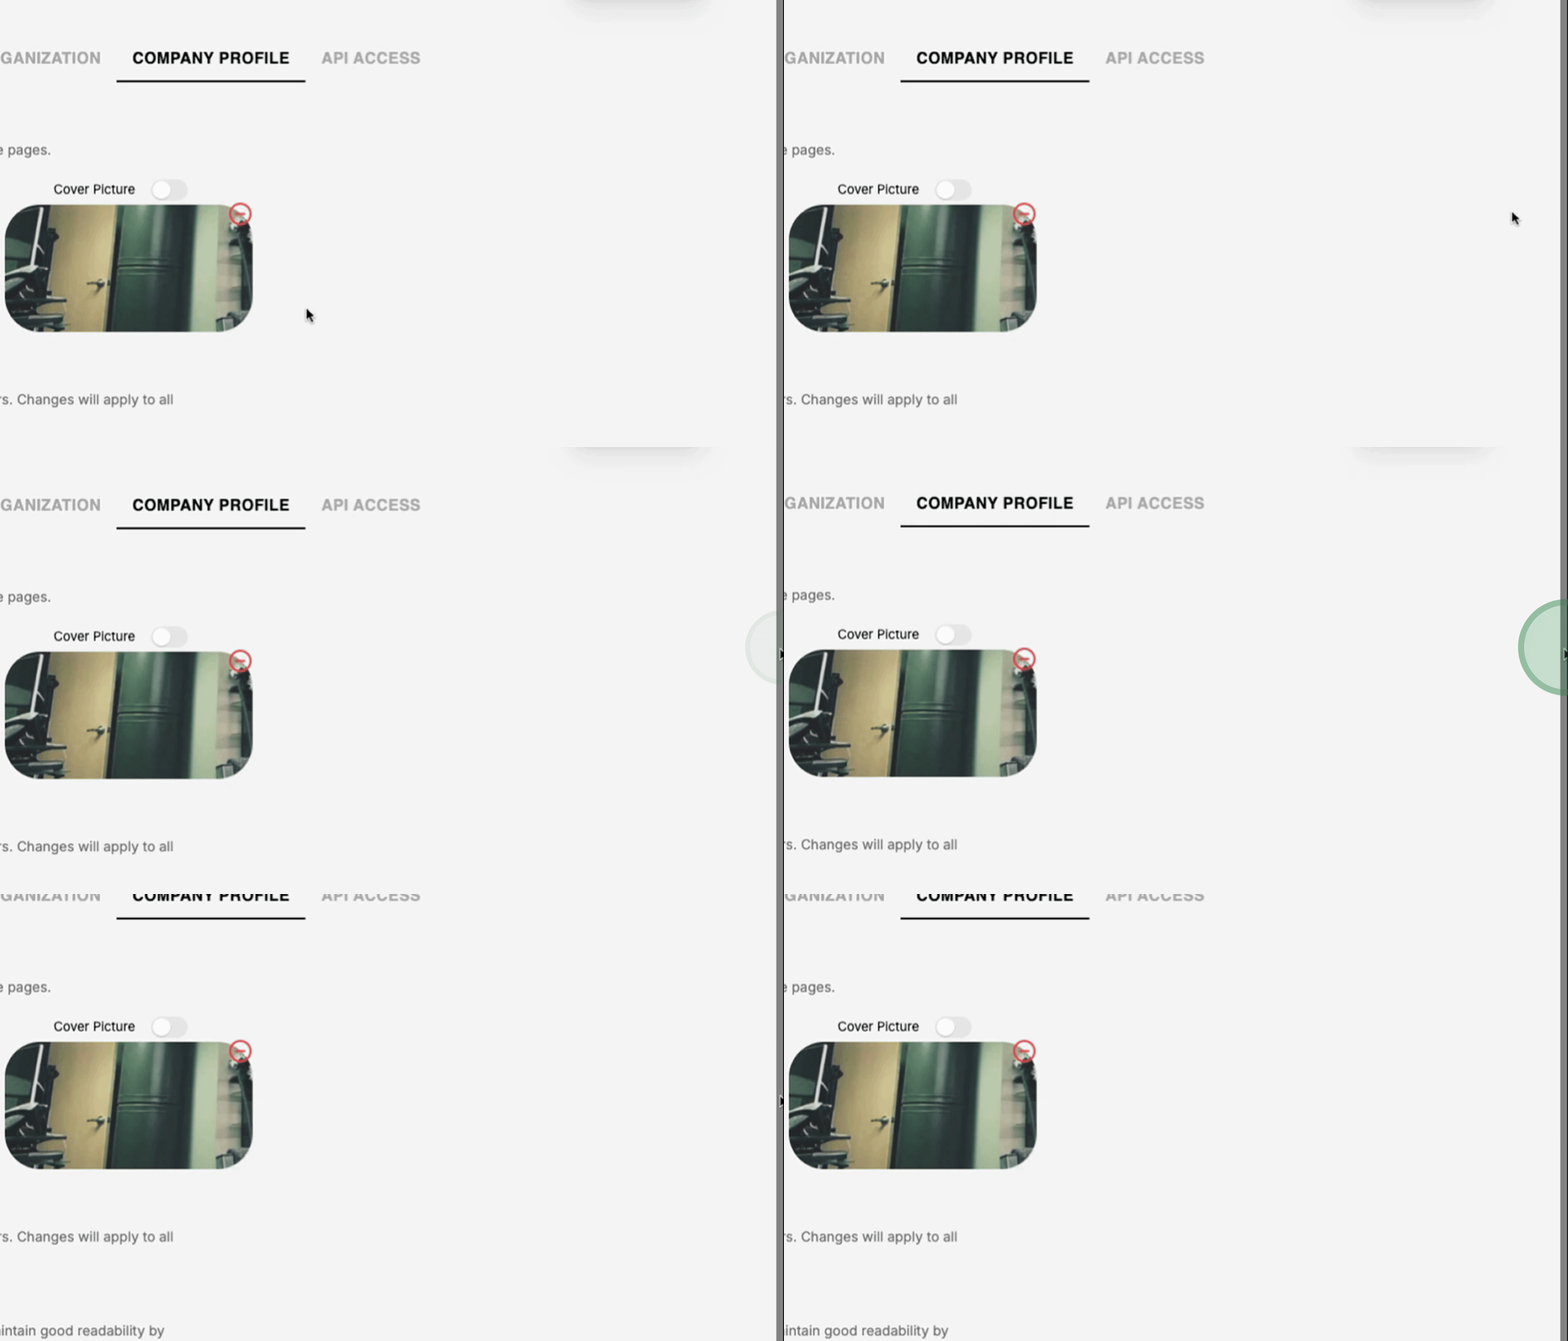
In terms of your company profile, you can manage branding elements such as the logo, profile pictures, and company cover page. It’s noted that all these global options can be individually toggled for each team member’s branding preferences.
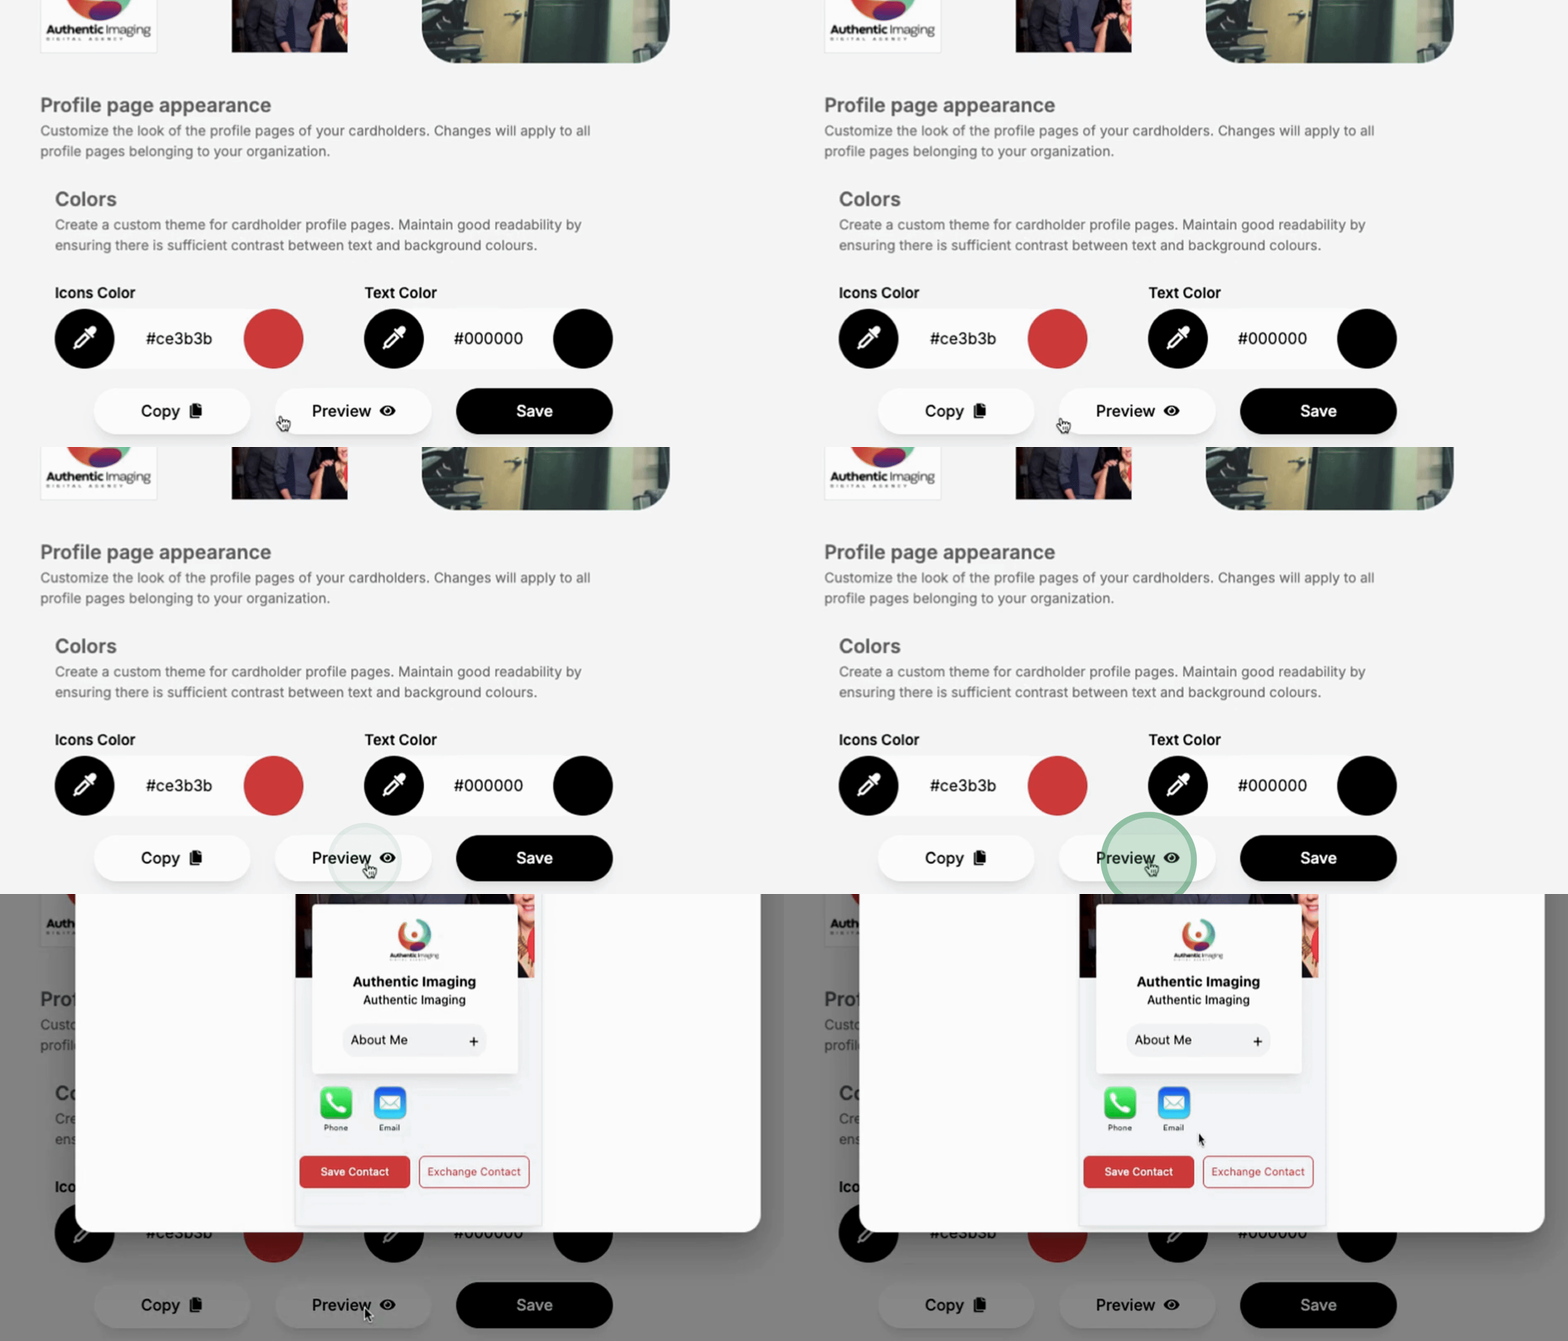
The global company brand settings allow you to change the color of icons and text. Additionally, the API Access feature enables seamless integration with your CRM for incoming leads.
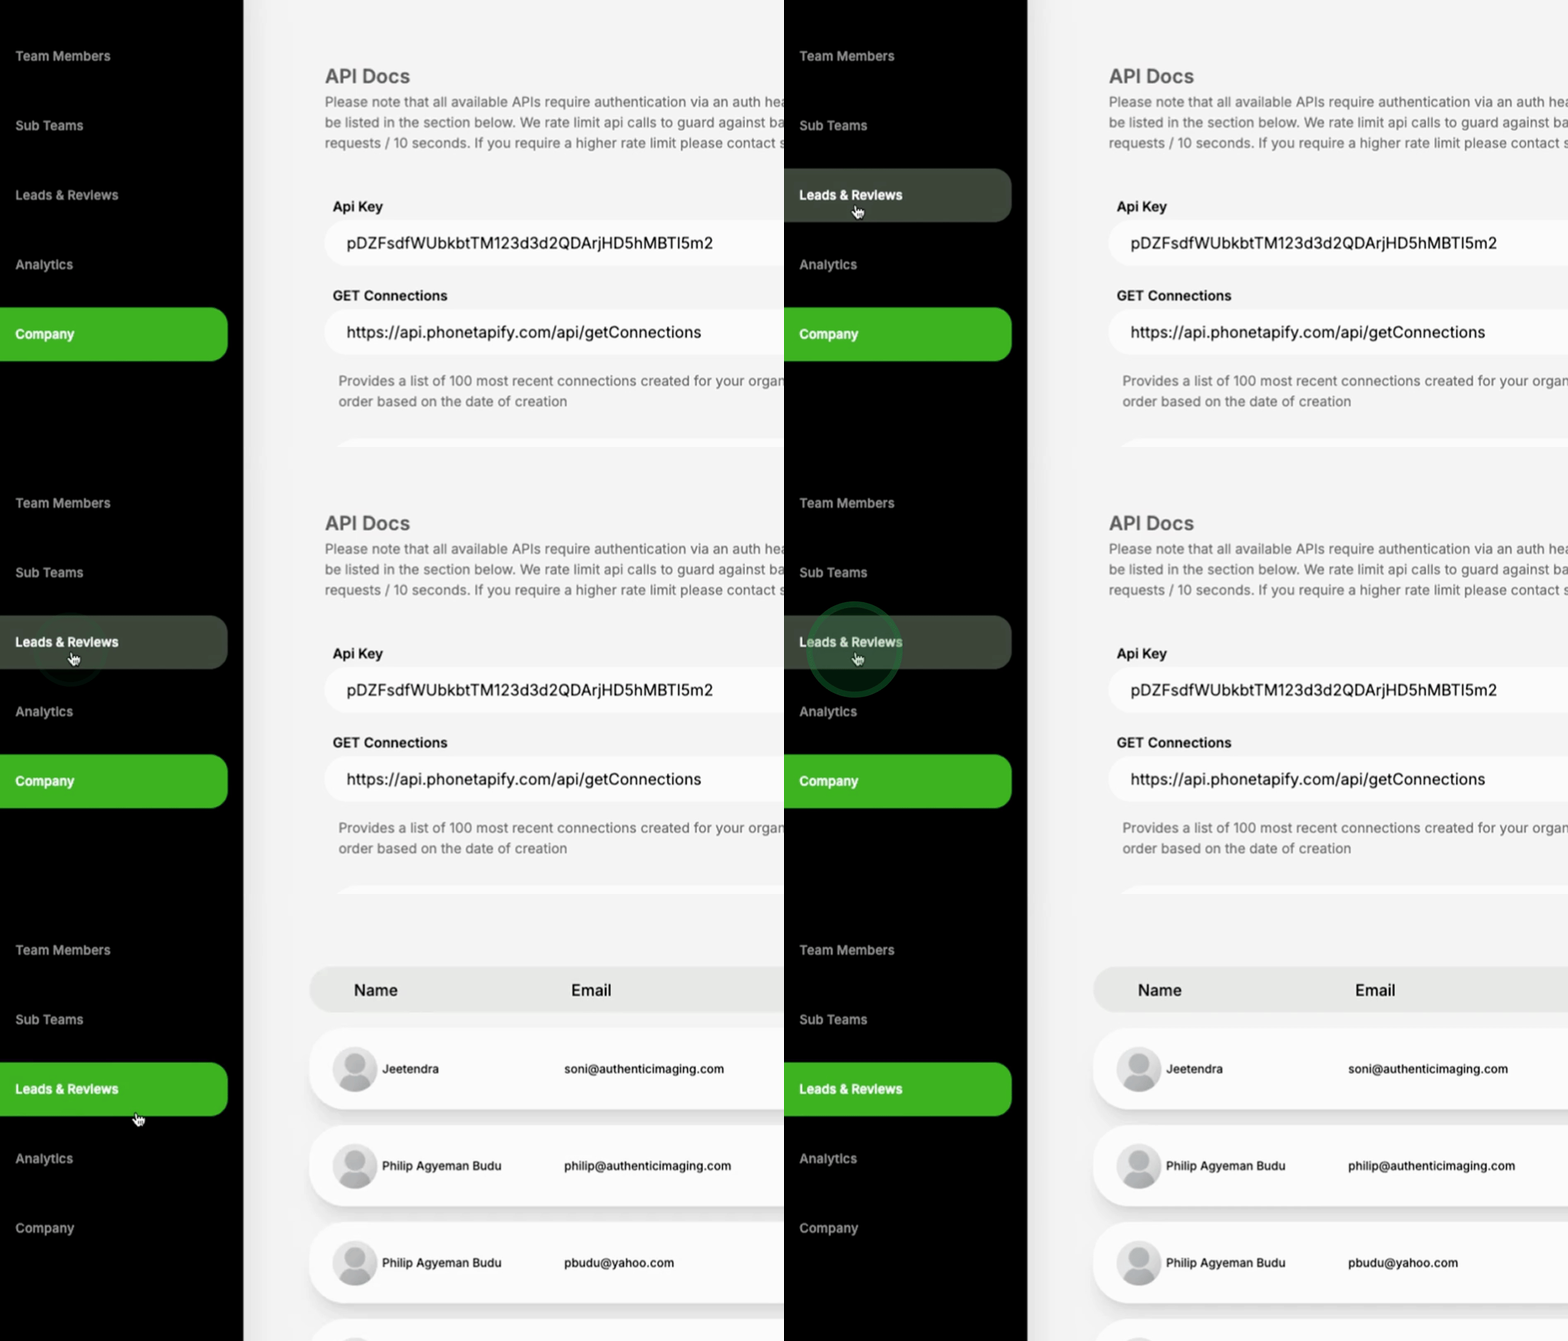
To connect your program, search for your company app on Zapier or utilize pre-built workflows to streamline this process.
Following these steps will help you effectively configure your company settings and ensure that team members have the appropriate access and branding options.
